Mountain bikers often seek to fine-tune their ride, and adjusting the fork travel is a significant way to alter bike geometry and suspension performance. If you’re looking to modify the travel on your Fox 36 Factory fork, whether to match a new frame or simply experiment with different ride characteristics, this guide will walk you through the process. Inspired by Yeti Cycles’ recommendation of a 170mm fork for their SB150 to match the 150mm rear travel, we explore how to increase the travel of a Fox 36 Grip2 fork from 160mm to 170mm. Fox provides the components and instructions to make this adjustment at home, so let’s dive into how you can easily perform this upgrade yourself.

Before you begin, it’s essential to consult Fox’s official resources. Ridefox.com offers comprehensive guides and videos detailing which forks are travel adjustable and provides recommended volume spacer configurations for different travel settings. This ensures you maintain optimal performance and feel after the adjustment. With the right tools and a bit of patience, adjusting your Fox 36 fork travel is a manageable DIY task.
Step-by-Step Guide to Increasing Fox 36 Fork Travel
This guide details the process of increasing the travel on a Fox 36 fork. Always refer to the official Fox documentation for your specific model to ensure compatibility and proper procedures.
1. Fork Removal and Preparation
Begin by removing the Fox 36 fork from your mountain bike. Once removed, completely release all air pressure from the fork’s positive air chamber. This is crucial for safety and ease of disassembly. Secure the fork in a horizontal position in your bike stand. This orientation prevents oil spillage when you separate the lower legs.
2. Lower Leg Disassembly
Locate and unscrew the rebound knob at the bottom of the fork leg. Next, loosen the bolts that secure the lower leg assembly to the stanchions. These are typically located at the very bottom of the fork lowers.
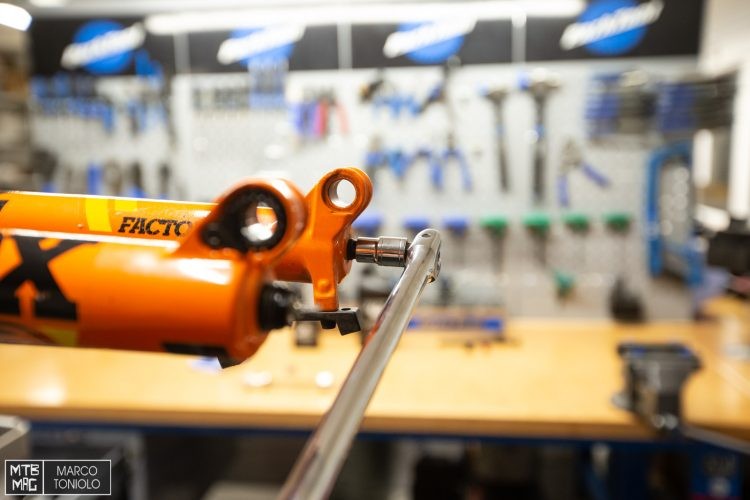
With the bolts loosened, you’ll need to unseat the air spring and damper rods from the lower leg assembly. While a specialized tool exists for this, a small socket bit with an edge smaller than the threaded part of the rod can be carefully used with a mallet. Gently tap the socket to separate the lowers from the upper assembly.

3. Drain Lower Leg Oil
Carefully remove the lower legs and drain the oil from them into a container. Proper disposal of used suspension fluid is important, so ensure it is collected for appropriate recycling or disposal according to local regulations.
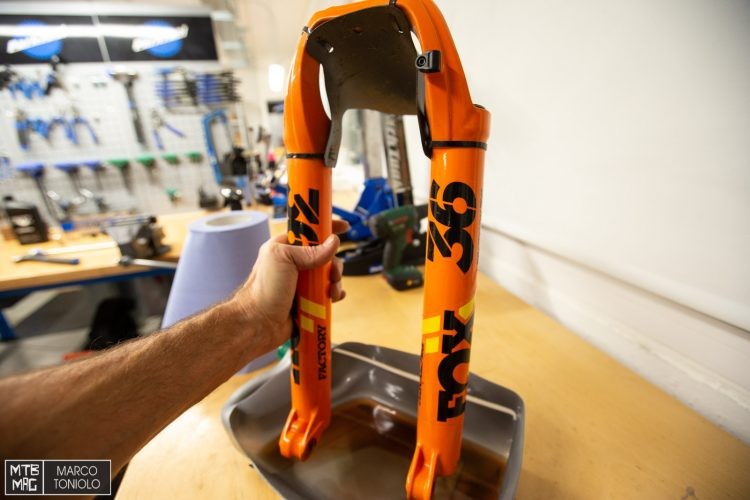
4. Accessing the Air Spring
Now focus on the air spring assembly on the left side of the fork. Remove the valve cap at the fork crown and double-check that all air is completely evacuated from the positive spring. Using the correct socket size, unscrew and remove the valve cap assembly. This is where volume reducers (spacers) are typically attached.

5. Piston Removal and Replacement
Locate and remove the locking ring at the bottom of the stanchion. A thin flat-head screwdriver can be used to gently pry it out.
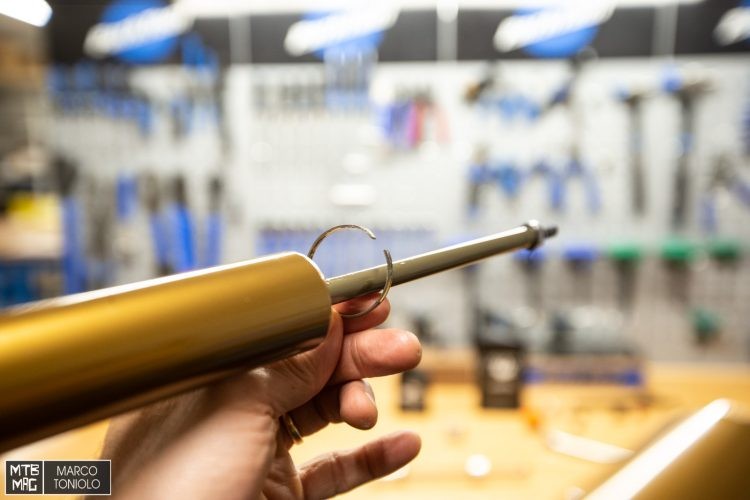
With the locking ring removed, you can now pull out the existing 160mm piston. This will be replaced with the new 170mm piston to increase the fork travel.
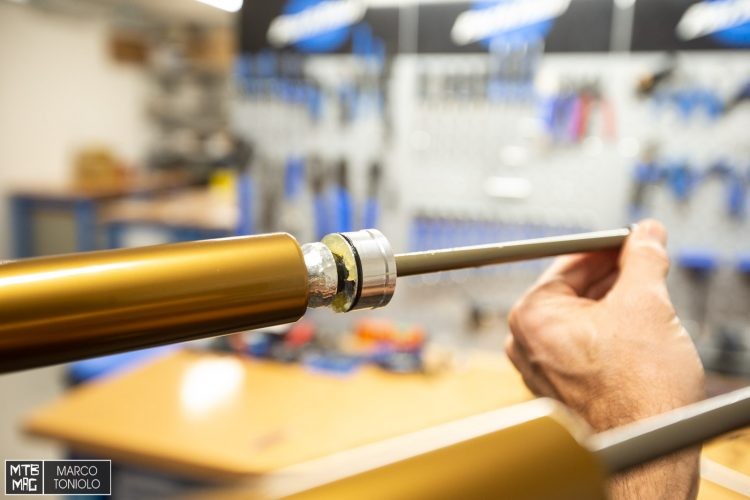
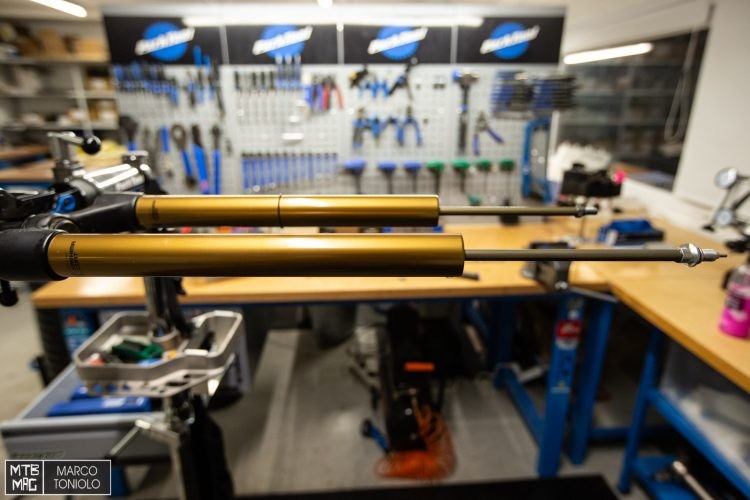
Comparing the old and new pistons side-by-side, you’ll notice the difference in length, which accounts for the 10mm travel increase. Ensure the new piston is lightly greased before installation.
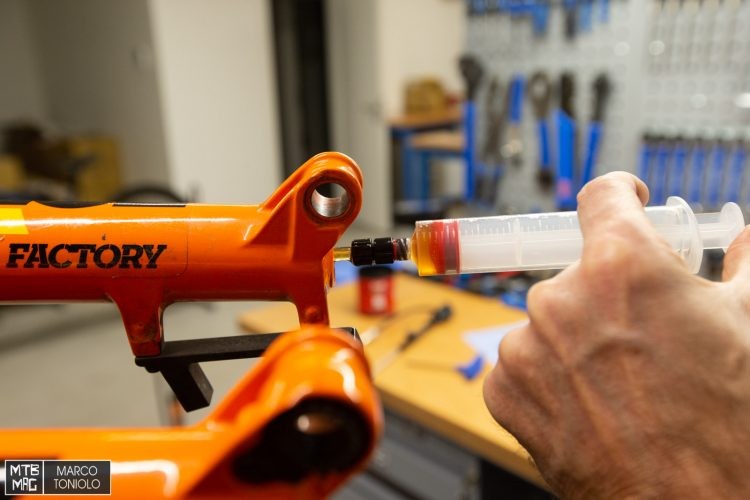
6. Reassembly and Oil Refill
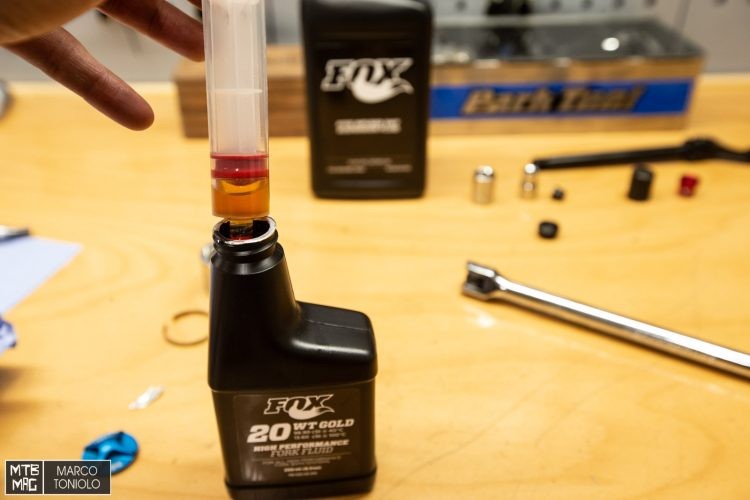
Apply a small amount (around 3cc) of fresh Fox 20WT Gold oil above the newly installed 170mm piston. This thicker oil is designed for lubricating the air spring.
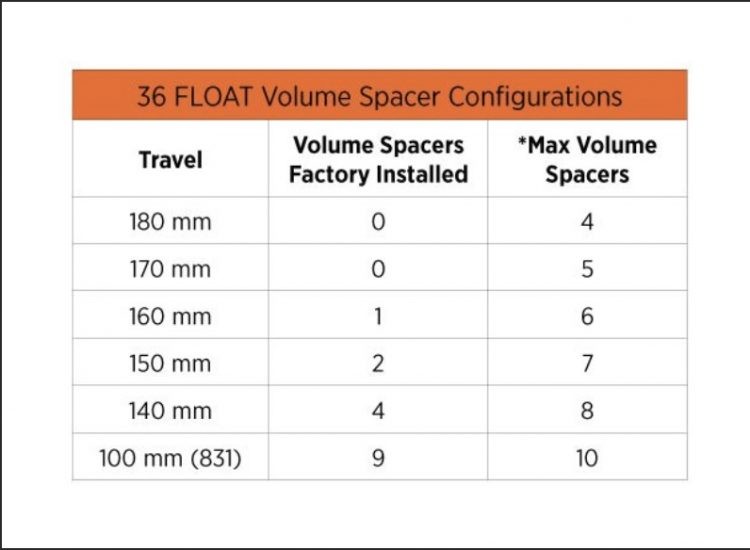
Reinstall the top cap assembly, referring to Fox’s guidelines on volume spacer configuration for the new travel setting. For increasing travel, Fox often recommends starting without a volume spacer. Initially, inflate the fork to approximately 70 psi as a starting point; fine-tuning will be necessary once the fork is back on the bike.
7. Lower Leg Reinstallation and Final Oil Fill
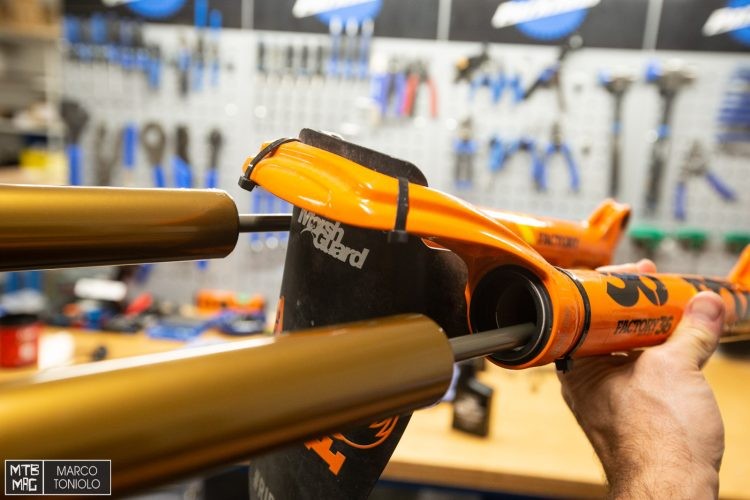
Carefully slide the lower leg assembly back onto the stanchions. This step may require some finesse to align the stanchions correctly with the dust wipers.
Refill the lower legs with fresh oil. On the air spring side (left), add 10cc of Fox 20WT Gold oil. On the damper side (right), add 40cc of Fox 5WT oil. Using the correct oil type and volume is crucial for damper performance and longevity.
8. Torque and Final Steps
Securely tighten the lower leg bolts to the manufacturer’s specified torque settings. Typically, this is around 5Nm on the damper side and 9Nm on the air spring side, but always verify the correct torque for your specific Fox 36 model.

9. Ride and Fine-Tune
With the travel adjustment complete, reinstall the Fox 36 fork onto your mountain bike. Before hitting the trails, remember to set your air pressure and rebound damping according to your weight and riding style. The increased travel will alter the bike’s geometry and suspension feel, so take some time to fine-tune your settings and get accustomed to the new setup.

Conclusion
Adjusting the travel on your Fox 36 fork is a straightforward process that can be accomplished at home with basic tools and by following Fox’s guidelines. Whether you’re increasing or decreasing travel to suit a new frame or personal preference, understanding the steps involved empowers you to customize your mountain bike’s performance. Remember that this process can also be reversed to decrease travel if needed, offering flexibility for future bike changes. Always source the correct piston kit from an authorized Fox dealer to ensure compatibility and performance. For detailed instructions and model-specific information, refer to Ridefox.com.