Are you ready to hit the open road after a long winter? Dewinterizing your travel trailer is an essential step to ensure a safe and enjoyable RV season. TRAVELS.EDU.VN provides a comprehensive guide on how to dewinterize your travel trailer, from checking tires and flushing water systems to inspecting propane appliances. By following these essential steps, you’ll guarantee a smooth start to your RV adventures. Get ready to explore with confidence by dewinterizing your travel trailer properly, focusing on RV maintenance, plumbing, and appliance checks.
1. Tire Inspection and Maintenance
After months of storage, your travel trailer tires require careful attention. Tires naturally lose pressure, typically around 2-3 psi per month. Cold temperatures or outdoor storage can exacerbate this loss. Underinflated tires can lead to poor handling, uneven wear, potential blowouts, and even accidents. The National Highway Traffic Safety Administration (NHTSA) reports that tire condition was a factor in 655 vehicle crashes in 2017, resulting in 738 fatalities.
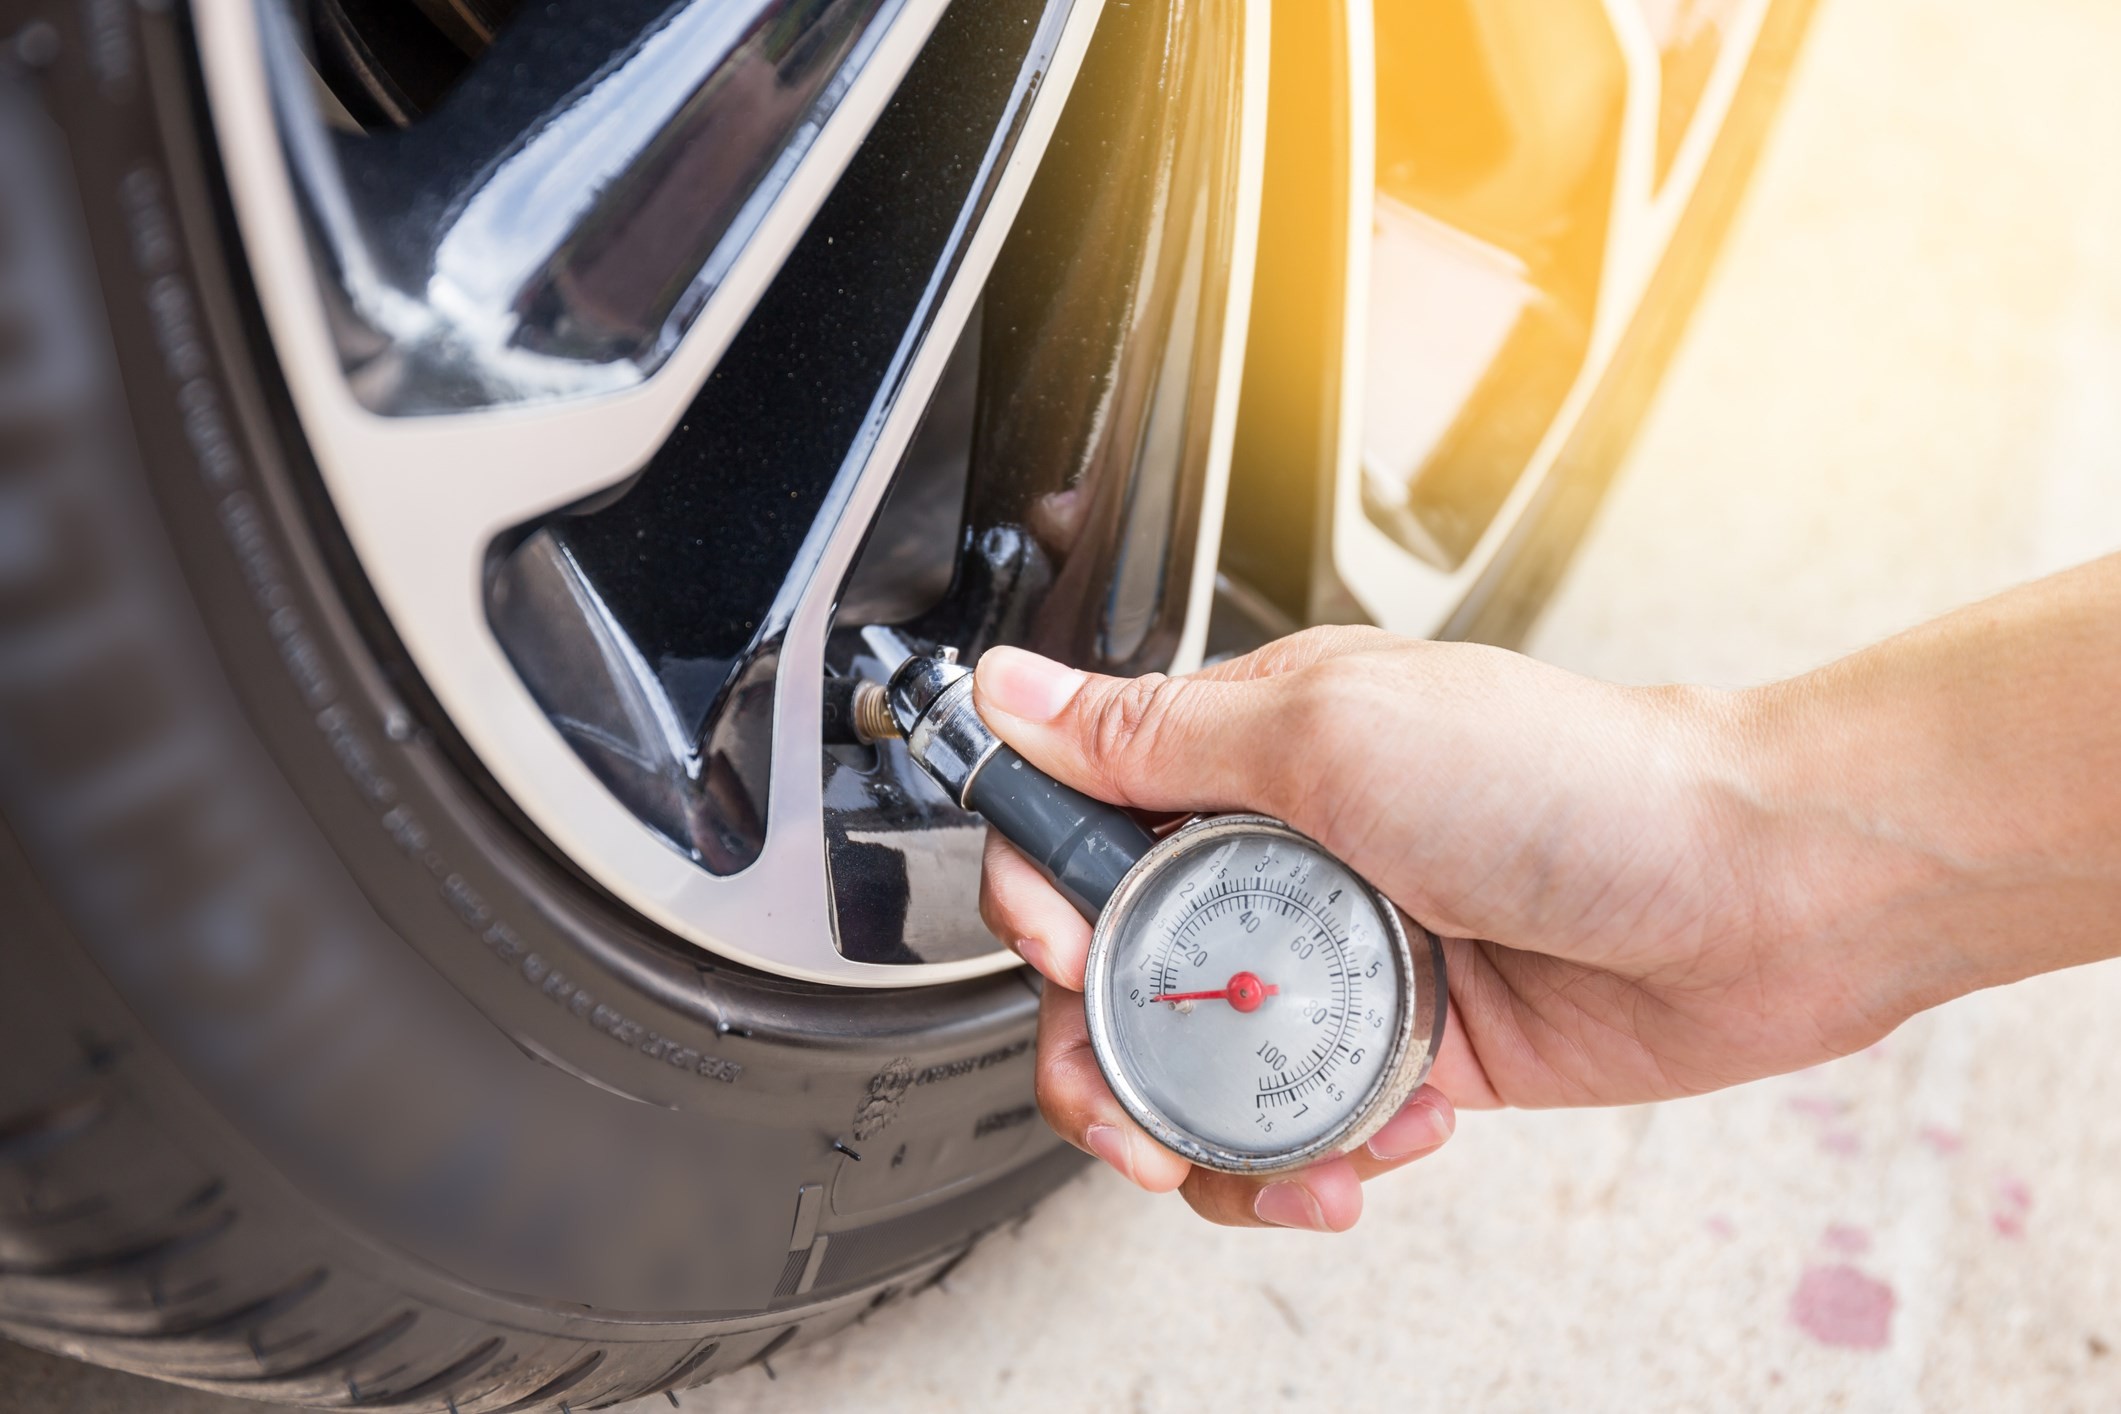 RV Tire Inspection
Here’s how to ensure your tires are road-ready:
- Check Tire Pressure: Use a reliable tire pressure gauge to measure the pressure in all tires, including the spare.
- Inflate to Recommended Pressure: Refer to your owner’s manual or the tire sidewall for the manufacturer’s recommended pressure based on the load.
- Inspect for Wear and Damage: Look for cracks in the sidewalls, worn treads, and any signs of damage. Consider replacing tires if they show significant wear, especially before long trips.
| Tire Issue | Potential Consequence |
|---|---|
| Underinflation | Poor handling, uneven wear, blowout |
| Sidewall Cracks | Potential blowout |
| Worn Tread | Reduced traction, hydroplaning risk |
2. Exterior Inspection for Damage
Before getting into the more detailed RV spring maintenance, take a walk around your travel trailer and carefully inspect the exterior. Look for any signs of damage, leaks, or cracks that may have occurred during storage.
- Weatherstripping: Check the weatherstripping around windows and doors. Replace any sealant that is cracked, peeling, or damaged to prevent water leaks.
- Seams and Seals: Inspect all body, roof, and slide-out seams. Apply new sealant as necessary to ensure a watertight seal.
- Roof Inspection: Pay close attention to the roof, especially if your RV was stored outdoors. Check for water damage or cracks caused by heavy snow accumulation. Use caution when working on the roof to prevent falls.
- Hitch Components: If you have a towable travel trailer, inspect the hitch components for rust and damage. Replace any damaged parts to avoid accidents or breakdowns on the road.
Ignoring these seemingly minor issues can lead to significant problems down the road. Addressing them early will save you time and money in the long run.
3. Battery Recharging and Reinstallation
RV batteries gradually lose their charge during storage due to internal leakage. Failing to check and recharge them periodically can significantly shorten their lifespan.
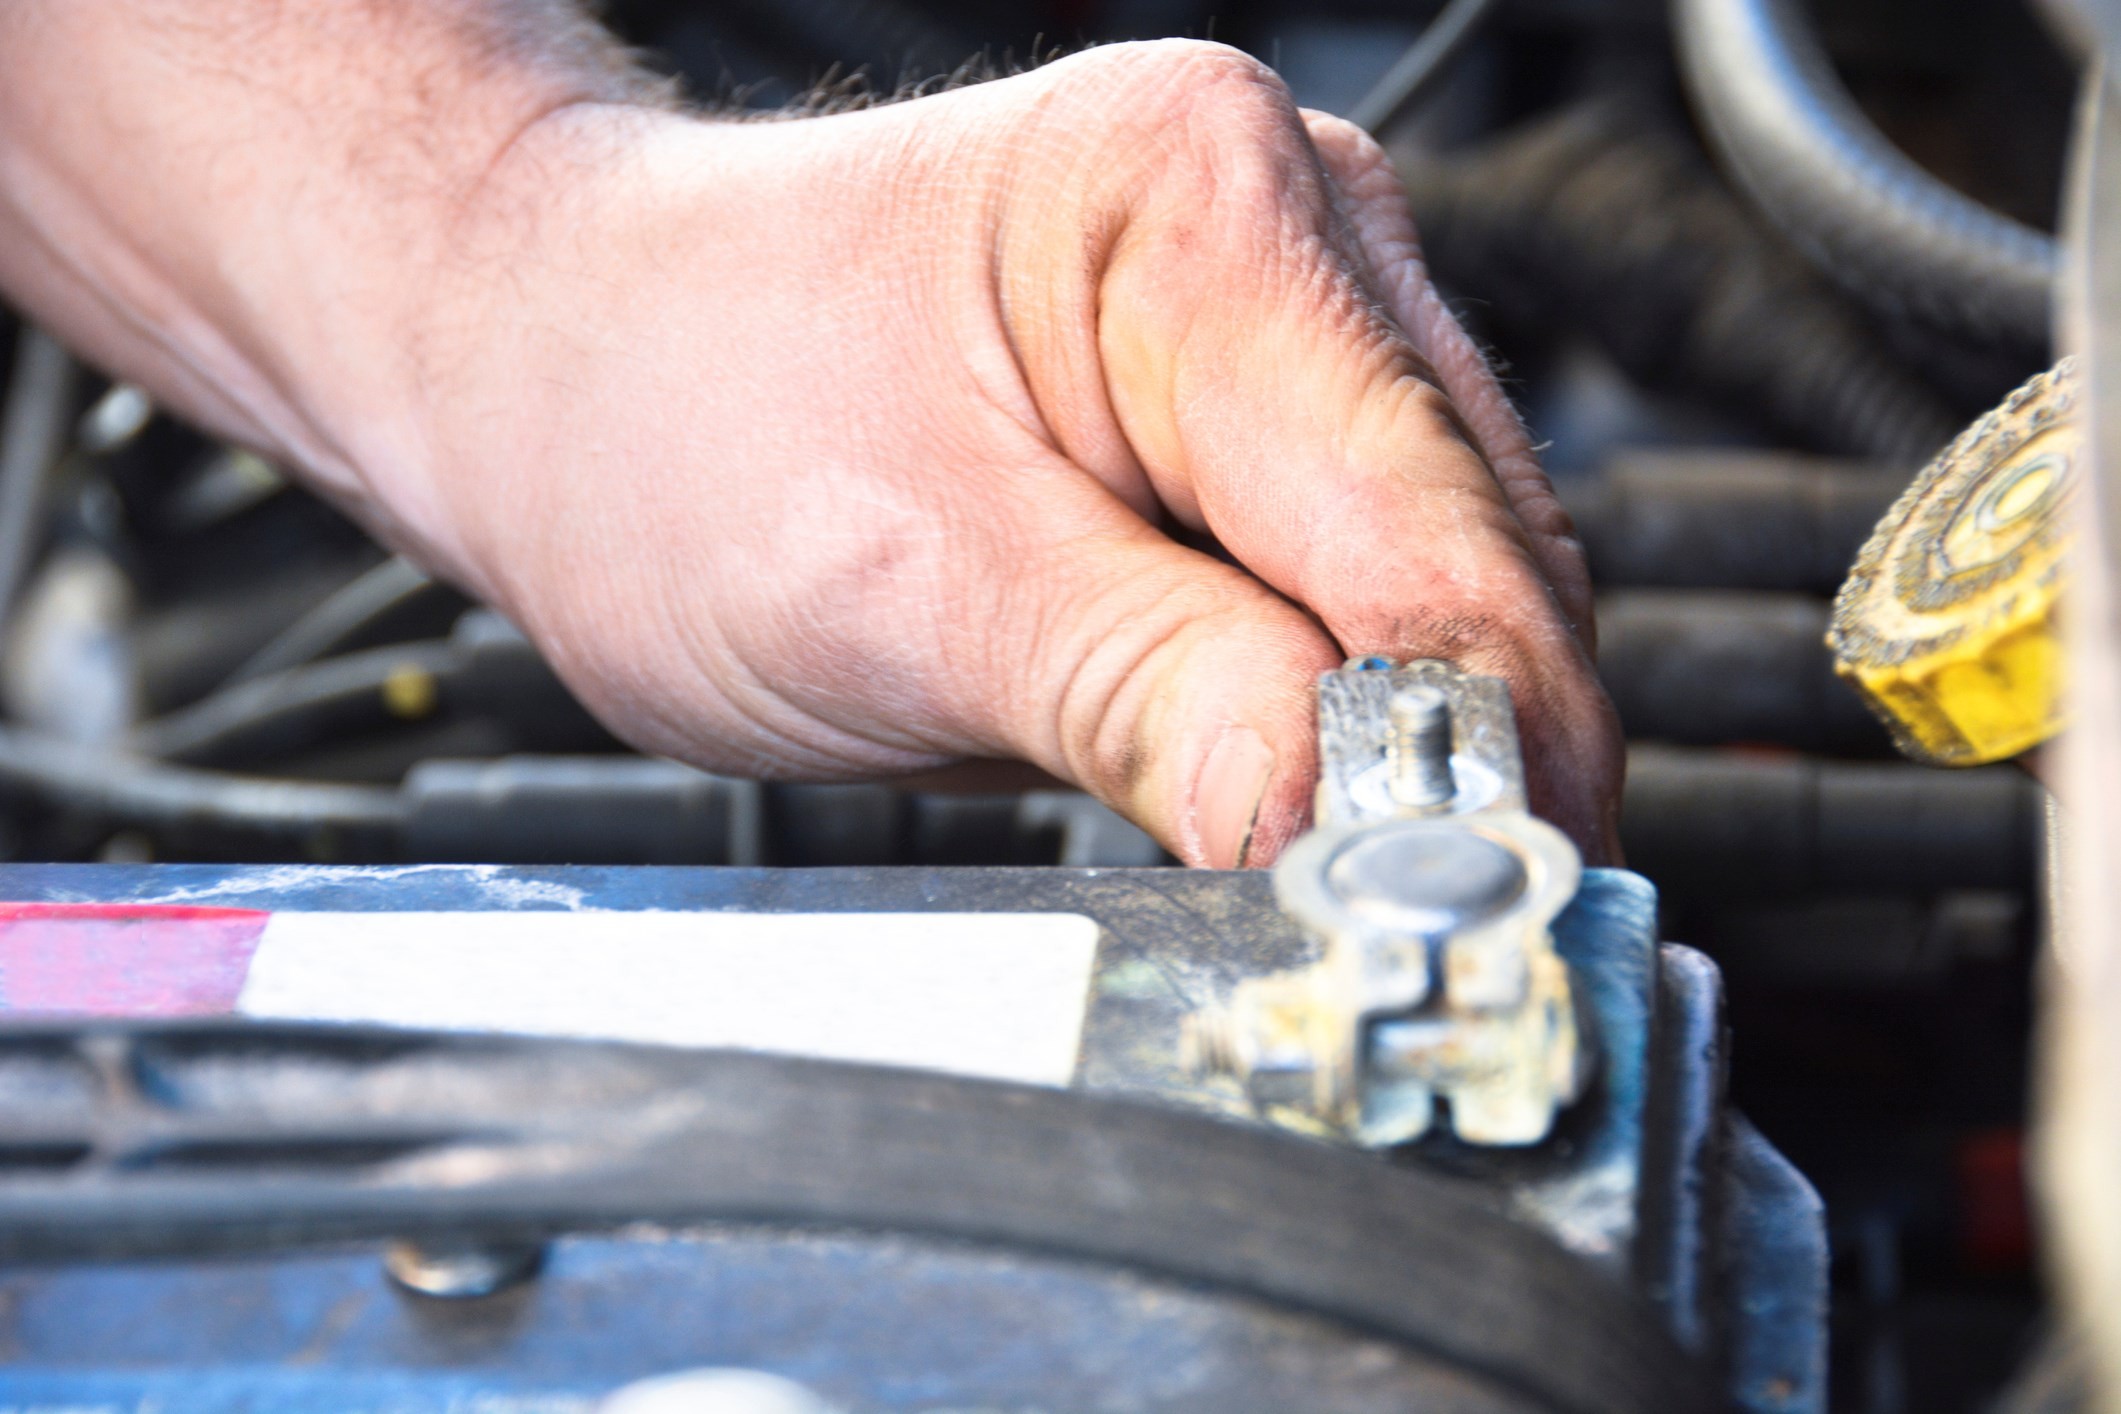 Checking RV Battery
Follow these steps to revive your batteries:
- Check Battery Charge: Use a voltmeter to check the charge level. A fully charged 12-volt RV battery should read around 12.7 volts. If the reading is 12 volts or lower, recharge the battery.
- Recharge Batteries: Connect a battery charger to the RV battery while the charger is turned off. Turn on the charger and allow the battery to charge fully. Charging time varies depending on the battery size and condition.
- Check Water Level: After charging, check the water level in the battery and add distilled water as needed to cover the plates. If the water level is below the plates, add water before charging.
- Secure Reinstallation: Reinstall the battery securely, ensuring all connections are tight and corrosion-free.
If you’re not comfortable handling battery maintenance, consider contacting an RV maintenance service for assistance.
| Battery Status | Voltage Reading (12V Battery) | Action Required |
|---|---|---|
| Fully Charged | 12.7 volts | No action needed |
| Partially Charged | 12.0 – 12.6 volts | Recharge as soon as possible |
| Discharged | Below 12.0 volts | Recharge immediately to prevent sulfation and damage |
4. Flushing and Purifying the Water System
One of the most important steps in dewinterizing your travel trailer is flushing out the water system. If you winterized your RV by adding non-toxic RV antifreeze, you’ll need to remove it completely to ensure your water is safe for cooking, drinking, and washing.
- Drain the Fresh Water Tank: If you added antifreeze directly to the fresh water tank, drain it completely.
- Flush the System:
- Turn on the water pump.
- Open all faucets (sinks, showers, outdoor showers).
- Run water until it flows clear from each faucet.
- Flush the toilet several times.
- Close faucets and turn off the pump when the water runs clear.
- Take the water heater out of bypass mode (if applicable).
- Replace water filter cartridges.
- Drain gray and black water tanks at an approved dump site.
If your water heater was not bypassed during winter storage, drain it to remove any antifreeze before replacing the water filters. After flushing, if the water still tastes like antifreeze, add baking soda to the drains to help neutralize the flavor.
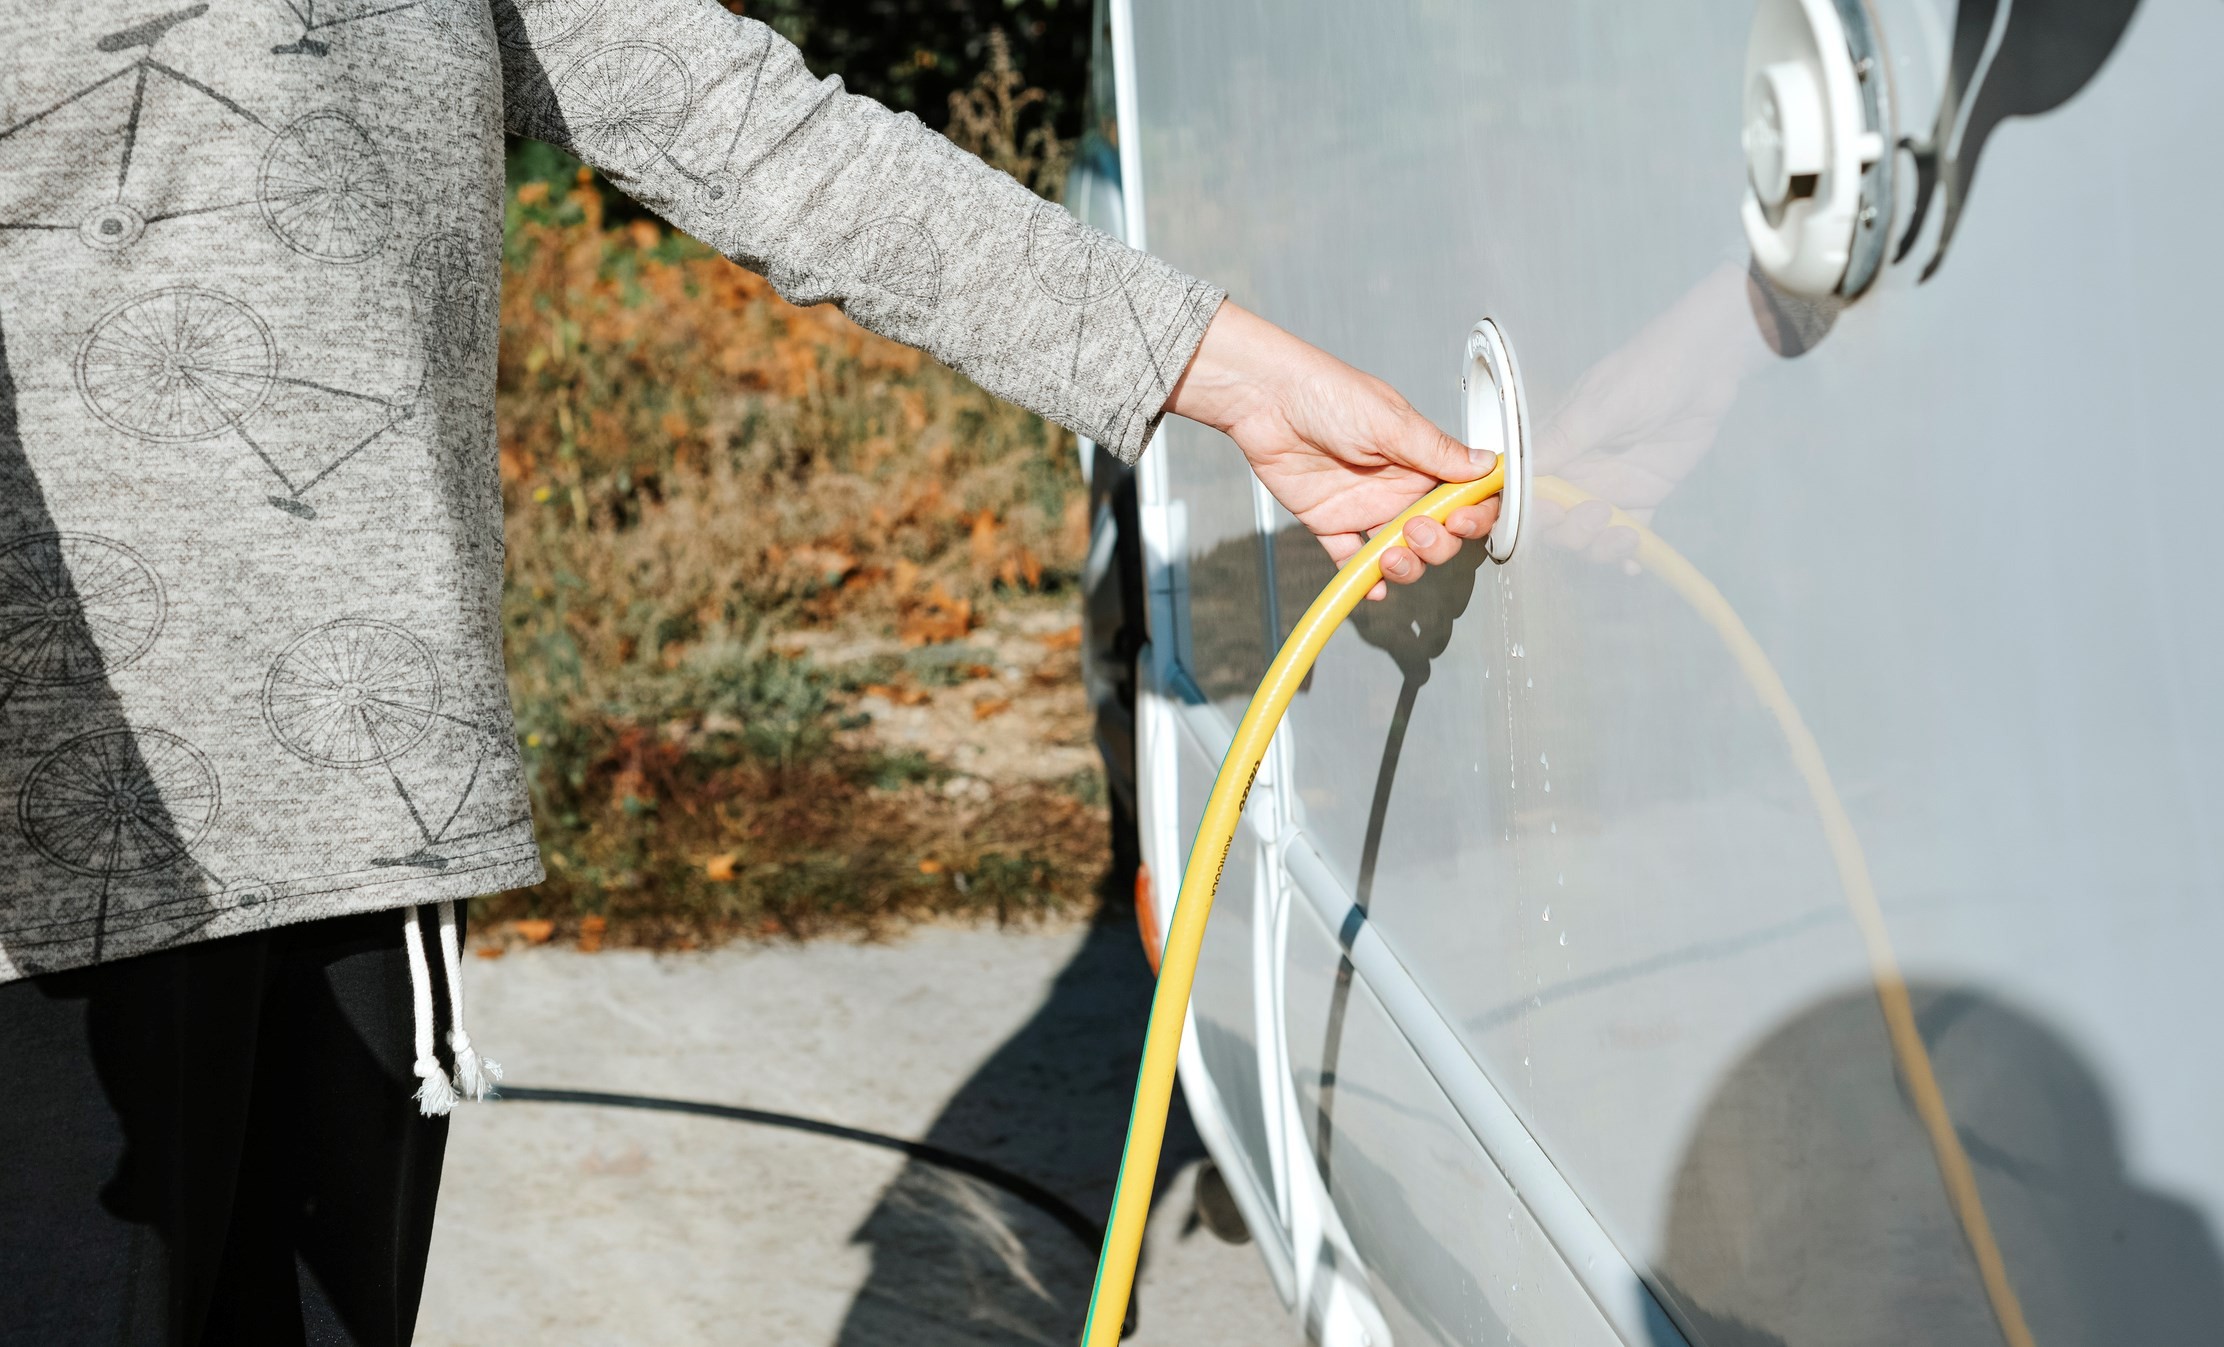 Filling RV Water Tank
5. Water System Sanitization
Even if you didn’t use antifreeze, sanitizing your water system is essential to remove any bacteria or mold that may have grown during storage.
- Close Drains: Install drain plugs and close all drains.
- Prepare Bleach Solution: Mix one-quarter cup of household bleach for every 15 gallons of fresh water tank capacity. Dilute the bleach in a gallon of water.
- Add Solution to Tank: Pour the bleach solution into the fresh water tank.
- Fill the Tank: Fill the fresh water tank completely with potable water.
- Run Water Through System: Turn on the water pump and open all faucets until you smell bleach. Then close the faucets.
- Let it Sit: Allow the solution to sit in the tank and lines for up to 12 hours.
- Drain the System: Drain all water from the system.
- Refill and Flush: Refill the fresh water tank with potable water and flush the system by running water until the bleach smell is gone.
Allowing the bleach solution to sit for the appropriate amount of time is crucial for effective sanitization without damaging plumbing components. For expert sanitization and water system maintenance, trust TRAVELS.EDU.VN. Contact us at +1 (707) 257-5400 or visit our location at 123 Main St, Napa, CA 94559, United States for advice on the best water treatment options.
| Step | Description |
|---|---|
| Prepare Bleach | 1/4 cup bleach per 15 gallons of tank capacity |
| Contact Time | 4-12 hours (do not exceed 12 hours to prevent damage to seals) |
| Flushing | Flush until bleach odor is gone |
6. Leak Detection in the Plumbing System
With water in the fresh water tank, turn on the electric pump to pressurize the water system. When the system reaches full pressure, the pump will shut off. Listen carefully for a few minutes to see if the pump cycles back on. If it does, there’s a leak somewhere in the system.
- Check Pipes: Inspect all visible pipes for leaks, especially under sinks.
- Check Toilet: Look for leaks around the base of the toilet.
- Address Leaks: Repair any leaks you find immediately to prevent water damage. If you’re not comfortable making the repairs yourself, take your travel trailer to an RV repair service.
Timely leak detection and repair can prevent costly water damage and ensure the longevity of your RV.
7. Propane Tank Reinstallation
If your travel trailer uses propane, reinstall your propane tanks and connect the hose.
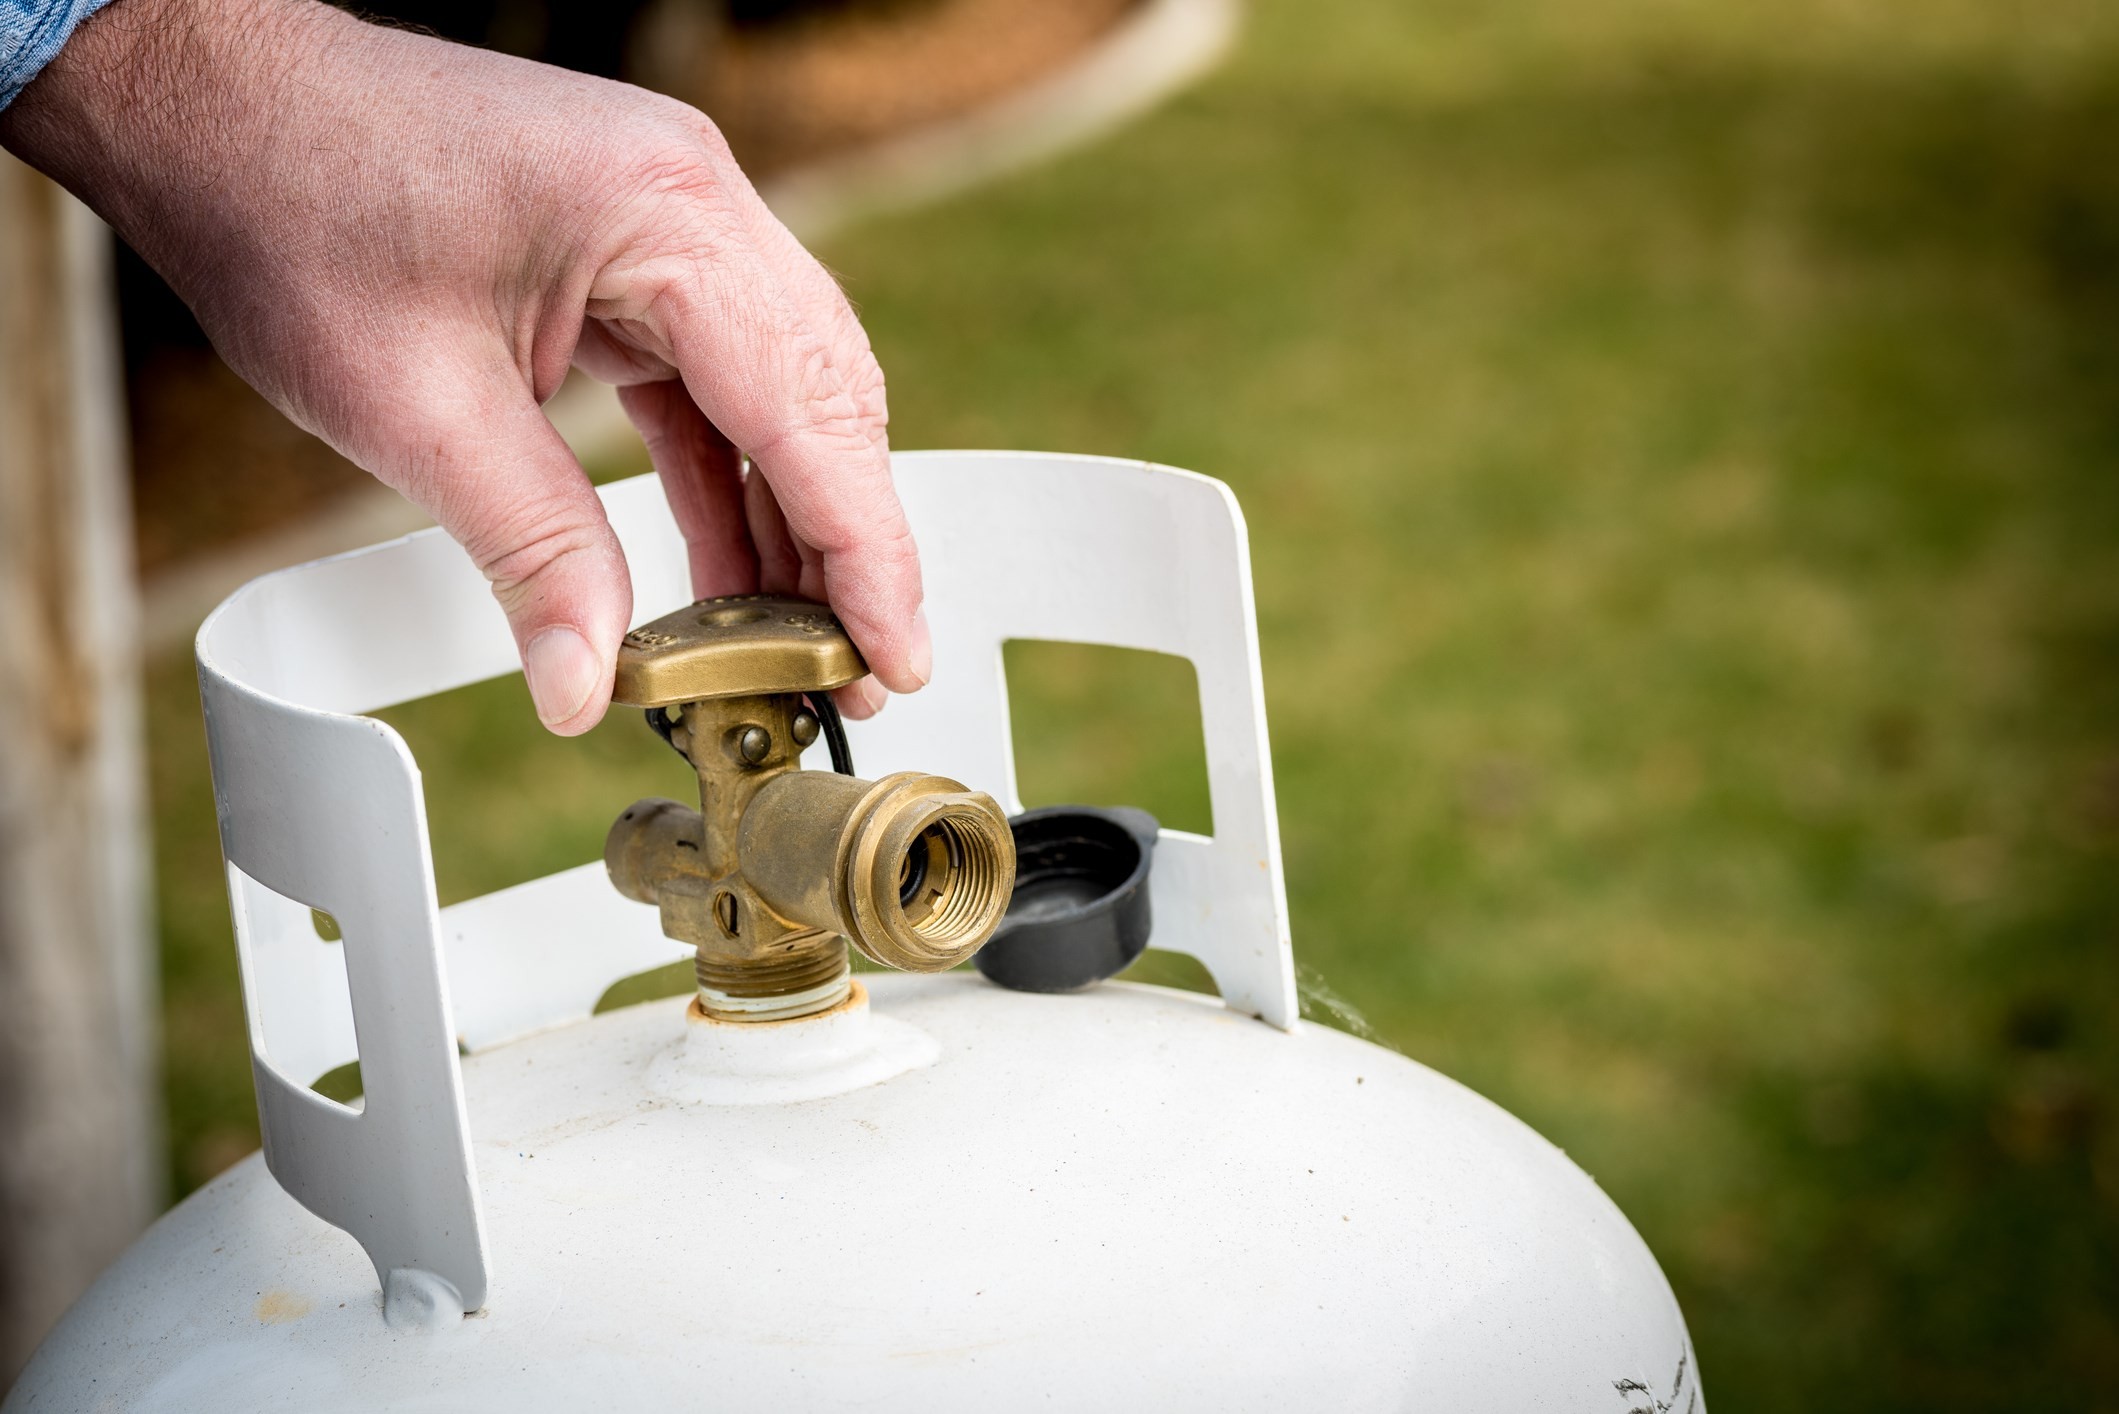 Propane Tank Connection
- Tighten Connections: Ensure the hose is fitted tightly by slightly opening the propane valve to open the gas line.
- Check for Leaks: Apply soapy water to each hose connector using a sponge or spray bottle. If bubbles form, tighten the fitting and repeat until no bubbles appear.
- Refill Tanks: If your RV has refillable propane tanks, take them to a propane station to be filled. Check if your state requires propane tank recertification and ensure your tanks are up-to-date.
8. Testing Propane Appliances
After reinstalling the propane tanks, test all LP gas-fired appliances to ensure they are working correctly. Open the gas line and test each appliance individually. When testing the hot water heater, make sure it’s full of water first.
If any appliances are not working, schedule an inspection with a certified RV maintenance service. Propane leaks or ignition issues can be dangerous and are best handled by professionals.
9. Electrical Appliance Testing
Once your propane appliances are checked, plug in your travel trailer and test the 120-volt appliances. Ensure you are using a sufficient electricity source (30 or 50 amps) for appliances like air conditioners and microwaves to function properly.
To test your refrigerator in electric mode, turn it off and let it return to room temperature before plugging it back in once your RV is connected to electrical power.
10. Engine Inspection
Inspect your RV engine by checking all fluid levels and ensuring that all lights and controls are operational. Check the levels of power steering fluid, transmission fluid, engine oil, brake fluid, engine coolant, and windshield washer fluid. Top off any low levels before your first trip.
If you suspect a leak in any part of the engine, take your RV to a mechanic for a thorough inspection.
- Fluid Level Checks: Power steering, transmission, engine oil, brake fluid, engine coolant, windshield washer fluid.
- Light Checks: Headlights, taillights, dash lights.
- Control Checks: Gauges, windshield wipers.
11. Generator Testing
If your travel trailer has an onboard generator, check the oil level. If the oil is low, have the generator serviced by a professional.
Before testing, inspect the exhaust system for damage. Operating a generator with a damaged exhaust system can cause harm and lead to serious consequences.
After inspecting the exhaust, turn on the generator to test it. If you exercised your generator during storage, it should start easily. If not, run it for a few hours with a half-rated load. Refer to the owner’s manual for load ratings. If the generator surges or won’t start, have it inspected and repaired.
12. Filter Replacement
During RV spring maintenance, replace all air and water filters. Air filters can collect dust and debris, so start the season fresh with clean filters. Changing filters in your air conditioner and water systems can improve efficiency and save energy.
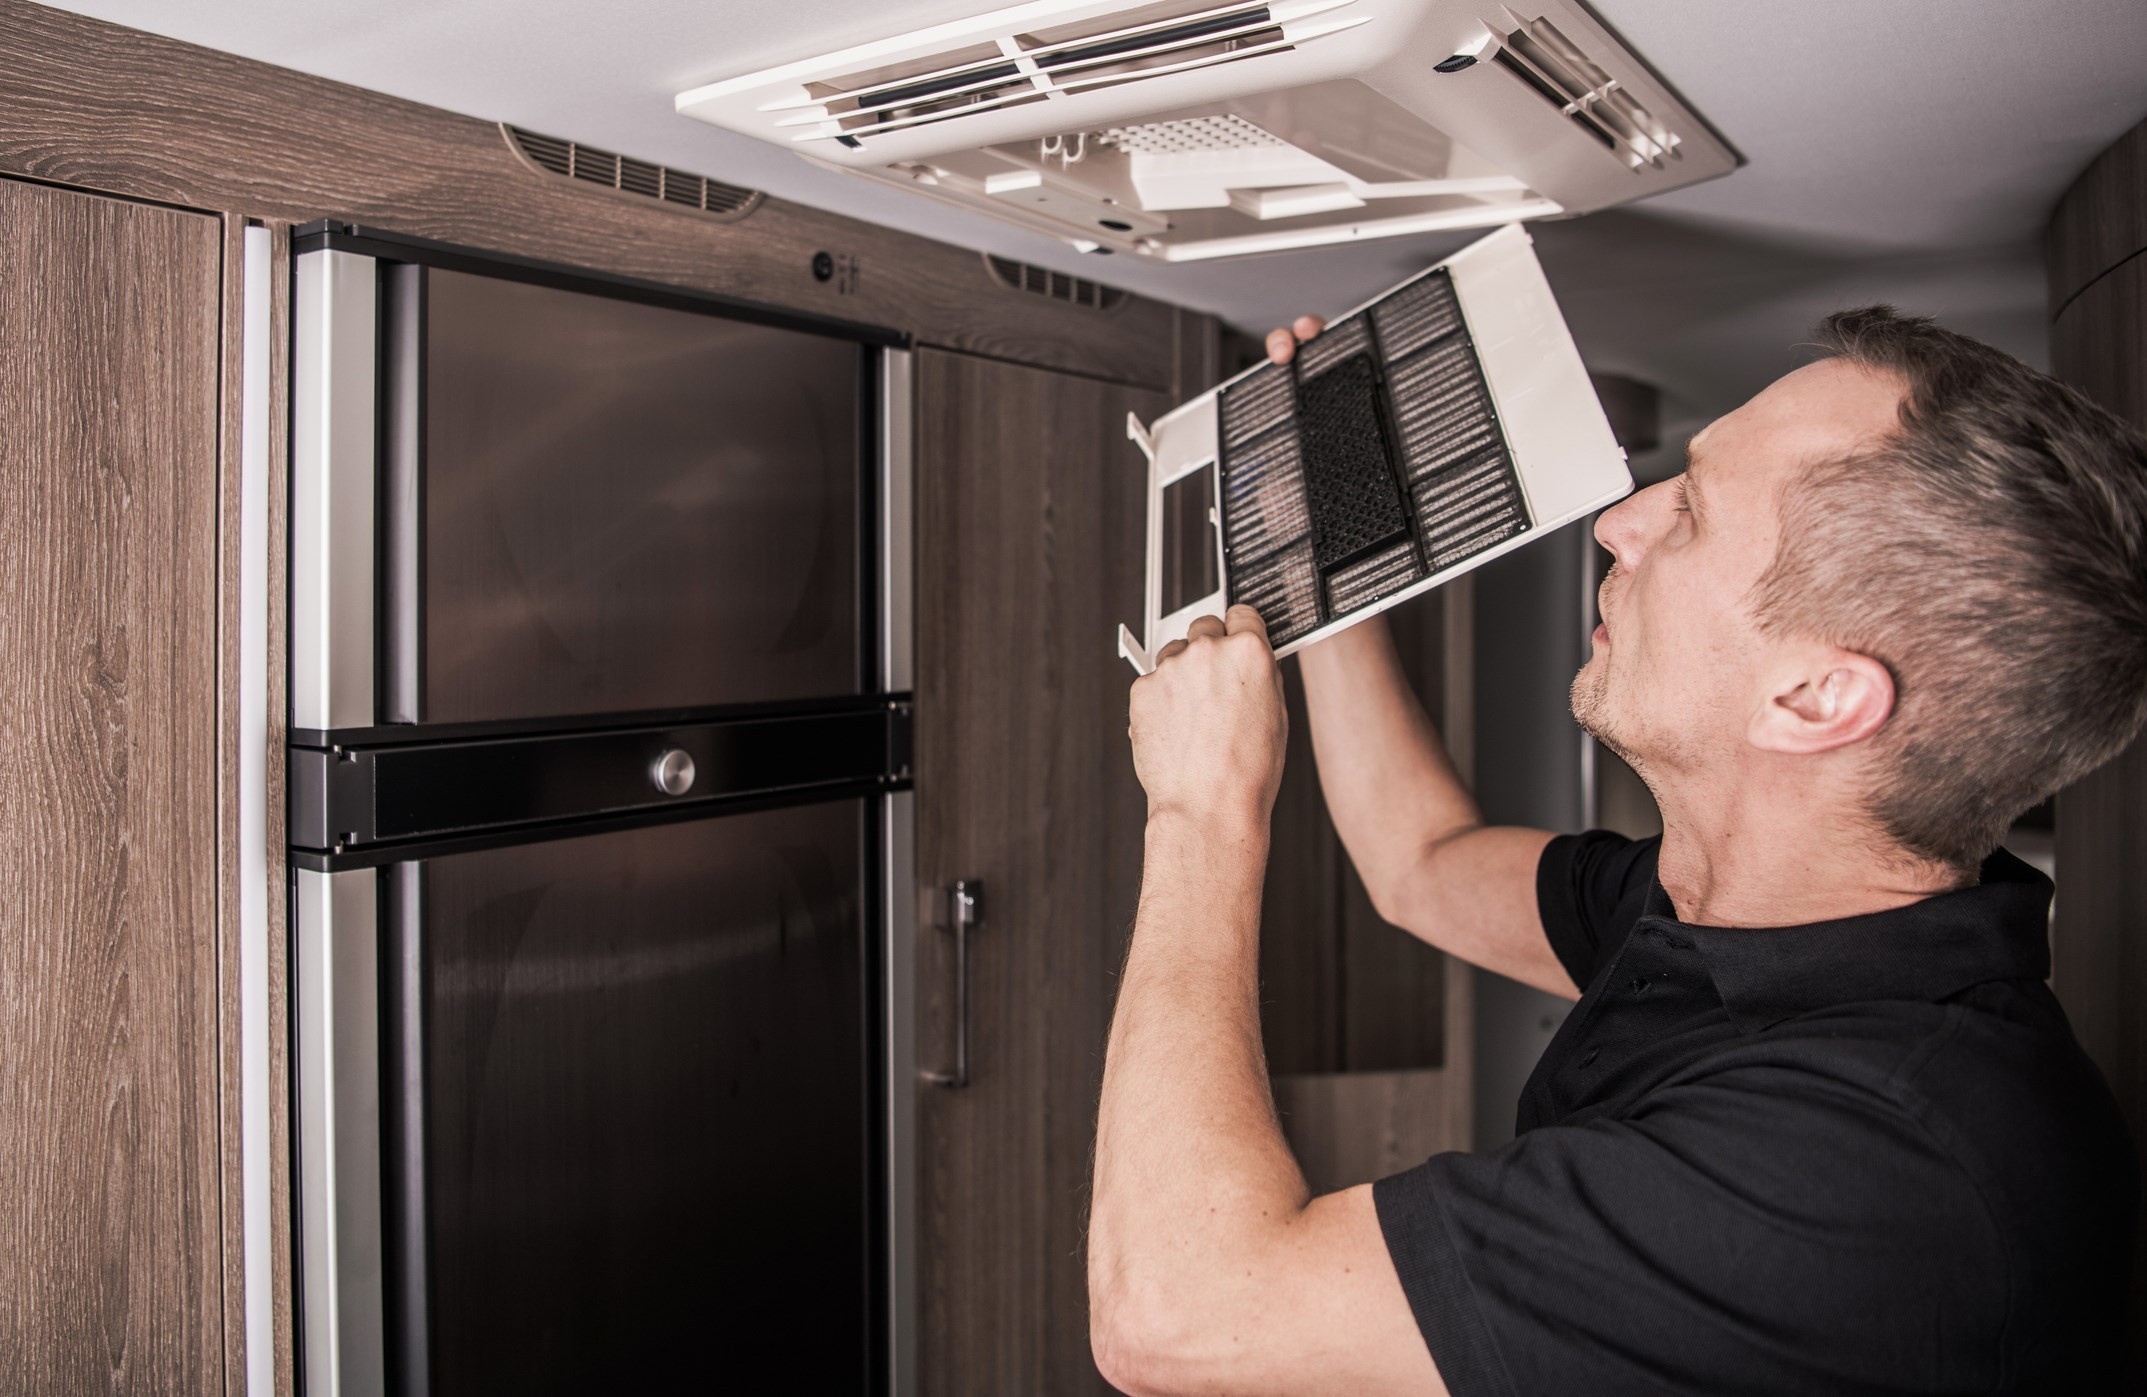 RV Air Conditioner Filter Check
Ensure you purchase the correct size filters for your air conditioner and water system and that the filters fit snugly to effectively filter out dirt and bacteria.
13. Window and Vent Inspection
As part of your RV spring maintenance, open all windows and air vents to ensure they are in working order. Air vents ensure proper airflow to prevent excess humidity and keep you cool. Properly functioning air vents are even more essential when you turn the heat back on in the fall, as they protect against toxic gas buildup. Opening all windows will also refresh your RV with clean air.
14. Safety Device Inspection
Before hitting the road, make sure all safety devices are operating properly. This includes your smoke alarm, fire extinguisher, carbon monoxide detector, and LP detector.
- Install New Batteries: Replace batteries in all battery-powered safety devices.
- Test Alarms: Test your carbon monoxide detector and smoke alarm. Know the symptoms of carbon monoxide poisoning and how to prevent leaks.
- Check Fire Extinguisher: Look at the expiration date on your fire extinguisher and replace it if outdated. If your RV has a dry powder fire extinguisher, release any settled powder by shaking and tapping it.
Planning for safety in advance ensures a smooth and carefree camping season.
15. Restocking Emergency Supplies
Another crucial step for RV safety is restocking your first aid and emergency supplies as part of your RV spring preparation. Check expiration dates on medicines and restock any low supplies. Get rid of expired food and ensure you have bottled water in case of emergency. Your RV emergency kit should also include tools and other supplies for emergency repairs, such as pliers, a hammer, screwdrivers, extra oil, coolant, hoses, batteries, and leveling blocks.
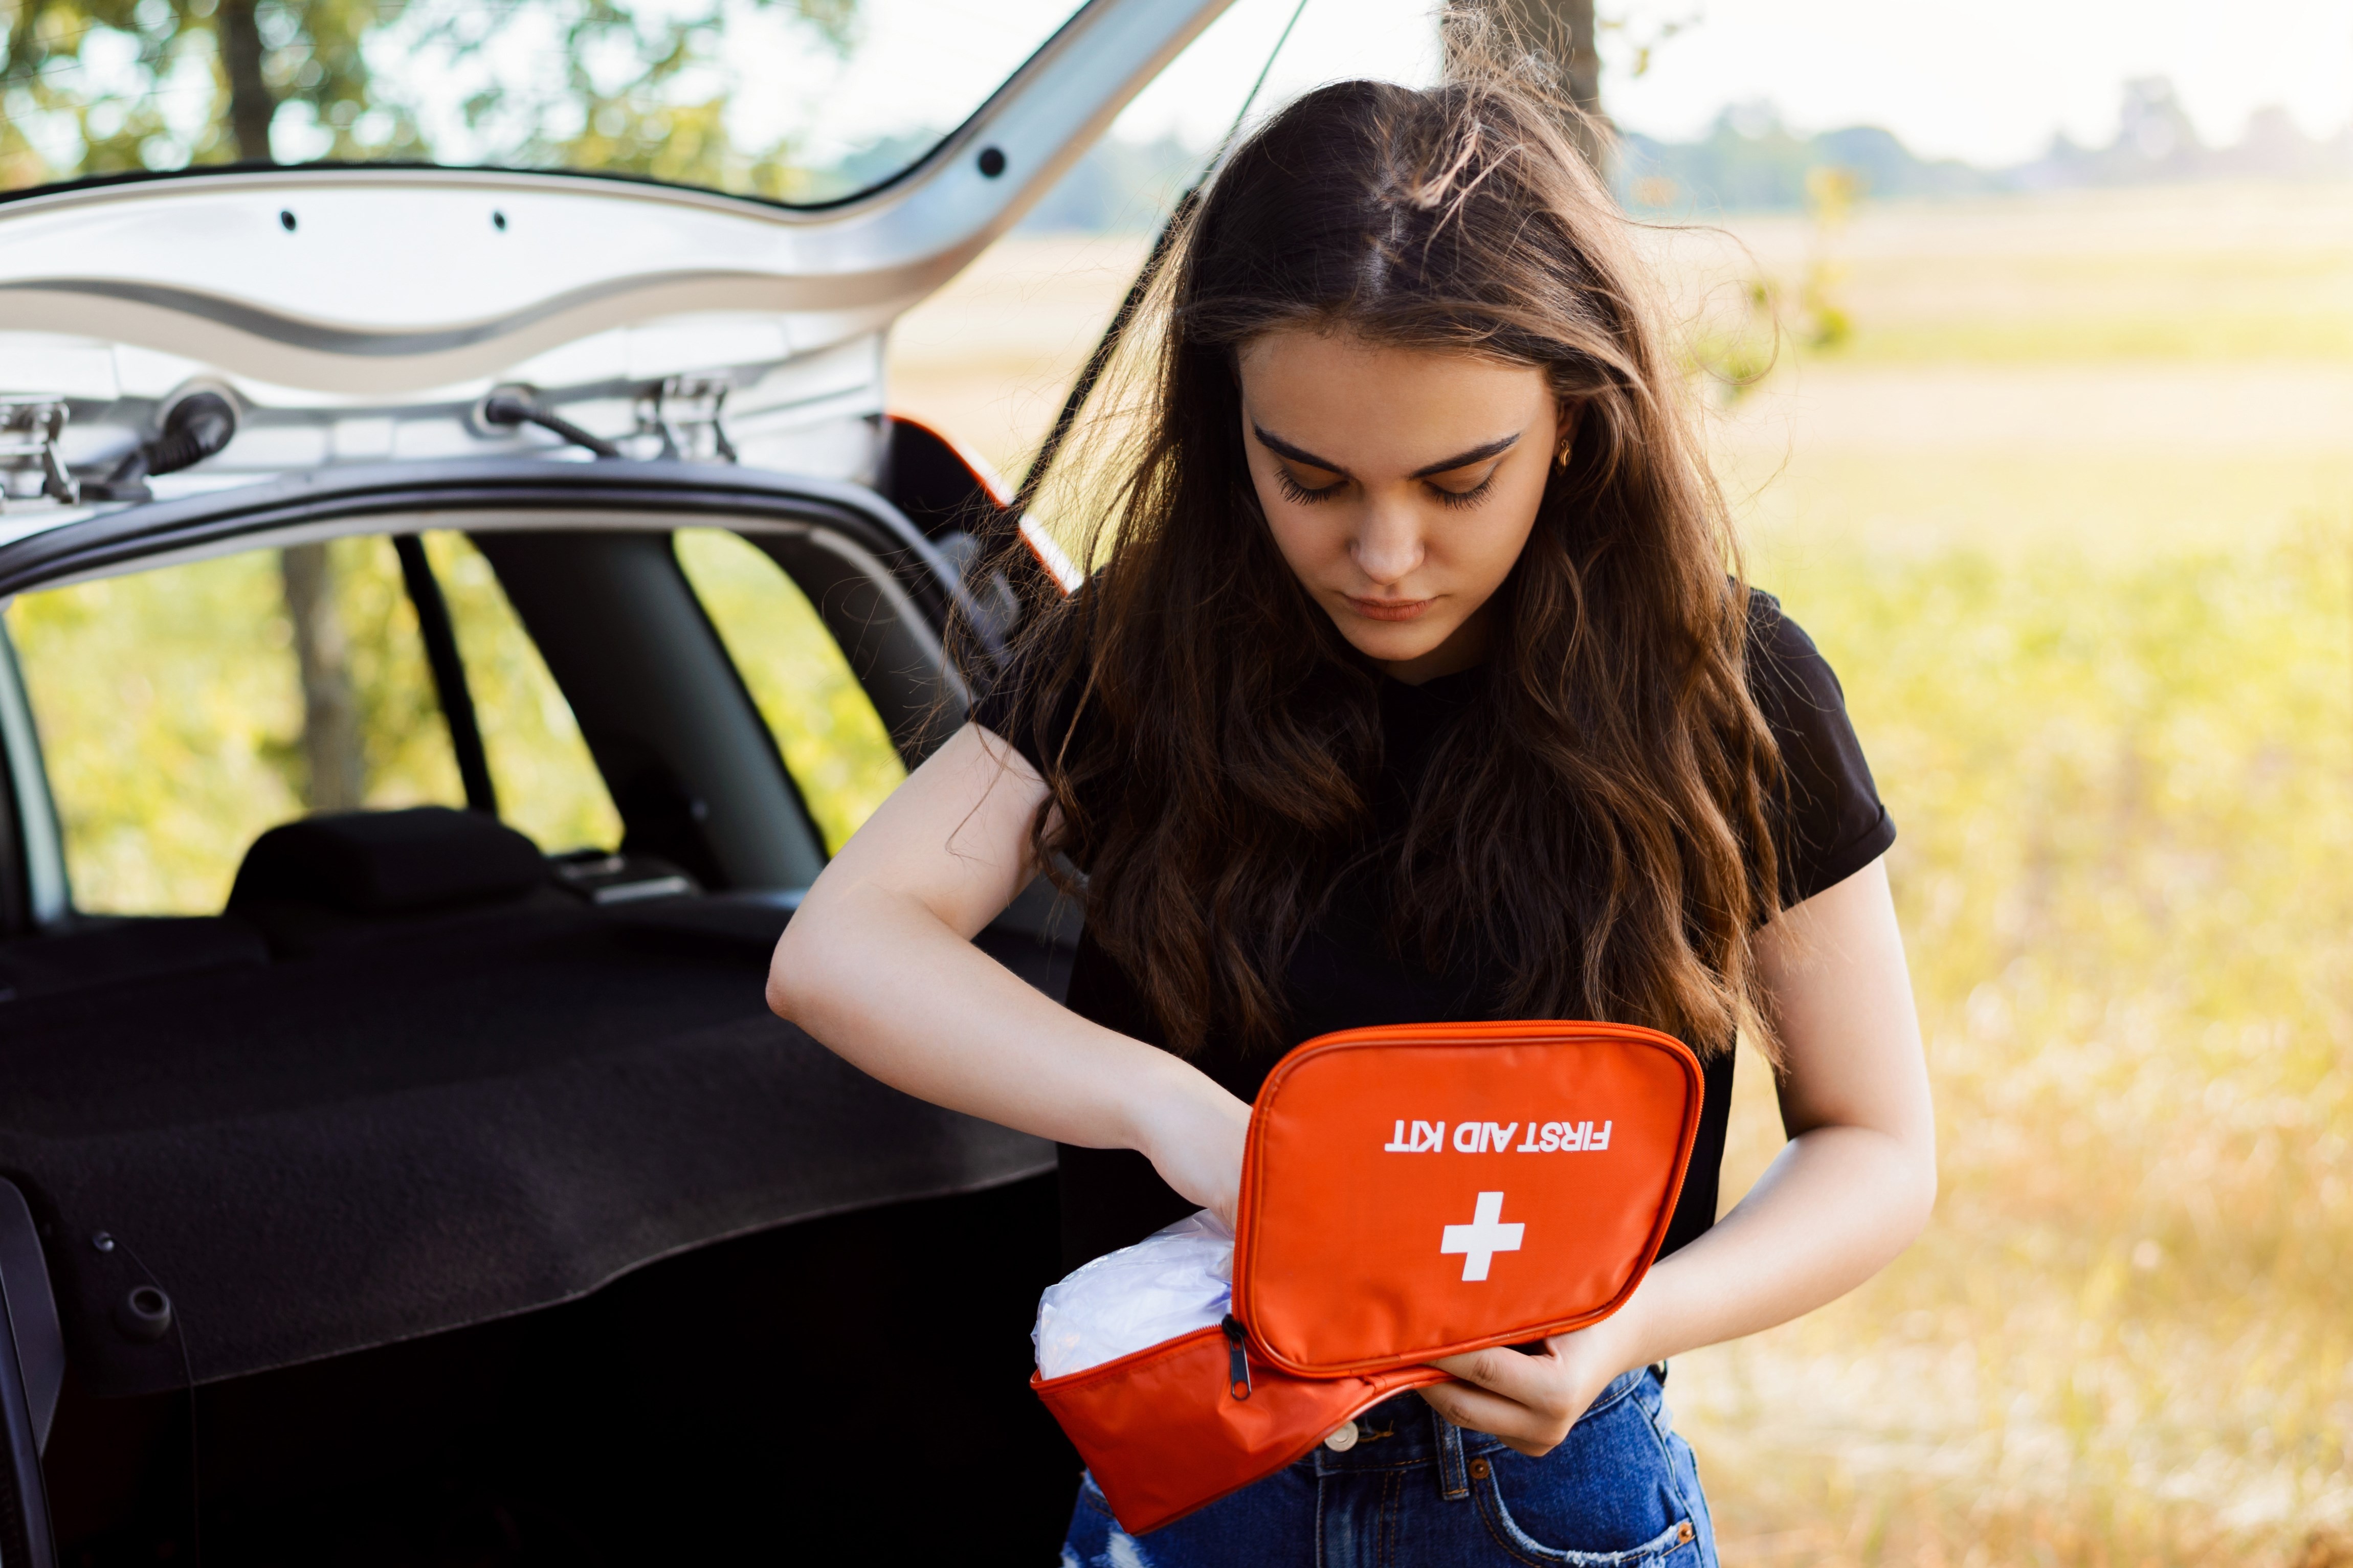 RV First Aid Kit
16. Documentation Update
After dewinterizing your RV battery, water system, propane, and engine, the final step is ensuring your paperwork is in order. Check that your RV registration is up-to-date, as well as your RV insurance and emissions sticker. While insurance may not be required for towable RVs, it’s a smart investment to protect your camper in case of an accident. Store all documentation in an accessible place in your RV for easy access.
17. RV Spring Cleaning Tips
In addition to dewinterizing, spring cleaning will make your RV ready for adventure:
- Exterior Wash: Hose down and wash the exterior, starting from the top down, using a cleaner that won’t harm your RV paneling.
- Check for Critters: Inspect for bugs, spiders, or mice in nooks and crannies.
- Fan and AC Cleaning: Clean fan blades and screens with soapy water. Disassemble fans for a thorough clean.
- Window Cleaning: Remove and clean window screens with soapy water and polish windows with glass cleaner.
- Linens Refresh: Replace linens removed for storage and change bedding, pillows, blankets, towels, and washcloths.
- Vacuuming: Vacuum floors and cabinets to remove settled dust.
By following these RV spring cleaning tips, your RV will be ready for travel in no time!
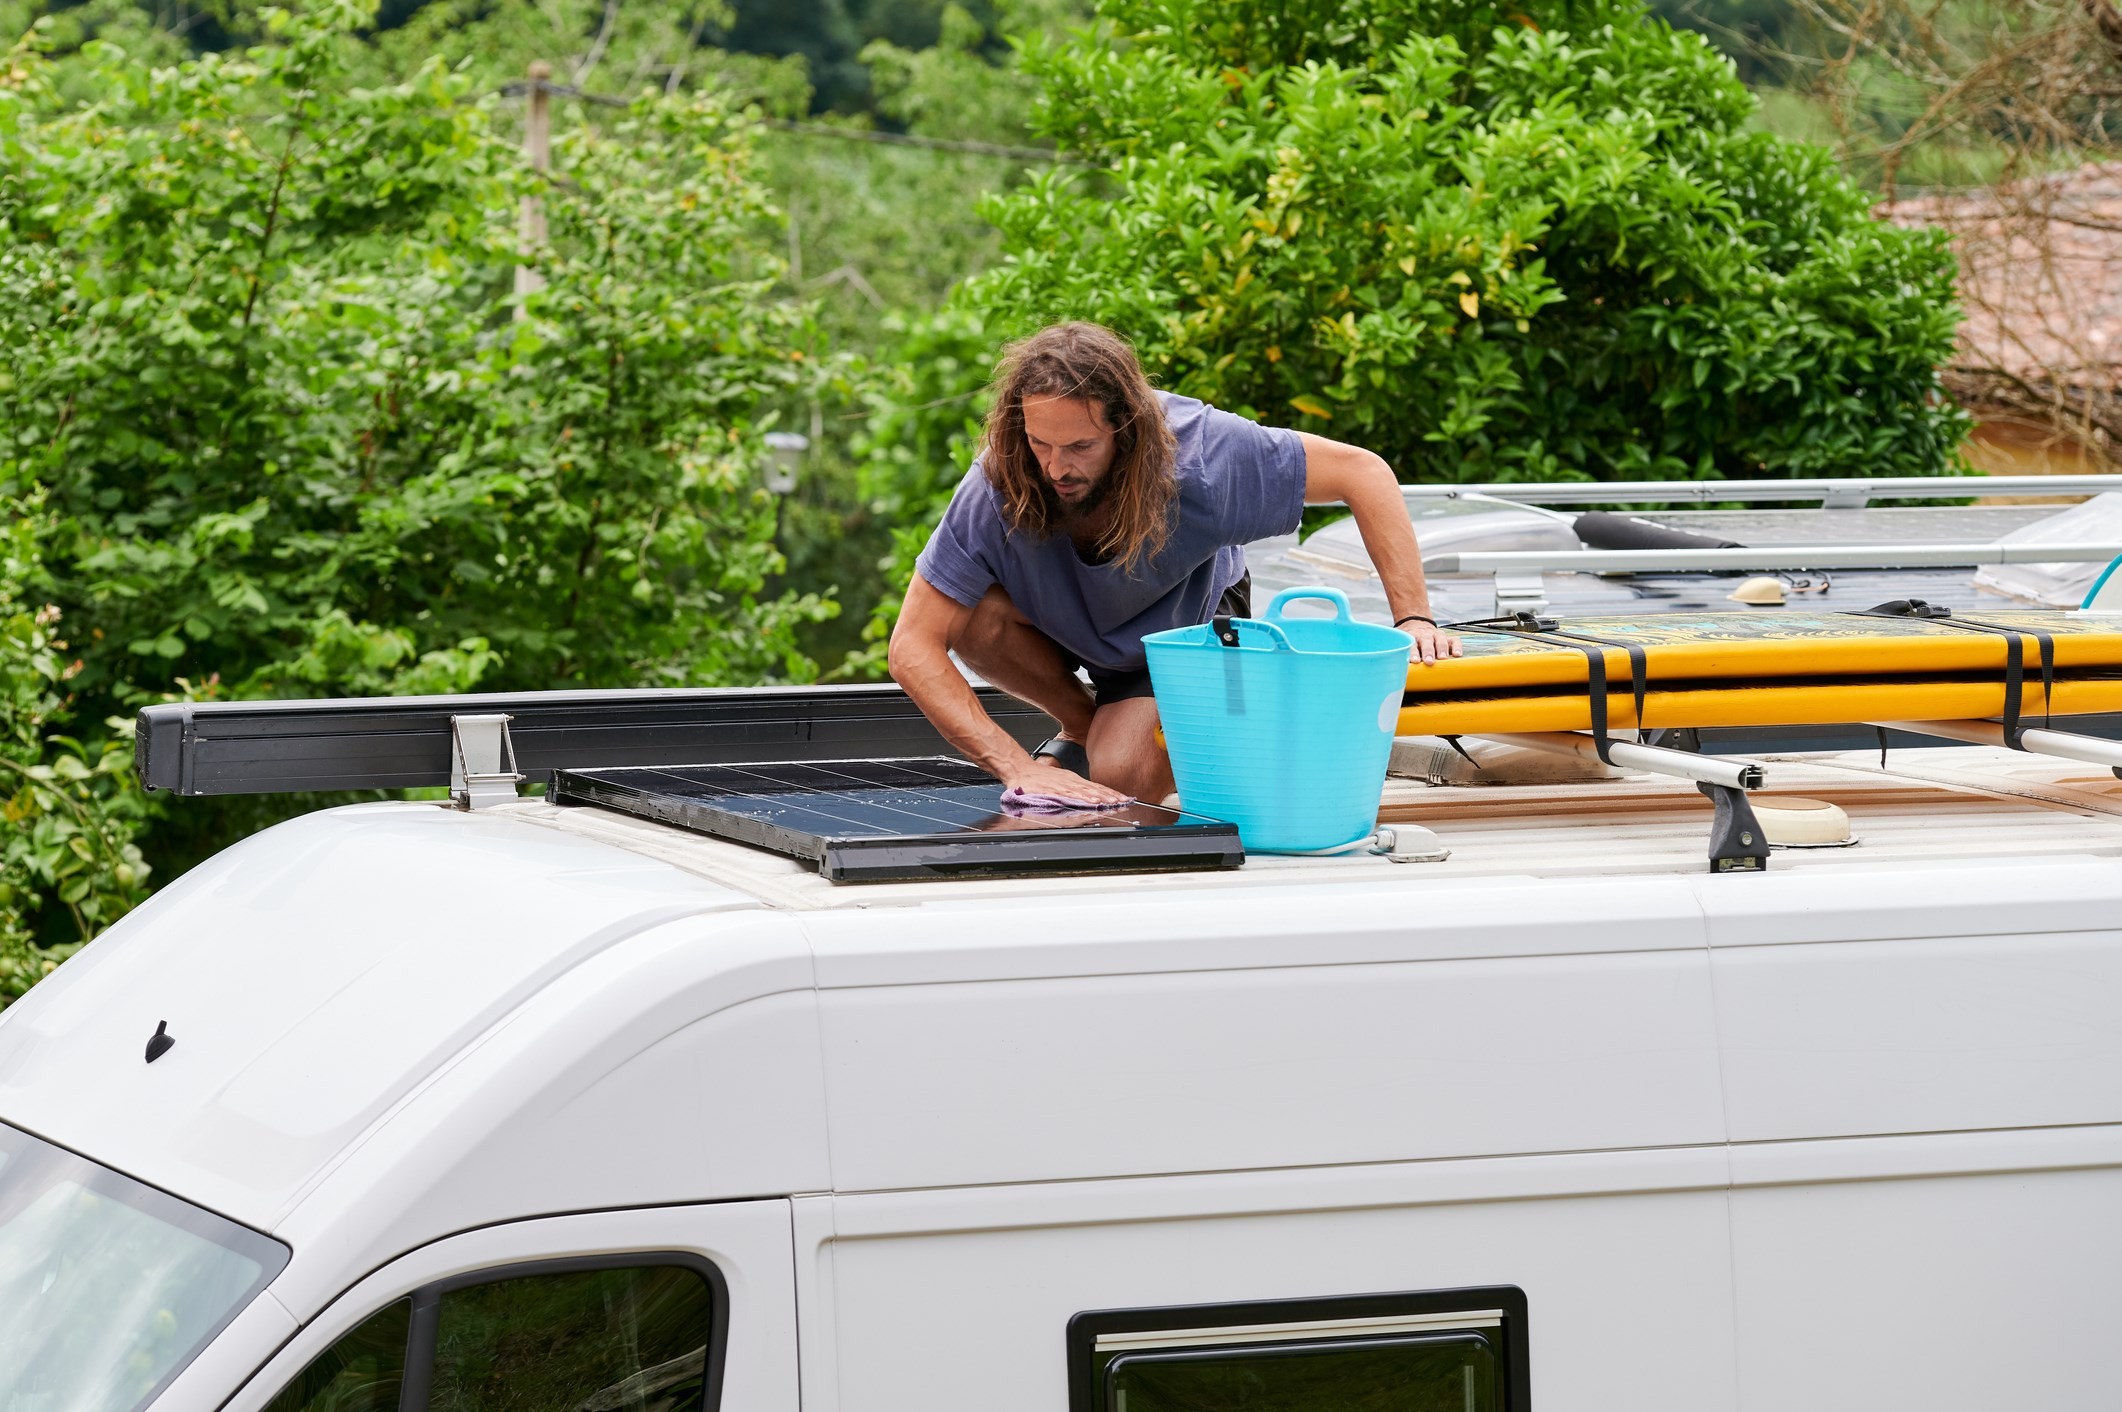 Man Washing RV Roof
18. Benefits of Choosing TRAVELS.EDU.VN for Your Napa Valley RV Adventure
Planning a trip to Napa Valley? Let TRAVELS.EDU.VN handle the details. Here’s why choosing us makes your trip exceptional:
- Customized Tours: We tailor tours to your interests, whether you’re a wine connoisseur, a foodie, or an outdoor enthusiast.
- Exclusive Access: Gain access to private tastings, vineyard tours, and unique experiences not available to the general public.
- Luxury Accommodations: Enjoy stays in premium RV resorts and campgrounds with top-notch amenities.
- Hassle-Free Planning: We manage all logistics, from RV rentals to campsite reservations, so you can relax and enjoy your vacation.
- Expert Guidance: Our knowledgeable staff provide insider tips and recommendations to enhance your Napa Valley experience.
Featured Napa Valley RV Packages:
| Package Name | Duration | Highlights | Price (Starting From) |
|---|---|---|---|
| Napa Wine & Dine | 3 Days | Private wine tastings, gourmet dining experiences, vineyard tours | $799 |
| Napa Valley Explorer | 5 Days | Hot air balloon ride, biking through vineyards, exploring local wineries | $1299 |
| Napa Family Adventure | 4 Days | Family-friendly wineries, outdoor activities, comfortable RV campsite | $999 |
19. Frequently Asked Questions (FAQ) About Dewinterizing a Travel Trailer
-
How long does it take to dewinterize a travel trailer?
- Dewinterizing can take anywhere from 2 to 4 hours, depending on your experience and the complexity of your RV’s systems.
-
Can I skip sanitizing the water system?
- No, sanitizing is crucial to remove bacteria or mold that may have grown during storage, ensuring safe drinking water.
-
What type of antifreeze should I use for winterizing?
- Use only non-toxic RV antifreeze, specifically designed for potable water systems.
-
How often should I check my RV tires?
- Check tire pressure before each trip and inspect for wear and damage regularly.
-
Is it necessary to change all the filters every spring?
- Yes, changing air and water filters ensures efficient operation and clean air and water throughout the season.
-
What do I do if I find a propane leak?
- Turn off the propane tank immediately and contact a certified RV technician for inspection and repair.
-
How do I know if my RV battery is bad?
- If your battery consistently fails to hold a charge or shows signs of damage, it may need to be replaced.
-
What is the best way to clean my RV’s exterior?
- Use a specialized RV cleaner and a soft brush, working from top to bottom to avoid streaks.
-
Should I hire a professional to dewinterize my RV?
- If you are not comfortable with any of the steps or encounter issues, hiring a professional RV technician is recommended.
-
How can TRAVELS.EDU.VN enhance my Napa Valley RV trip?
- TRAVELS.EDU.VN offers customized tours, exclusive access to wineries, luxury accommodations, and hassle-free planning to make your trip unforgettable.
20. Contact TRAVELS.EDU.VN for Expert RV Services
Ready to experience the best of Napa Valley in your dewinterized travel trailer? Contact TRAVELS.EDU.VN for expert advice and personalized travel planning:
- Address: 123 Main St, Napa, CA 94559, United States
- WhatsApp: +1 (707) 257-5400
- Website: travels.edu.vn
Let us help you create unforgettable memories on your next RV adventure. Contact us today for a consultation and start planning your dream trip to Napa Valley. Don’t wait, your perfect Napa Valley RV adventure is just a call away.