Introduction
How To Stop Bass From Traveling Through Walls is a common concern for home theater enthusiasts and apartment dwellers alike. Unwanted bass vibrations can disrupt neighbors and family members. TRAVELS.EDU.VN understands the importance of enjoying your audio system without causing disturbance. With strategic soundproofing techniques and smart acoustic solutions, you can drastically reduce bass transmission. This guide provides actionable steps, leveraging acoustic isolation and damping strategies to mitigate sound transfer and enhance your listening environment.
1. Understanding Bass Frequencies and Sound Transmission
Bass frequencies, typically ranging from 20Hz to 250Hz, are notoriously difficult to contain because of their long wavelengths and ability to penetrate solid materials. When you play music or watch a movie with deep bass, the sound waves cause vibrations in the walls, floor, and ceiling. These vibrations then travel through the building structure and radiate into adjacent spaces. Understanding this process is essential for implementing effective soundproofing measures. According to the Acoustical Society of America, controlling low-frequency noise requires significant mass and damping.
1.1. The Physics of Bass and Walls
Bass frequencies have long wavelengths. These can easily pass through common building materials like drywall and wood. These materials vibrate when exposed to such frequencies, effectively turning walls into sound radiators. This is why standard insulation is often ineffective against low-frequency sound.
1.2. How Sound Travels Through Structures
Sound travels through structures via direct and flanking paths. Direct paths involve sound passing directly through walls and ceilings. Flanking paths include sound traveling through connected structural elements like studs and joists. Identifying and addressing both types of paths is crucial for successful soundproofing.
1.3. Identifying Key Problem Areas
Pinpoint the specific areas where bass is leaking to prioritize soundproofing efforts. Common culprits include shared walls, floors, and ceilings, as well as doors and windows. Conduct sound tests to determine where the bass is most audible in adjacent rooms.
2. Soundproofing Techniques: Walls, Floors, and Ceilings
Soundproofing involves reducing the transmission of sound through walls, floors, and ceilings. Effective strategies include adding mass, damping vibrations, and decoupling structures. These techniques create barriers that minimize the passage of sound waves. TRAVELS.EDU.VN recommends a multi-layered approach for optimal results.
2.1. Adding Mass to Walls
Increasing the mass of walls is a fundamental soundproofing technique. Adding layers of drywall or using dense materials like mass-loaded vinyl (MLV) can significantly reduce sound transmission.
2.1.1. Installing Additional Drywall Layers
Adding one or two layers of 5/8-inch drywall to existing walls can notably improve sound isolation. Using a viscoelastic damping compound like Green Glue between the layers further enhances performance by absorbing vibrations. According to a study by the National Research Council of Canada, adding a layer of drywall with damping compound can improve sound transmission loss by up to 10 decibels.
2.1.2. Using Mass-Loaded Vinyl (MLV)
MLV is a dense, flexible material that acts as a sound barrier. It is typically installed between layers of drywall or attached directly to studs. MLV’s density helps block sound waves, making it an effective soundproofing solution. The cost of MLV ranges from $3 to $5 per square foot, depending on thickness and brand.
2.2. Damping Vibrations
Damping involves reducing the vibrations that cause sound transmission. Viscoelastic damping compounds and resilient channels are effective damping solutions.
2.2.1. Applying Viscoelastic Damping Compounds
Viscoelastic damping compounds, such as Green Glue, convert sound energy into heat through friction. They are applied between layers of drywall or other building materials. Green Glue is a popular choice, costing around $15 to $20 per tube. It is easily applied with a standard caulk gun.
2.2.2. Using Resilient Channels
Resilient channels are metal strips that decouple drywall from wall studs, reducing vibration transmission. They are installed horizontally on the studs, and the drywall is then screwed into the channels. This creates a floating wall that minimizes sound transfer. Resilient channels cost approximately $2 to $3 per linear foot.
2.3. Decoupling Structures
Decoupling involves separating structural elements to prevent sound from traveling through them. This can be achieved using staggered studs, double walls, or floating floors.
2.3.1. Constructing Staggered Stud Walls
Staggered stud walls consist of two sets of studs that are offset from each other, preventing direct contact between the drywall layers on either side. This reduces sound transmission by breaking the vibration path. Constructing a staggered stud wall adds about 4 to 6 inches to the wall thickness.
2.3.2. Building Double Walls
A double wall consists of two separate walls with an air gap between them. This air gap acts as a buffer, significantly reducing sound transmission. The wider the air gap, the better the sound isolation. A double wall can improve sound transmission loss by up to 20 decibels compared to a standard wall.
2.3.3. Installing Floating Floors
Floating floors are decoupled from the subfloor using resilient underlayments. This reduces impact noise and vibration transmission. Common underlayment materials include rubber, cork, and foam. The cost of a floating floor system ranges from $5 to $15 per square foot.
2.4. Soundproofing Ceilings
Ceilings are a significant pathway for sound transmission, especially in multi-story buildings. Soundproofing ceilings involves similar techniques as walls, including adding mass, damping, and decoupling.
2.4.1. Adding Mass to Ceilings
Adding layers of drywall to the ceiling, along with a damping compound, can improve sound isolation. Consider using thicker drywall or MLV for enhanced performance.
2.4.2. Decoupling Ceilings with Resilient Channels
Installing resilient channels on the ceiling joists before attaching drywall can significantly reduce sound transmission. This creates a decoupled ceiling that minimizes vibration transfer.
2.4.3. Using Acoustic Drop Ceilings
Acoustic drop ceilings consist of sound-absorbing tiles suspended in a grid. These tiles help absorb sound within the room and reduce sound transmission to the space above. Acoustic drop ceilings cost approximately $3 to $7 per square foot.
3. Addressing Doors and Windows
Doors and windows are common weak points in soundproofing. Upgrading doors and windows or implementing soundproofing treatments can significantly reduce sound leakage. TRAVELS.EDU.VN can guide you in selecting the right solutions for your needs.
3.1. Upgrading Doors
Solid-core doors are much better at blocking sound than hollow-core doors. Consider replacing hollow-core doors with solid-core doors or adding mass to existing doors.
3.1.1. Replacing Hollow-Core Doors with Solid-Core Doors
Solid-core doors are denser and heavier, providing better sound isolation. They typically cost between $100 and $500, depending on the material and finish.
3.1.2. Adding Mass to Existing Doors
Adding a layer of MLV or a soundproofing blanket to an existing door can improve its sound isolation properties. Secure the material with adhesive or mechanical fasteners.
3.2. Sealing Gaps Around Doors
Gaps around doors allow sound to leak through. Sealing these gaps with weatherstripping and door sweeps can significantly reduce sound transmission.
3.2.1. Installing Weatherstripping
Weatherstripping is applied around the door frame to create an airtight seal. It is available in various materials, including foam, rubber, and silicone. Weatherstripping costs approximately $5 to $15 per door.
3.2.2. Using Door Sweeps
Door sweeps are installed at the bottom of the door to seal the gap between the door and the floor. They are available in different styles, including brush, rubber, and drop-down sweeps. Door sweeps cost approximately $10 to $30 per door.
3.3. Soundproofing Windows
Windows are another common weak point in soundproofing. Upgrading to soundproof windows or adding soundproofing treatments can significantly reduce sound leakage.
3.3.1. Installing Soundproof Windows
Soundproof windows are designed with multiple layers of glass and airtight seals to block sound transmission. They can reduce noise by up to 95%. Soundproof windows cost approximately $500 to $1500 per window.
3.3.2. Using Soundproof Curtains
Soundproof curtains are made from dense, sound-absorbing materials. They can help reduce sound reflections within the room and block sound transmission through the windows. Soundproof curtains cost approximately $50 to $200 per panel.
3.3.3. Adding Window Inserts
Window inserts are panels that fit snugly inside the existing window frame, creating an additional layer of soundproofing. They are a more affordable alternative to replacing the entire window. Window inserts cost approximately $200 to $500 per window.
4. Acoustic Treatments for Bass Absorption
Acoustic treatments are designed to absorb sound energy within a room, reducing reflections and reverberation. Bass traps are specifically designed to absorb low-frequency sound. TRAVELS.EDU.VN offers expert advice on selecting and installing the right acoustic treatments for your space.
4.1. Understanding Bass Traps
Bass traps are acoustic panels designed to absorb low-frequency sound waves. They are typically placed in corners, where bass frequencies tend to accumulate.
4.2. Types of Bass Traps
There are several types of bass traps, including porous absorbers, membrane absorbers, and Helmholtz resonators.
4.2.1. Porous Absorbers
Porous absorbers are made from materials like fiberglass, mineral wool, or foam. They absorb sound energy through friction as sound waves pass through the material. Porous absorbers are most effective at absorbing mid and high frequencies, but can also absorb low frequencies when made thick enough.
4.2.2. Membrane Absorbers
Membrane absorbers consist of a thin, flexible membrane stretched over an air cavity. They absorb sound energy by vibrating at specific frequencies. Membrane absorbers are most effective at absorbing low frequencies.
4.2.3. Helmholtz Resonators
Helmholtz resonators consist of a cavity with a small opening or neck. They absorb sound energy at a specific resonant frequency. Helmholtz resonators are highly effective at absorbing targeted low frequencies.
4.3. Placement of Bass Traps
The placement of bass traps is crucial for their effectiveness. They should be placed in corners, along walls, and near the ceiling to maximize bass absorption.
4.3.1. Corner Placement
Corners are the most effective locations for bass traps because low frequencies tend to accumulate there. Place bass traps in all four corners of the room for optimal performance.
4.3.2. Wall Placement
Place bass traps along walls to absorb reflected sound waves. Space them evenly along the walls for consistent absorption.
4.3.3. Ceiling Placement
Placing bass traps near the ceiling can help absorb sound waves that reflect off the ceiling. This can improve the overall acoustics of the room.
5. Subwoofer Placement and Isolation
Subwoofer placement and isolation are critical factors in minimizing bass transmission. Experimenting with different locations and using isolation platforms can significantly reduce unwanted vibrations.
5.1. Optimal Subwoofer Placement
The placement of your subwoofer can greatly affect how bass frequencies are distributed throughout the room. Experiment with different locations to find the spot that provides the most even bass response.
5.1.1. The Subwoofer Crawl
The subwoofer crawl involves placing the subwoofer in your listening position and then crawling around the room to find the spot where the bass sounds the best. This is a simple but effective way to find the optimal subwoofer location.
5.1.2. Corner Loading
Placing the subwoofer in a corner can increase its output and improve bass response. However, it can also lead to uneven bass distribution and increased room modes.
5.1.3. Mid-Wall Placement
Placing the subwoofer along a mid-wall can provide a more balanced bass response. This location can help reduce room modes and improve overall sound quality.
5.2. Subwoofer Isolation Techniques
Isolating your subwoofer from the floor can reduce vibration transmission. Using isolation platforms or pads can significantly minimize unwanted noise.
5.2.1. Using Isolation Platforms
Isolation platforms are designed to decouple the subwoofer from the floor, reducing vibration transmission. They are typically made from dense materials like rubber or foam. SVS SoundPath Subwoofer Isolation System costs approximately $50 to $100 per platform.
5.2.2. Applying Isolation Pads
Isolation pads are placed under the subwoofer feet to dampen vibrations. They are a more affordable alternative to isolation platforms. Auralex Acoustics GRAMMA v2 Isolation Riser costs approximately $30 to $50 per pad.
6. Sound Masking Techniques
Sound masking involves introducing ambient sound to cover up unwanted noise. This can be an effective way to minimize the perception of bass frequencies.
6.1. Using White Noise Machines
White noise machines generate a constant, uniform sound that can mask unwanted noise. They are available in various styles and price ranges. Marpac Dohm Classic White Noise Machine costs approximately $50 to $100.
6.2. Playing Ambient Sounds
Playing ambient sounds, such as nature sounds or music, can help mask bass frequencies. Use a sound system or app to generate ambient sounds.
6.3. Adjusting HVAC Systems
Adjusting your HVAC system can also help mask unwanted noise. Increase the fan speed or adjust the airflow to create a constant background sound.
7. Working with Neighbors and Building Management
Communicating with your neighbors and building management can help resolve noise issues. Open communication and compromise can lead to mutually beneficial solutions.
7.1. Communicating with Neighbors
Talk to your neighbors about the noise issues and try to find a compromise. Be respectful and understanding of their concerns.
7.2. Consulting Building Management
If you live in an apartment or condo, consult with building management about noise restrictions and soundproofing options. They may have specific guidelines or recommendations.
7.3. Scheduling Listening Times
Schedule specific times for listening to music or watching movies at high volumes. This can help minimize disturbance to your neighbors.
8. DIY Soundproofing Projects
Several DIY soundproofing projects can help reduce bass transmission. These projects are often more affordable and can be tailored to your specific needs.
8.1. Creating Soundproof Blankets
Soundproof blankets are made from dense, sound-absorbing materials. They can be hung on walls or doors to reduce sound transmission.
8.1.1. Materials Needed
- Heavy-duty fabric
- Sound-absorbing material (e.g., mineral wool, fiberglass)
- Sewing machine
- Grommets
8.1.2. Construction Steps
- Cut the fabric to the desired size.
- Layer the sound-absorbing material between the fabric layers.
- Sew the edges together to create a blanket.
- Install grommets along the top edge for hanging.
8.2. Building Bass Traps
Building your own bass traps can be a cost-effective way to improve the acoustics of your room.
8.2.1. Materials Needed
- Wood frame
- Sound-absorbing material (e.g., mineral wool, fiberglass)
- Fabric covering
8.2.2. Construction Steps
- Build a wooden frame to the desired size.
- Fill the frame with sound-absorbing material.
- Cover the frame with fabric.
- Place the bass trap in the corners of the room.
8.3. Sealing Windows with Weather Stripping
Sealing windows with weather stripping can reduce sound leakage and improve sound isolation.
8.3.1. Materials Needed
- Weather stripping
- Scissors
- Adhesive
8.3.2. Installation Steps
- Measure the window frame.
- Cut the weather stripping to the appropriate length.
- Apply adhesive to the back of the weather stripping.
- Attach the weather stripping to the window frame.
9. Professional Soundproofing Services
Hiring professional soundproofing services can ensure optimal results. Professionals have the expertise and equipment to assess your specific needs and implement effective solutions. TRAVELS.EDU.VN can connect you with trusted soundproofing experts in your area.
9.1. Benefits of Hiring Professionals
- Expertise and experience
- Access to specialized equipment
- Customized solutions
- Guaranteed results
9.2. Cost of Professional Soundproofing
The cost of professional soundproofing varies depending on the scope of the project. A typical soundproofing project can range from $1,000 to $10,000 or more.
9.3. Finding Reputable Soundproofing Contractors
- Ask for referrals from friends and family.
- Check online reviews and ratings.
- Verify licenses and insurance.
- Get multiple quotes.
10. Case Studies and Success Stories
Real-life examples of successful soundproofing projects can provide inspiration and guidance. Here are a few case studies of how people have effectively reduced bass transmission.
10.1. Home Theater Soundproofing
A homeowner in Los Angeles, California, transformed their basement into a dedicated home theater. They used a combination of soundproofing techniques, including double walls, resilient channels, and acoustic treatments. The result was a soundproof theater that did not disturb the rest of the house or the neighbors.
10.2. Apartment Soundproofing
An apartment dweller in New York City was constantly disturbed by noise from the neighboring apartment. They installed soundproof curtains, sealed gaps around the doors and windows, and added mass to the walls. These measures significantly reduced noise transmission and improved their quality of life.
10.3. Music Studio Soundproofing
A musician in Austin, Texas, built a home music studio. They used soundproofing techniques, such as staggered studs, mass-loaded vinyl, and bass traps, to create a soundproof space. The studio allowed them to record music without disturbing their family or neighbors.
FAQ Section
1. What is the most effective way to stop bass from traveling through walls?
Combining multiple soundproofing techniques, such as adding mass, damping vibrations, and decoupling structures, is the most effective way to stop bass from traveling through walls.
2. How much does it cost to soundproof a room for bass?
The cost of soundproofing a room for bass varies depending on the scope of the project. A typical project can range from $500 to $10,000 or more.
3. Can I soundproof a room myself?
Yes, several DIY soundproofing projects can help reduce bass transmission. However, professional soundproofing services can ensure optimal results.
4. What are the best materials for soundproofing a wall?
The best materials for soundproofing a wall include drywall, mass-loaded vinyl (MLV), viscoelastic damping compounds, and resilient channels.
5. How do I find a reputable soundproofing contractor?
Ask for referrals, check online reviews, verify licenses and insurance, and get multiple quotes to find a reputable soundproofing contractor.
6. What is the difference between soundproofing and acoustic treatment?
Soundproofing involves reducing the transmission of sound through walls, floors, and ceilings, while acoustic treatment involves absorbing sound energy within a room to reduce reflections and reverberation.
7. How can I reduce bass noise in an apartment?
Install soundproof curtains, seal gaps around doors and windows, add mass to walls, and use sound masking techniques to reduce bass noise in an apartment.
8. What are bass traps and how do they work?
Bass traps are acoustic panels designed to absorb low-frequency sound waves. They are typically placed in corners, where bass frequencies tend to accumulate.
9. How important is subwoofer placement for reducing bass transmission?
Subwoofer placement is crucial for reducing bass transmission. Experimenting with different locations and using isolation platforms can significantly minimize unwanted vibrations.
10. Can sound masking techniques really help?
Yes, sound masking techniques can help minimize the perception of bass frequencies by introducing ambient sound to cover up unwanted noise.
Conclusion: Enjoy Your Sound System Responsibly
Stopping bass from traveling through walls requires a combination of soundproofing techniques, acoustic treatments, and responsible listening habits. By understanding the physics of sound transmission and implementing effective strategies, you can enjoy your audio system without disturbing others. TRAVELS.EDU.VN is committed to providing you with the knowledge and resources you need to create a harmonious living environment.
Ready to take the next step? Contact TRAVELS.EDU.VN today for expert advice and personalized solutions to your soundproofing needs. Whether you’re looking to create a home theater, music studio, or simply reduce noise in your apartment, our team is here to help.
Contact us at:
Address: 123 Main St, Napa, CA 94559, United States
WhatsApp: +1 (707) 257-5400
Website: TRAVELS.EDU.VN
Let travels.edu.vn help you create a soundproof space where you can enjoy your audio system without disturbing others.
 Home theater with acoustic panels
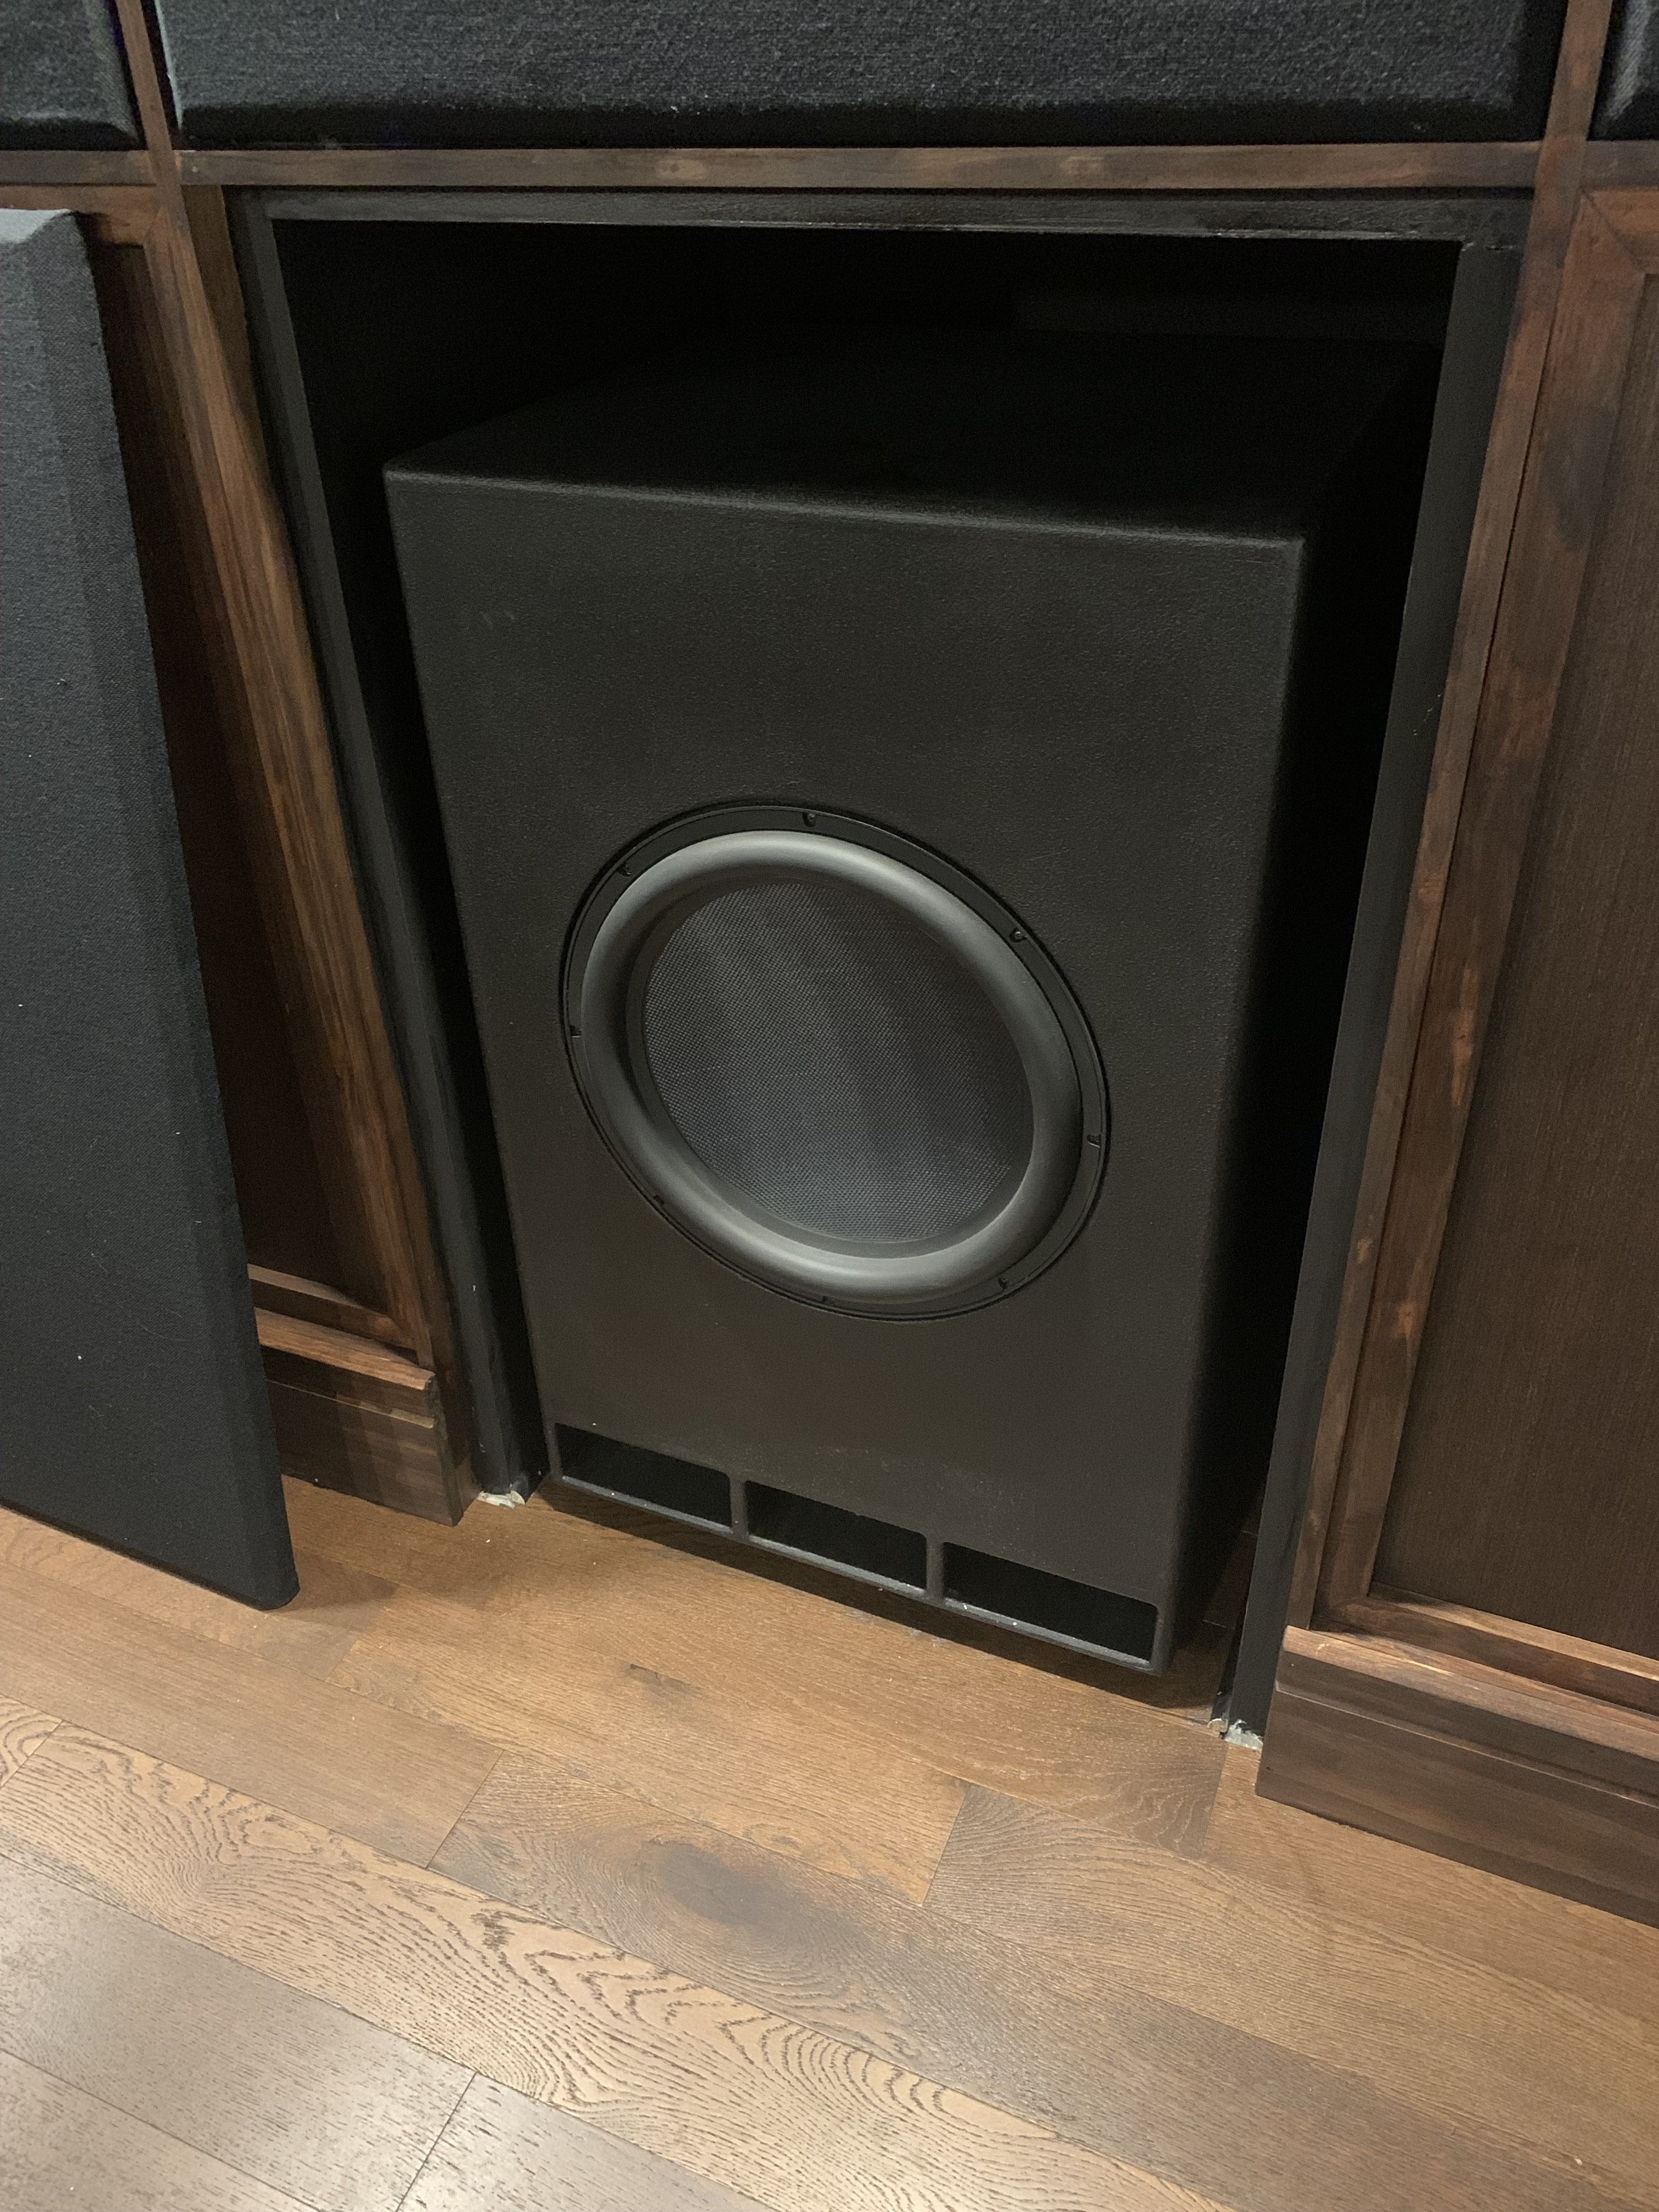
 Mini Marty Subwoofer build
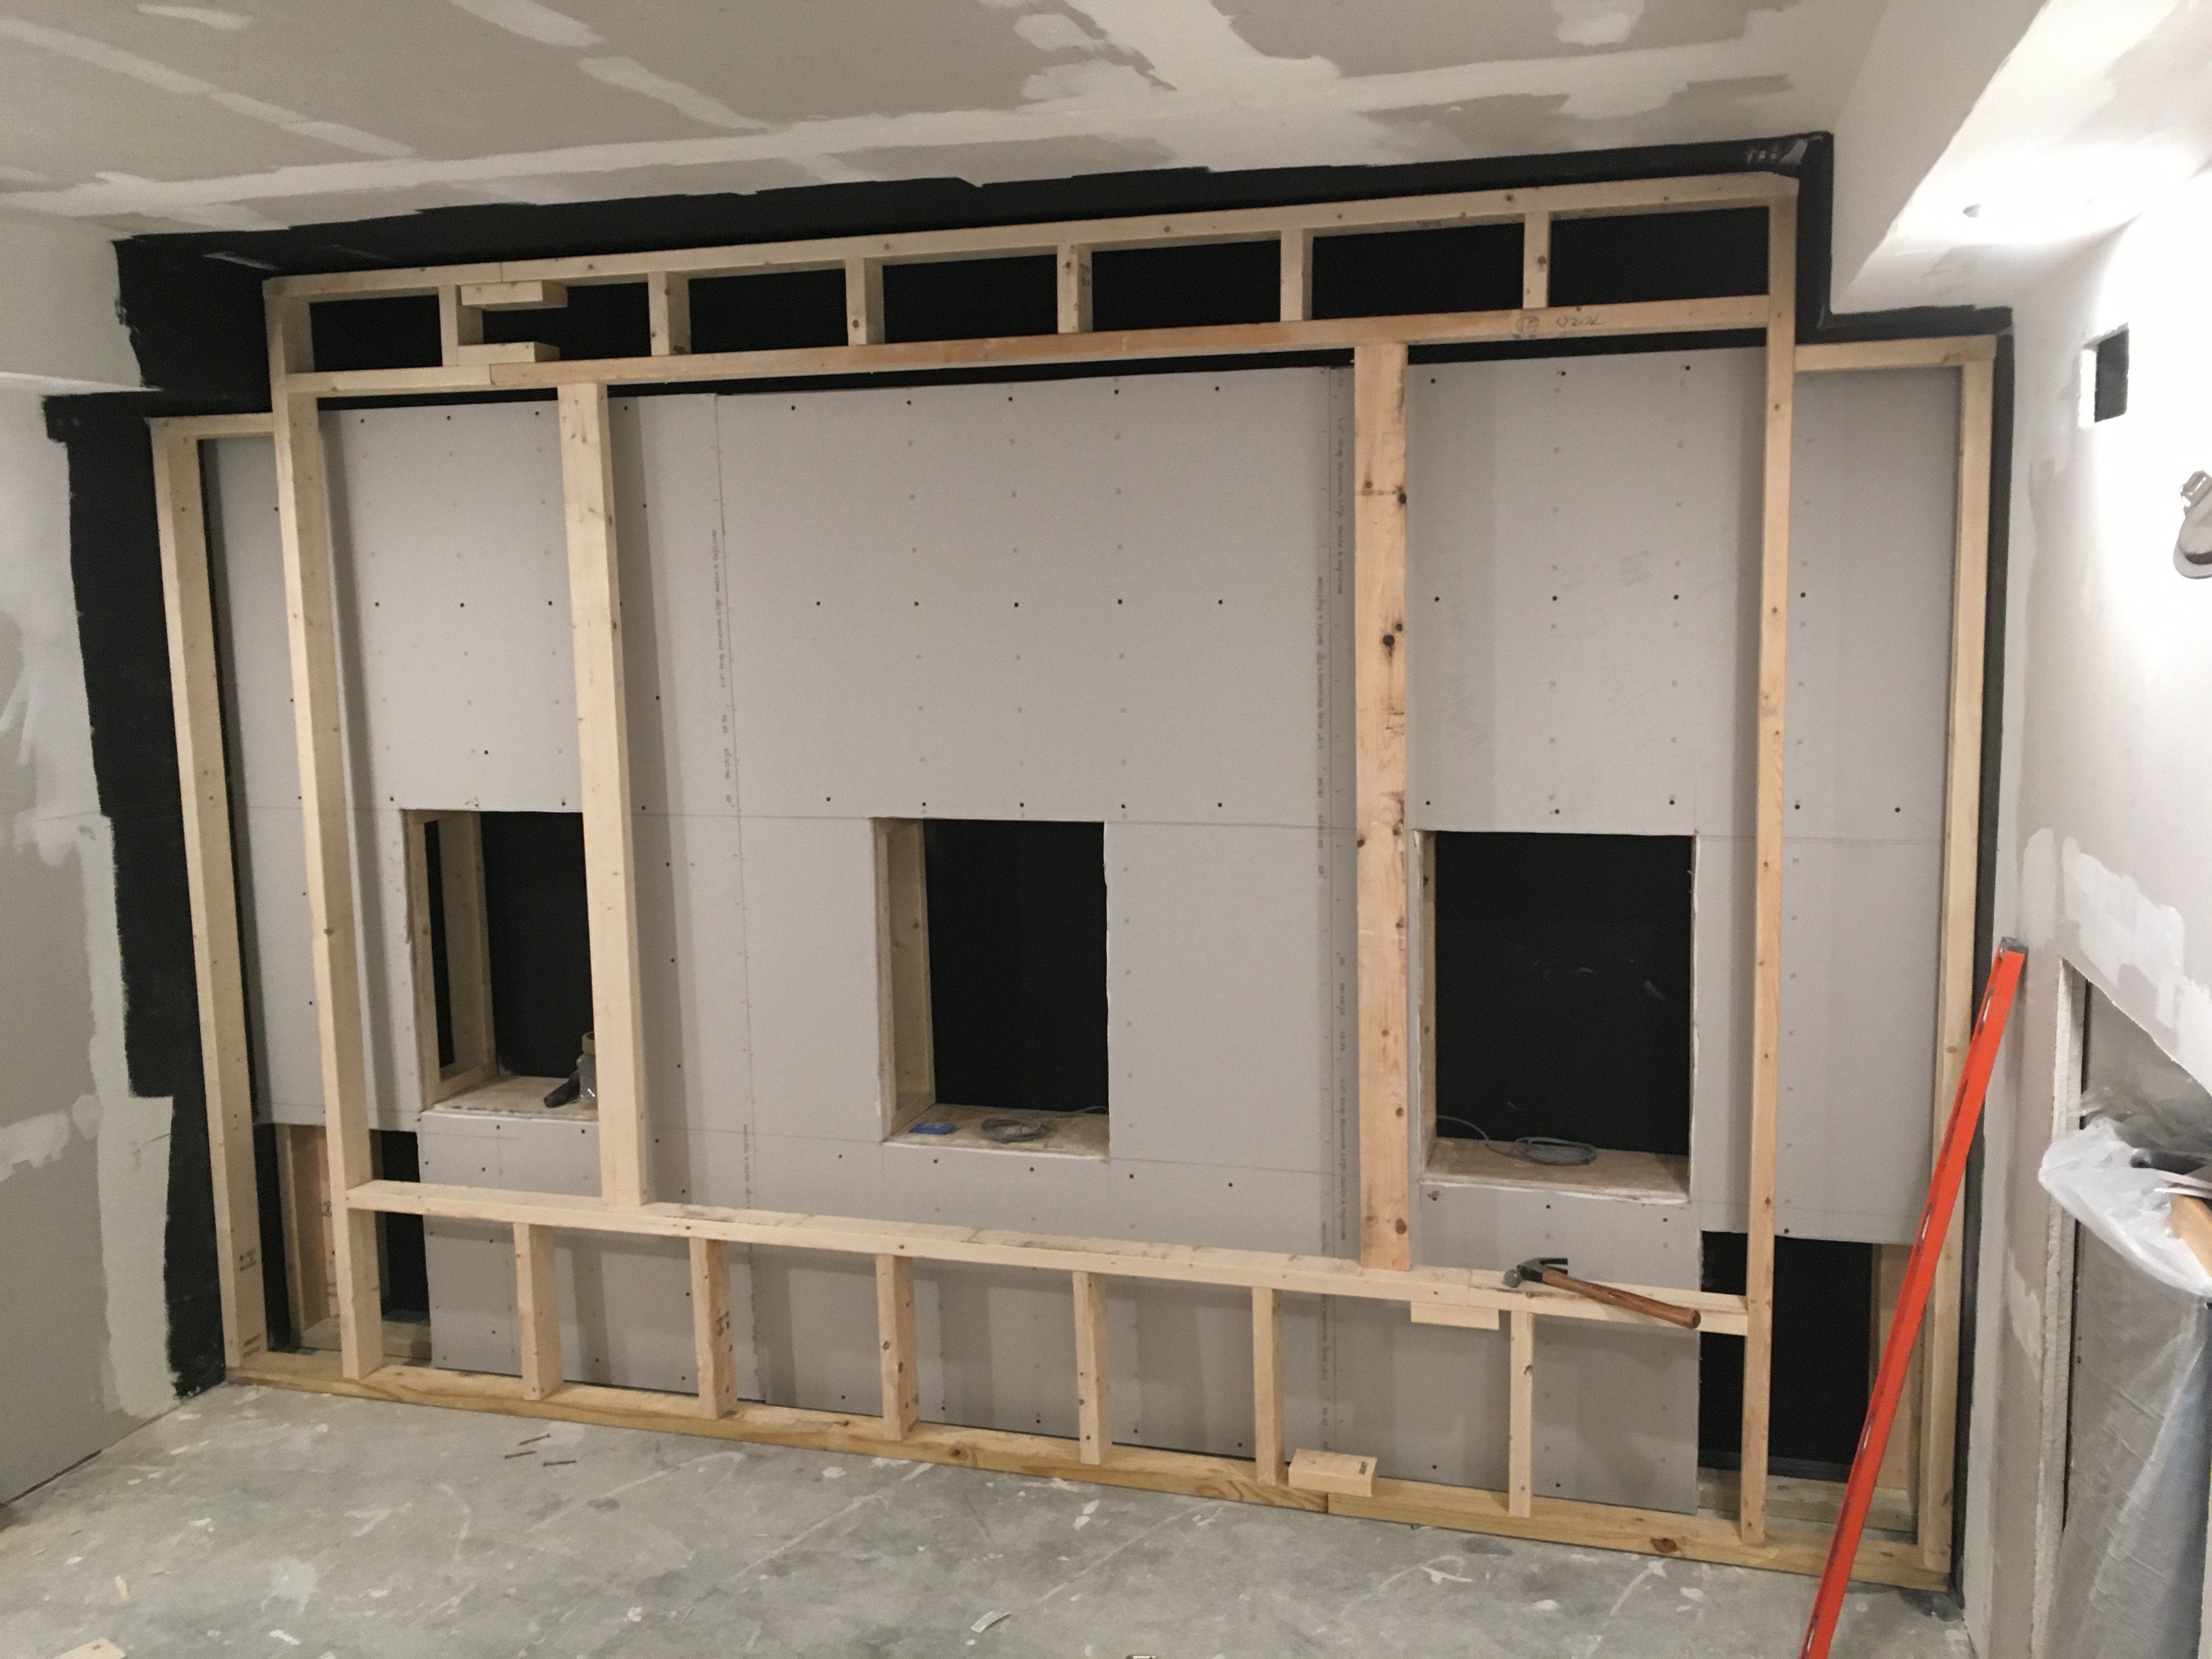
 Framing photo of home theater wall
 Home theater insulation
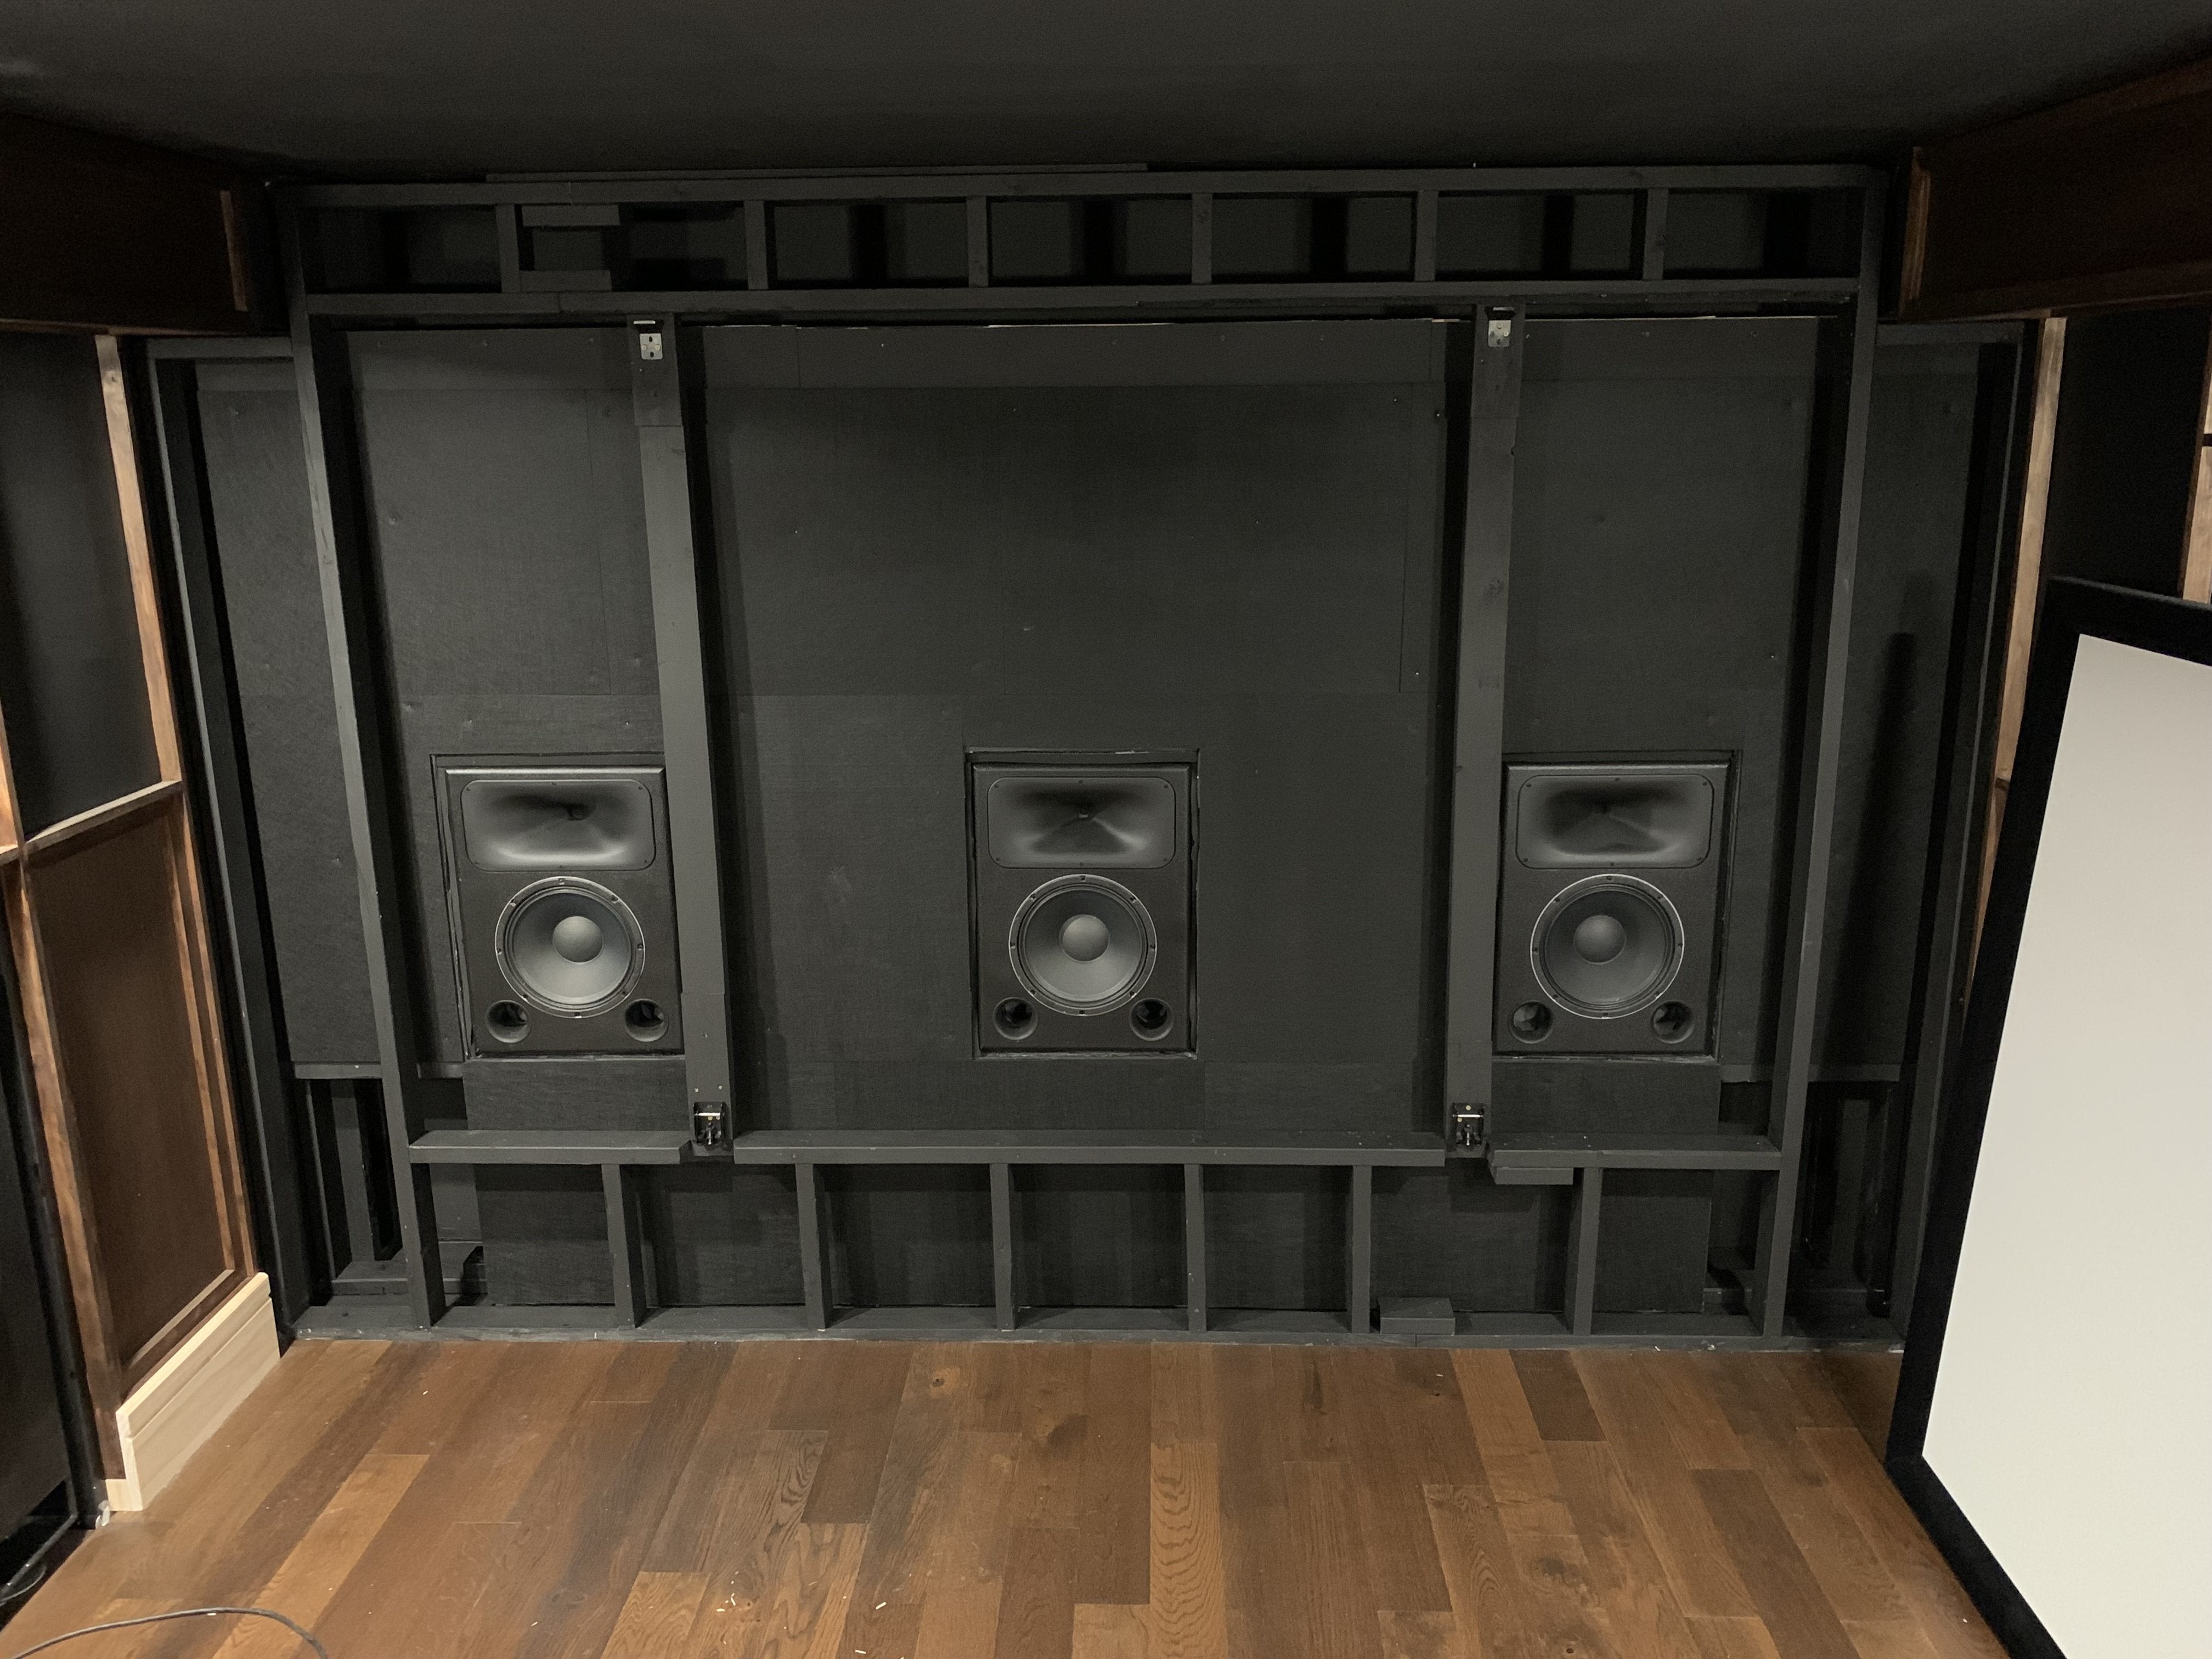 Home theater decoupled walls
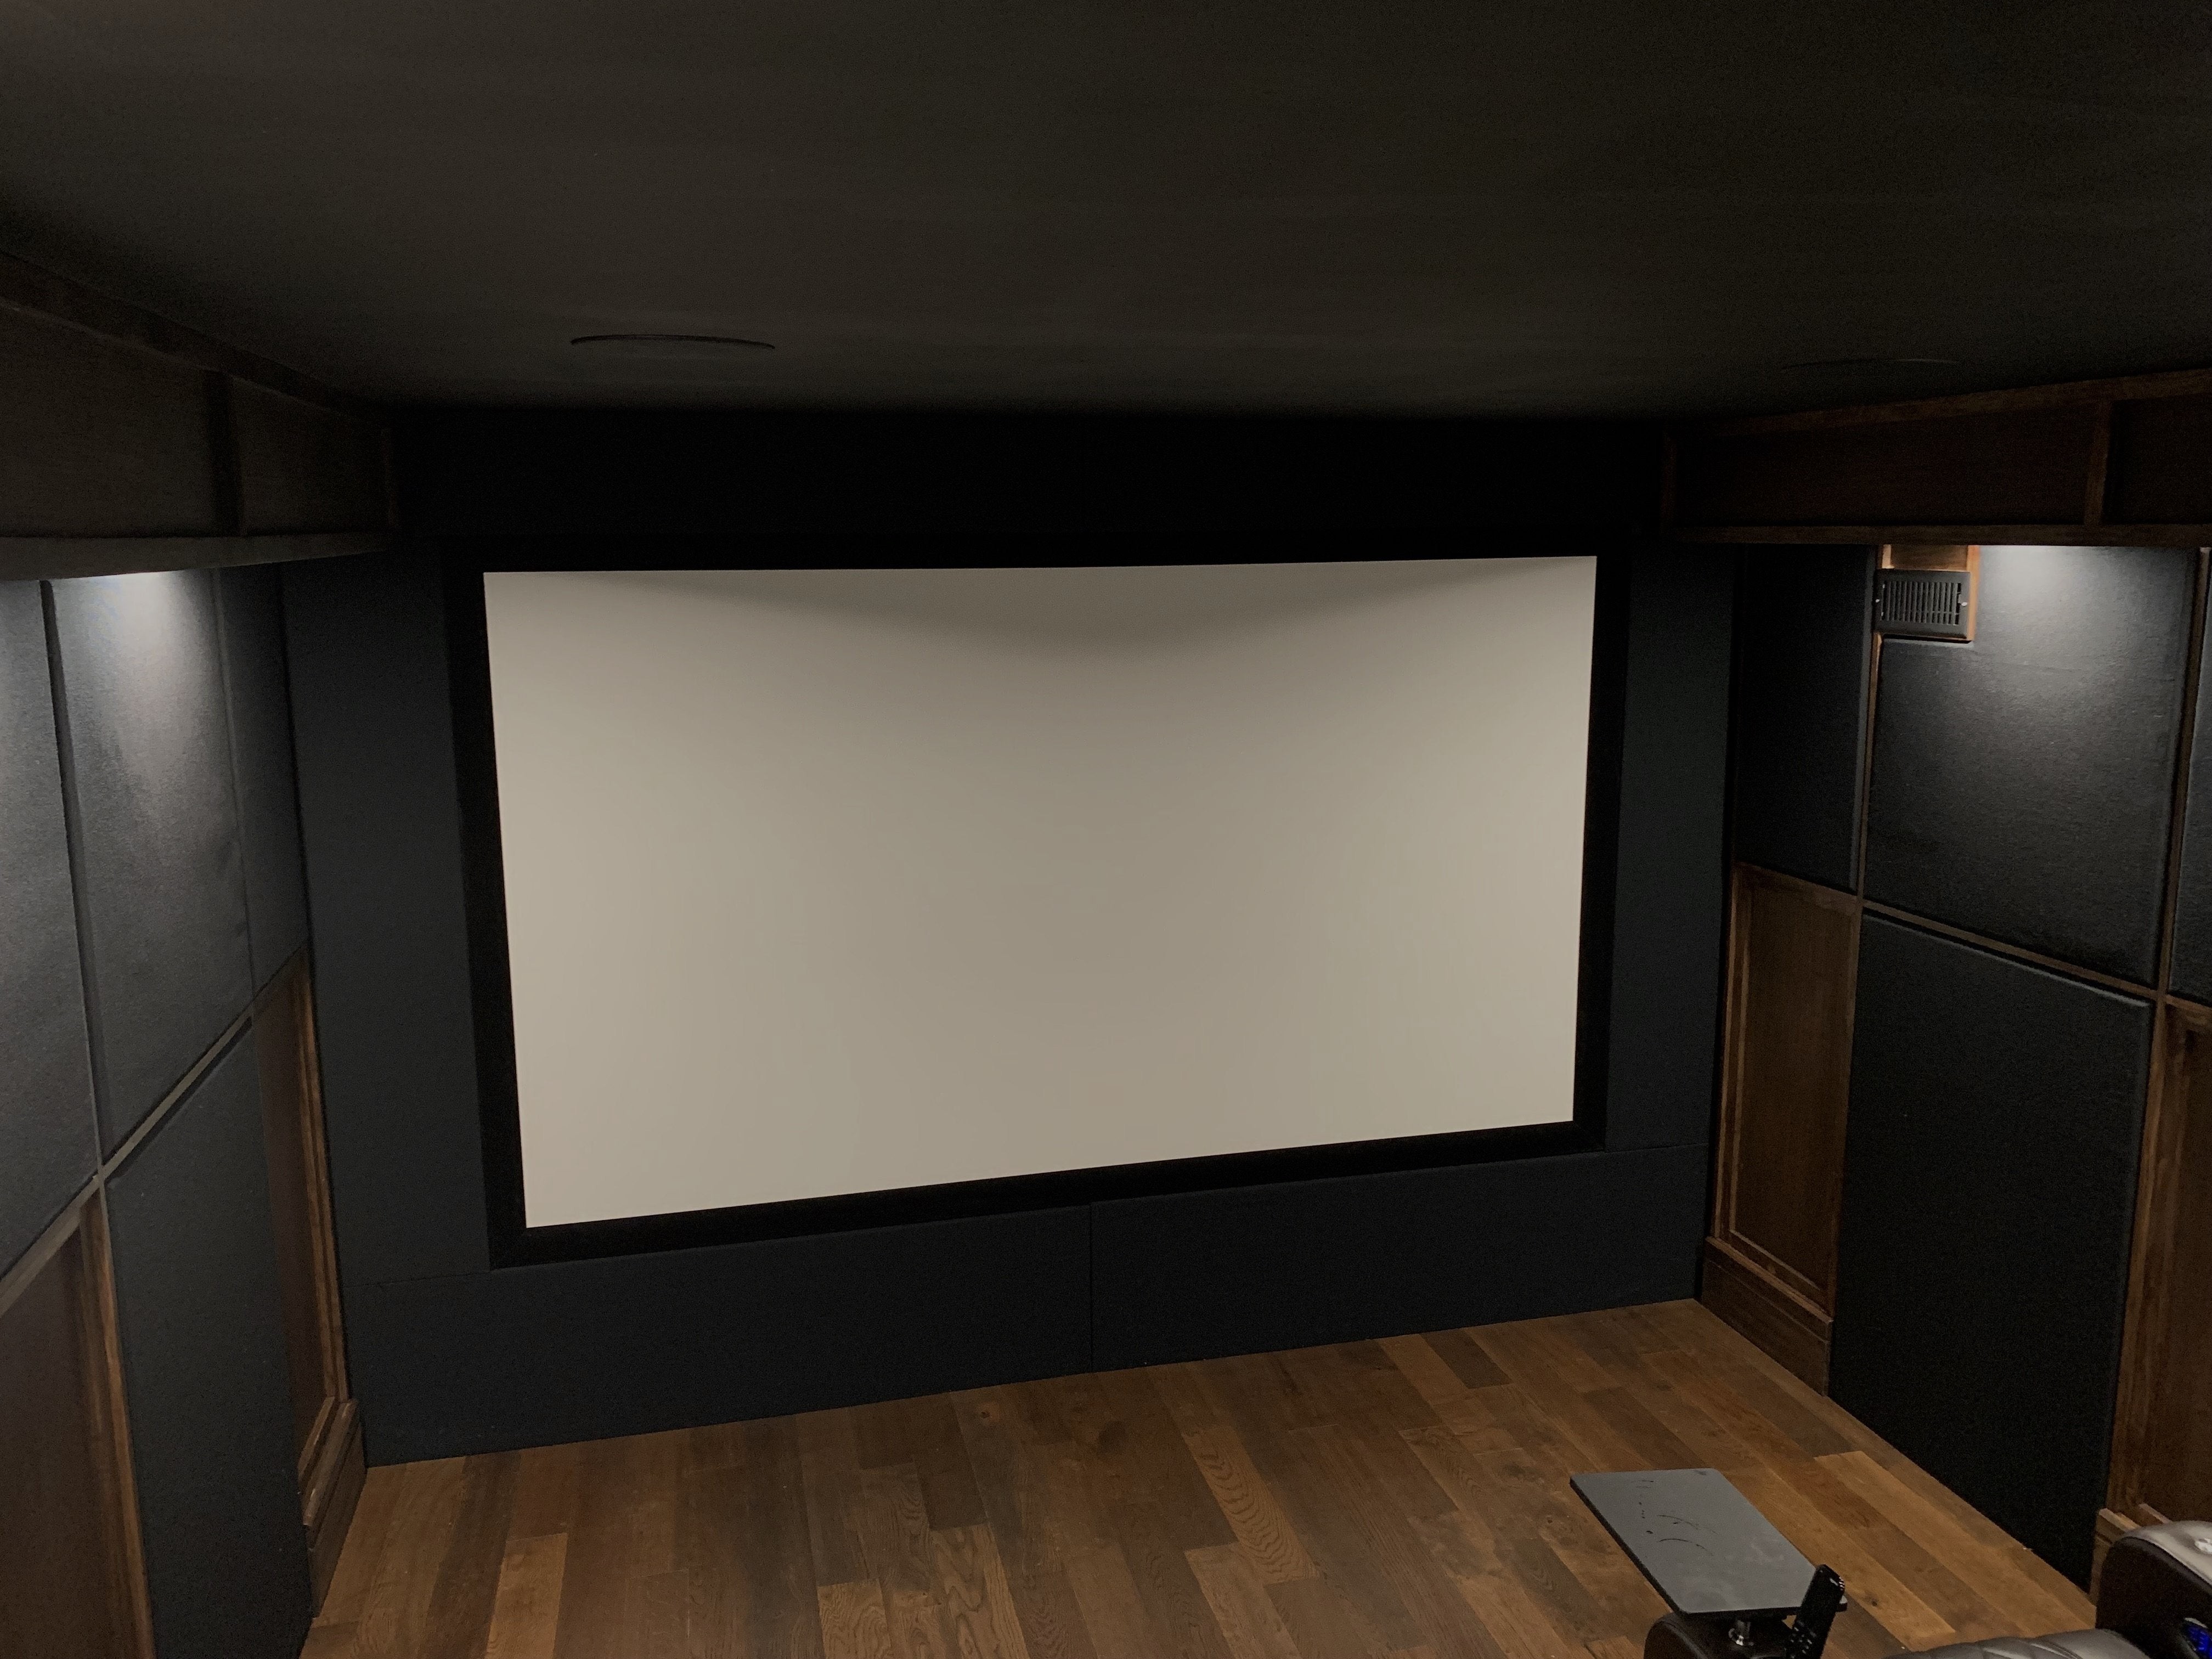 Home theater partially completed