Travel is an enriching experience, and capturing those moments through photography allows us to relive the adventure. Whether you’re using a DSLR or your smartphone, you likely return home with a wealth of Travel Images. However, managing these photos can quickly become overwhelming. As a photographer, I’ve developed systems to keep my travel images organized, ensuring they are easily accessible for editing, sharing, and enjoying for years to come. This guide will walk you through my process for effectively organizing your travel images, from capture to final presentation.
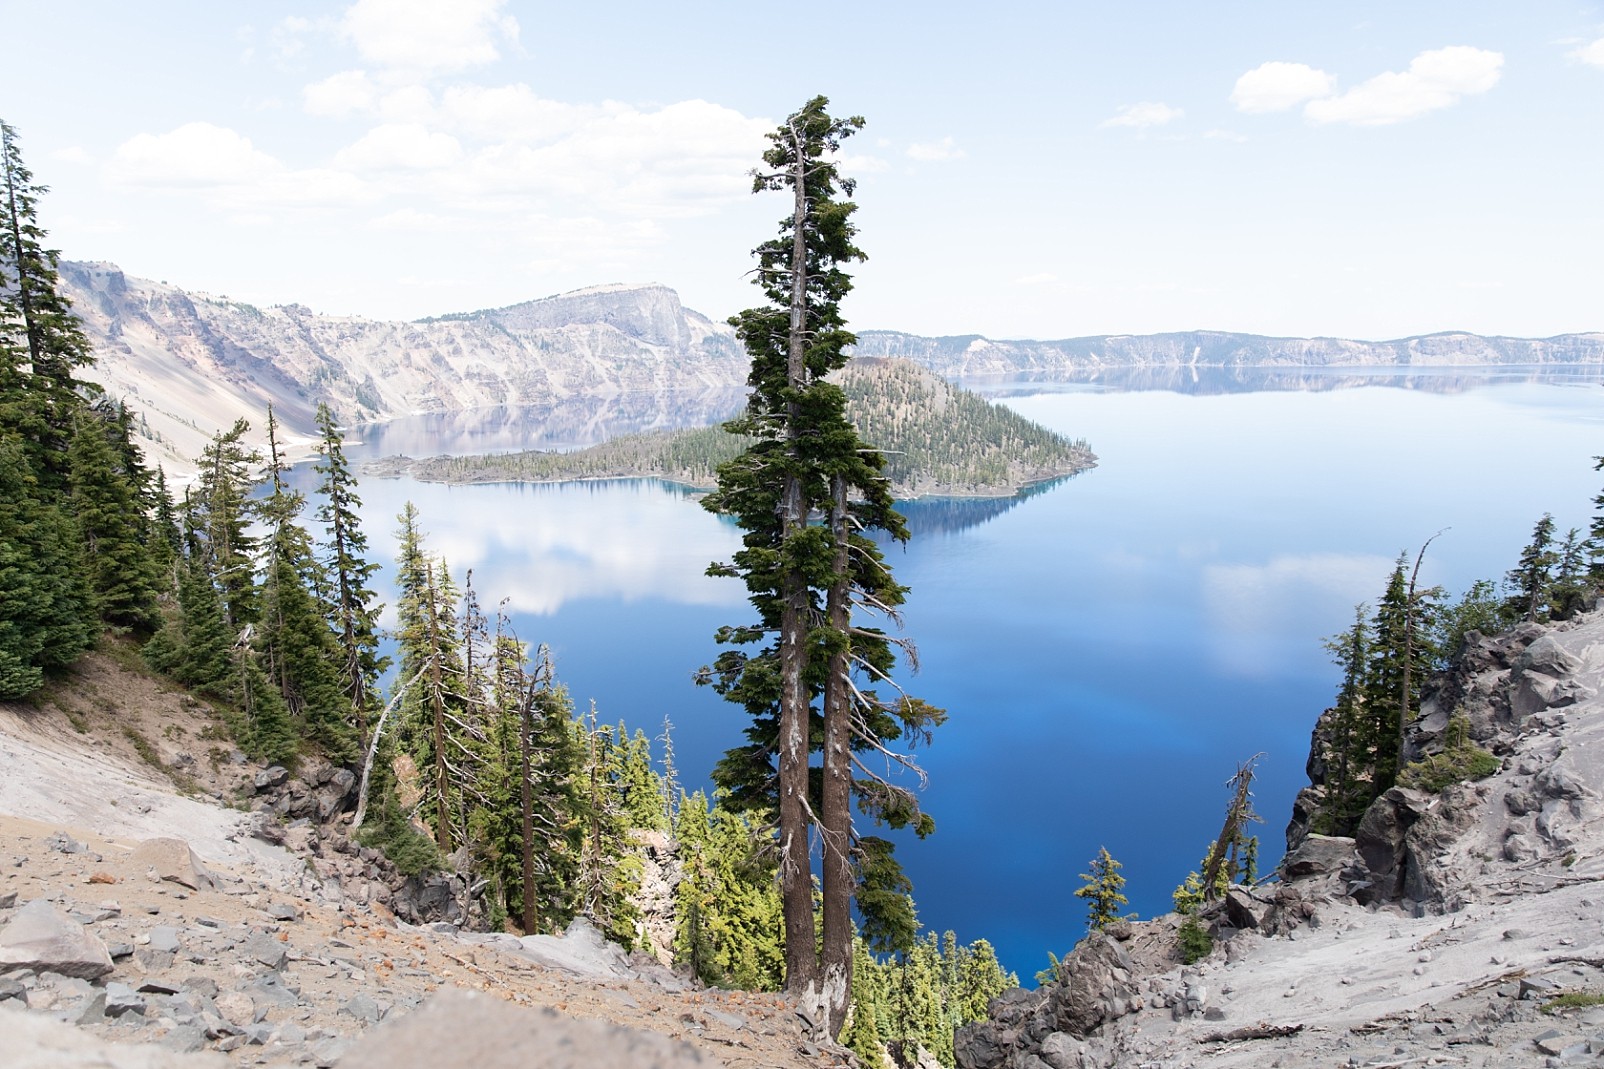 Crater Lake
Capturing and Initial Organization On-the-Go
The organization process begins before you even import your images. By implementing a simple folder system directly in your camera, you can significantly streamline your workflow later on.
Utilizing In-Camera Folders
Before each day of shooting, I create a new folder directly on my DSLR. The specific folder name isn’t crucial at this stage, as the image dates will serve as the primary organizational marker. On Canon cameras, this feature is readily accessible within the menu settings. Creating daily folders ensures that your images are naturally segmented by date right from the start. When you return from your trip and import your photos into editing software like Lightroom, these daily folders provide a clear chronological structure.
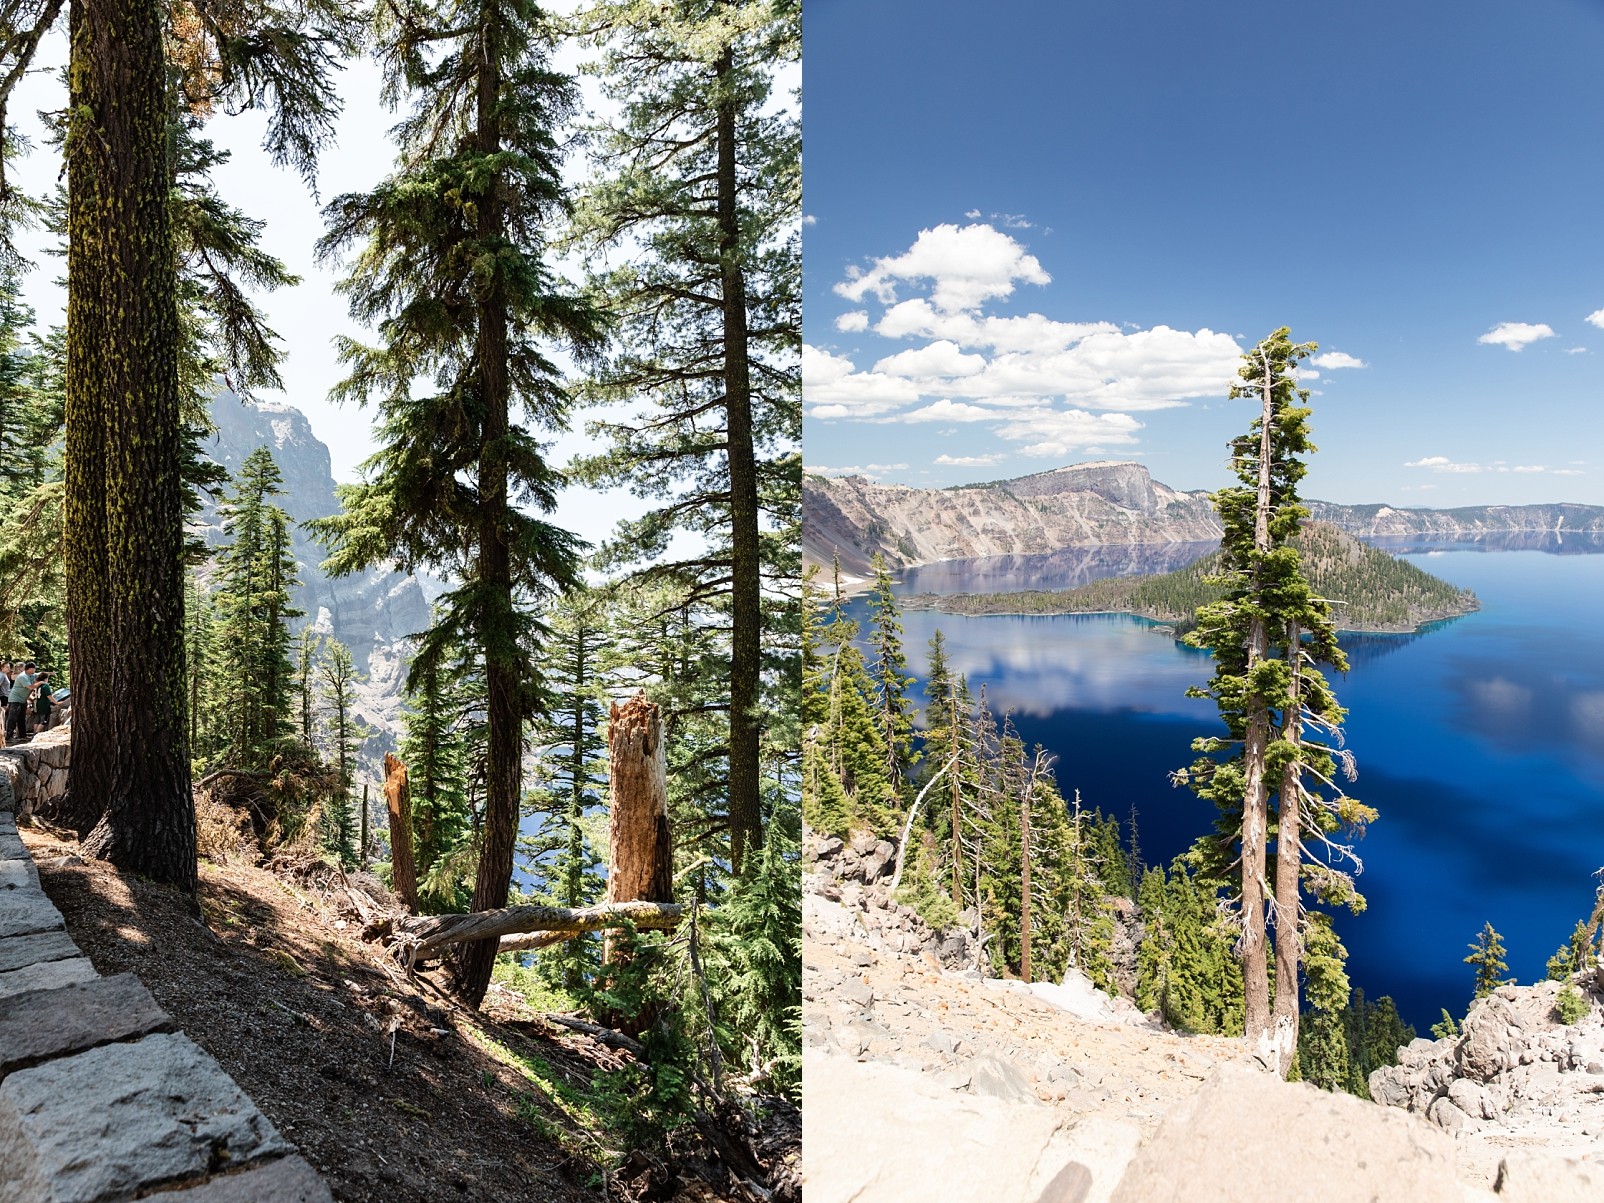 Trees in front of Crater Lake
Edit One Day at a Time
It’s common to take hundreds, if not thousands, of travel images during a trip. Attempting to edit this volume in one sitting can be daunting and lead to burnout. Instead, I recommend tackling your photo editing one day at a time, mirroring the daily folders you created in-camera. Breaking down the task into smaller, manageable chunks makes the editing process less overwhelming and more enjoyable. Remember to take breaks during editing sessions to prevent eye strain and maintain focus. Whether it’s short breaks every 20 minutes or after editing a set number of photos, stepping away from the screen will improve your efficiency and the quality of your edits.
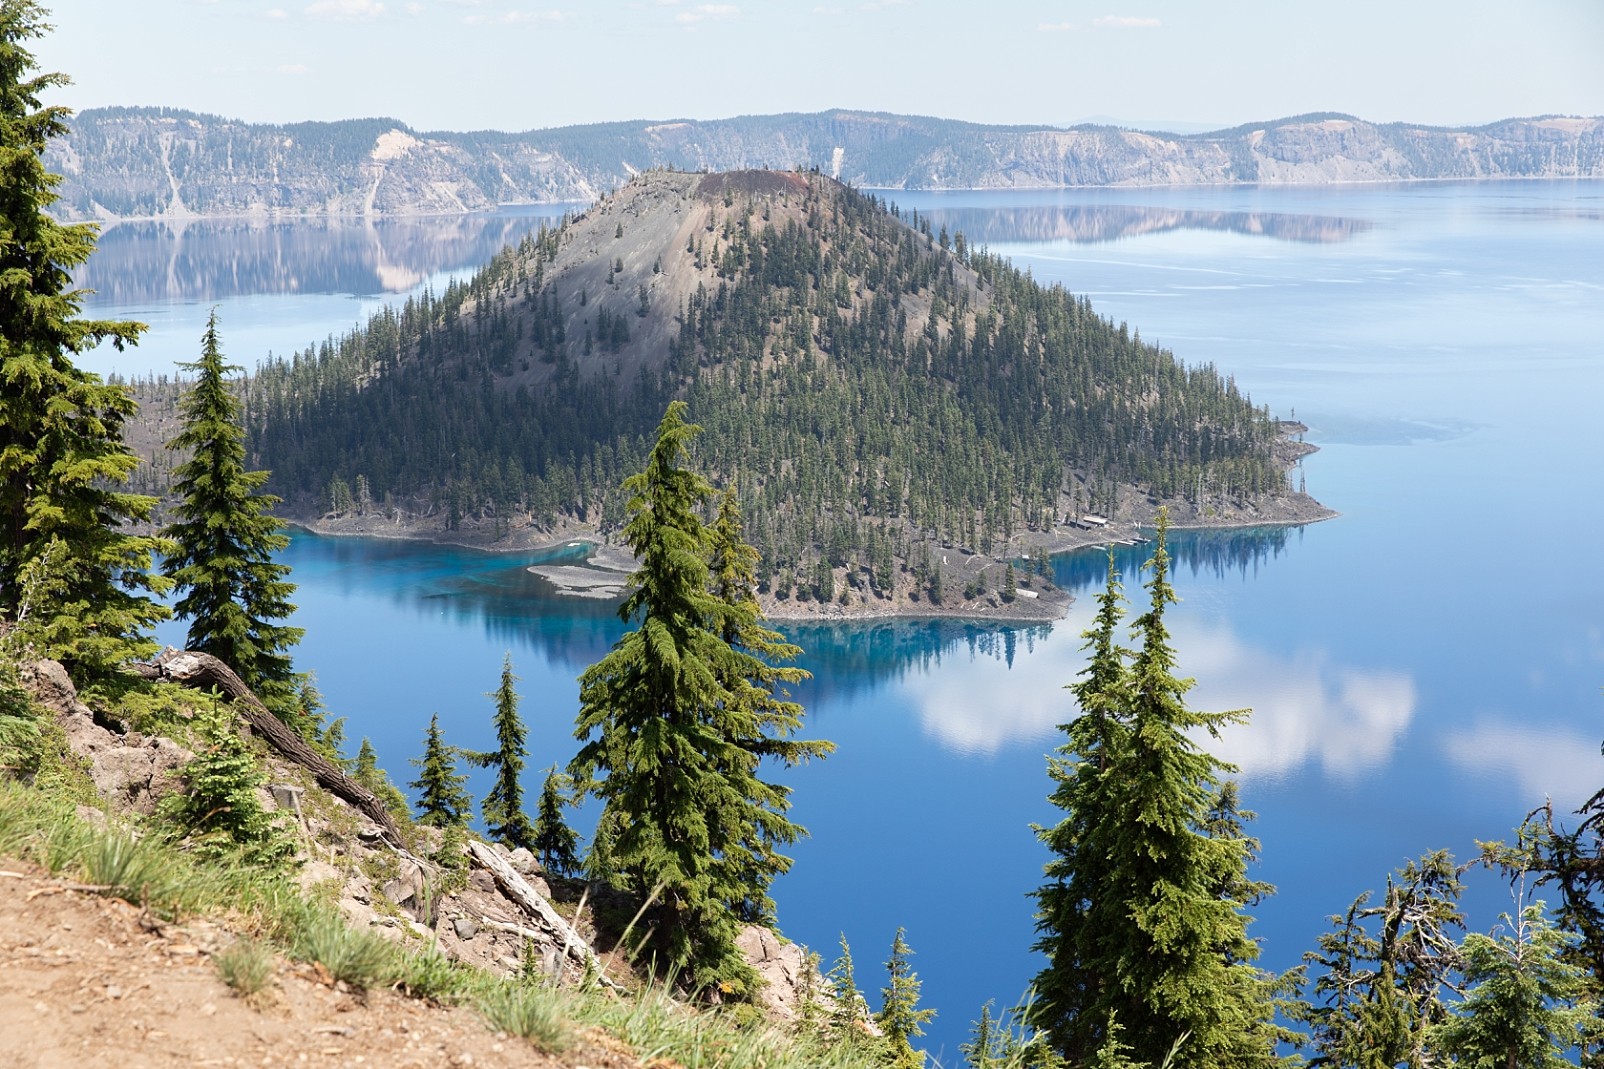 Wizard Island in Crater Lake National Park
Streamlining Your Post-Trip Workflow
Once you’ve imported your travel images, the next crucial steps are culling and editing. These processes are essential for refining your collection and preparing your images for final use.
Efficient Culling Techniques
Culling is the process of selecting your best images and discarding duplicates, blurry shots, or technically flawed photos. Think of it as curating your travel story. There’s no need to keep multiple near-identical photos. In Lightroom, I use a simple system: I “pick” the images I want to keep by pressing “P” and then review again to “un-pick” unwanted images with “U”. This efficient method helps quickly narrow down your selection to the most impactful travel images.
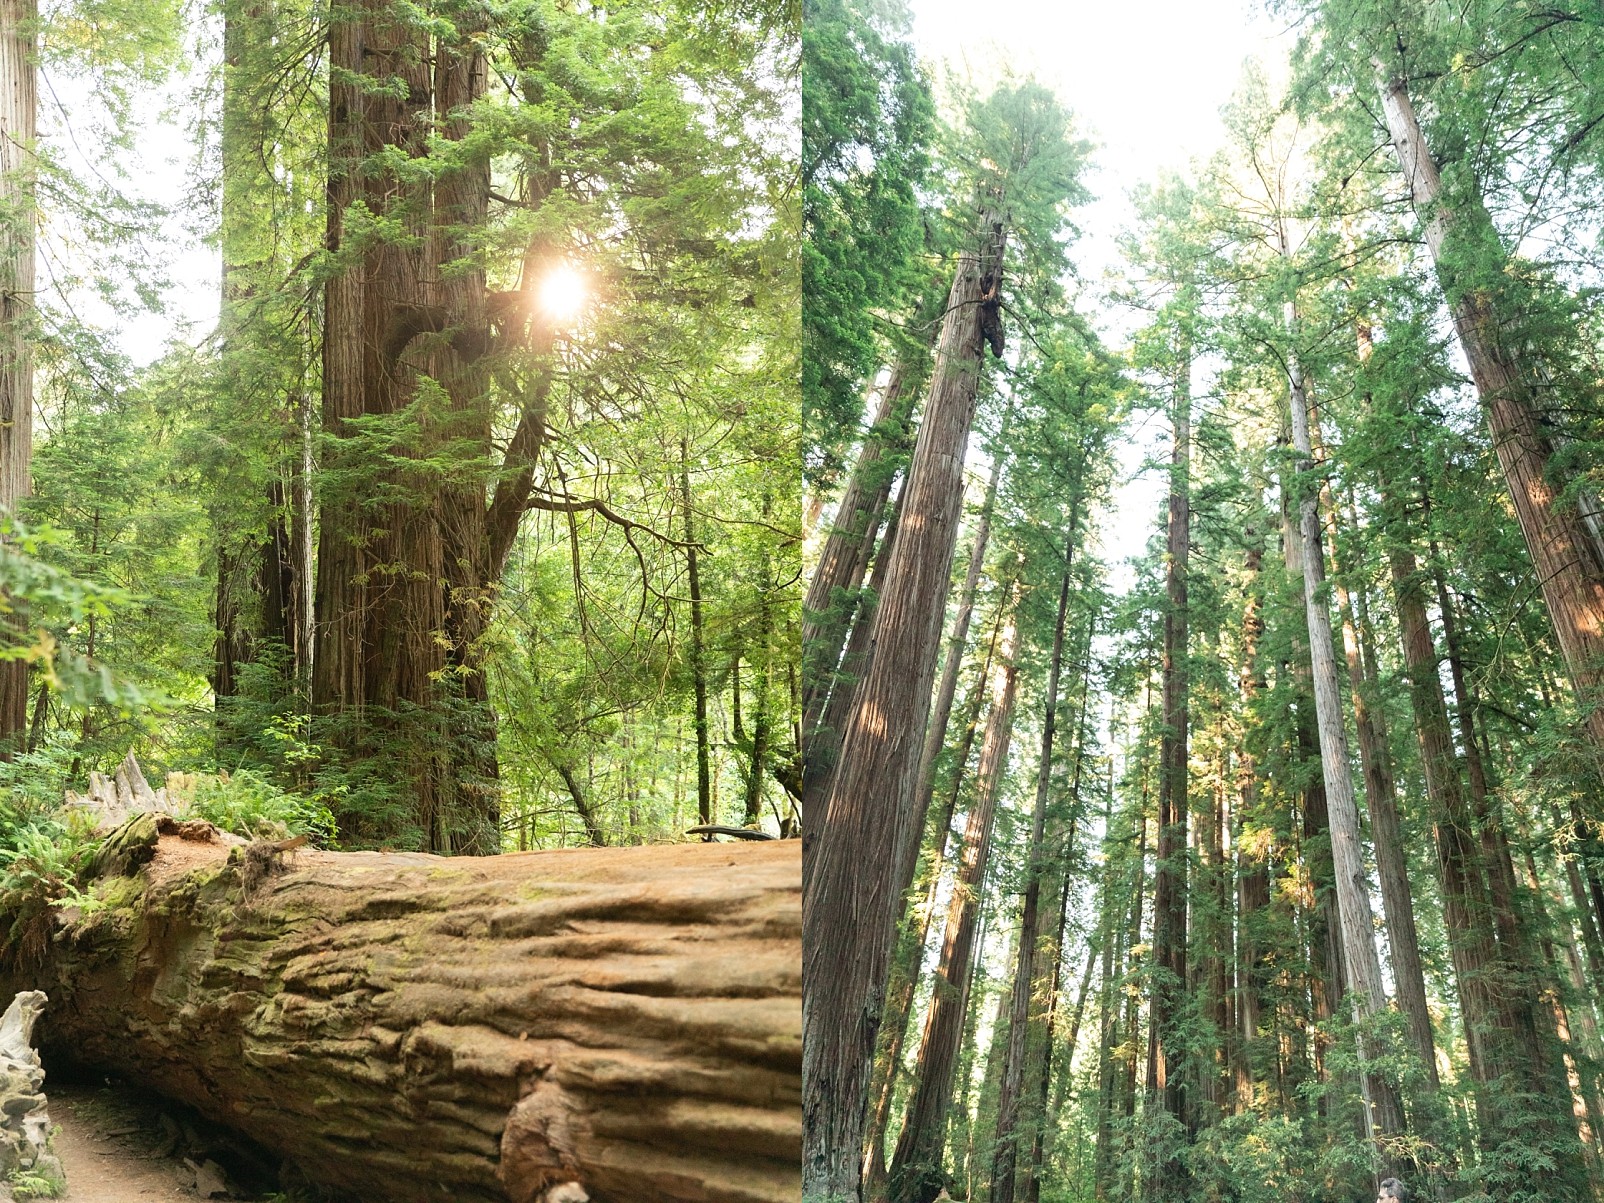 How to organize your travel photos of the Redwoods
RAW Photo Editing Essentials
After culling, the editing stage enhances your chosen travel images. Editing RAW files in software like Lightroom allows for significant adjustments to white balance, exposure, contrast, highlights, and shadows, breathing new life into your photos. For images needing more localized adjustments, masking tools are invaluable. They allow you to selectively brighten underexposed areas or recover detail in overexposed skies, ensuring each travel image reaches its full potential.
Naming and Storage for Easy Retrieval
Effective naming and folder structures are paramount for long-term organization. Detailed naming conventions make it easy to locate specific travel images, whether you’re printing photos or searching for a particular memory years later.
Detailed File Naming Conventions
Instead of generic file names, adopt a descriptive naming system. For example, if you took photos at Crater Lake on July 19, 2023, name your files starting with “July 19 2023 Crater Lake-” followed by a sequential number. This level of detail ensures that at a glance, you know the date and location of each image. While you could shorten names, including both date and location is beneficial, especially if you visit the same location on different days.
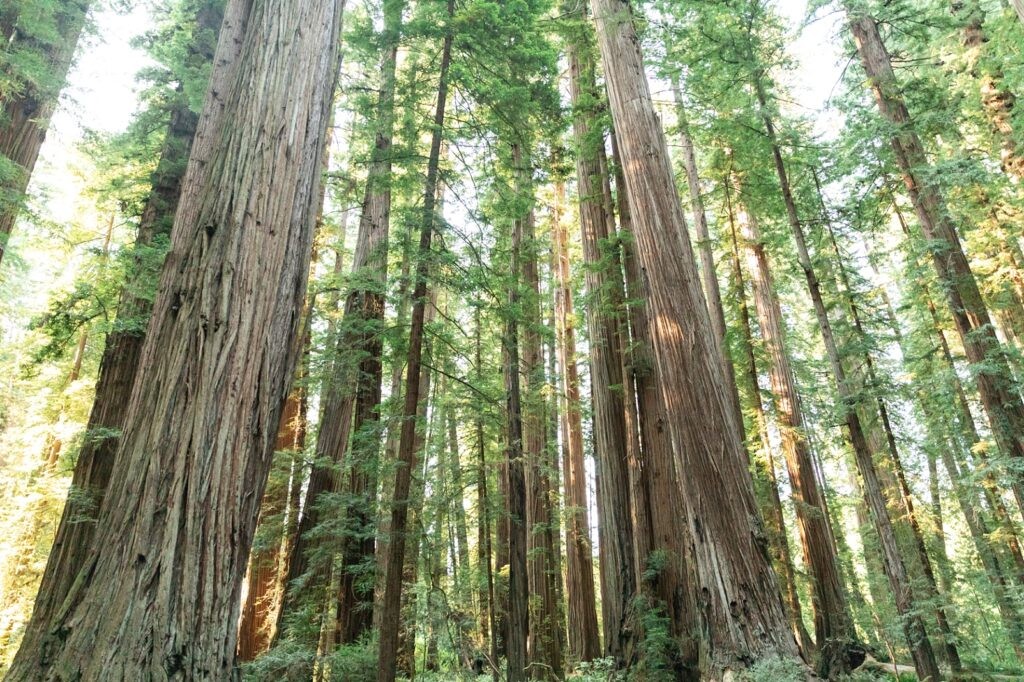 Stout Memorial Grove in the Redwoods
Structured Folder System
Complement your detailed file naming with a well-organized folder system on your computer. Create main folders for each trip, named with the location and date range (e.g., “Crater Lake July 2023”). Within these main folders, you can further organize by date or specific locations visited during the trip, mirroring your in-camera folder structure and naming conventions. This consistent structure ensures seamless navigation and retrieval of your travel images.
Bringing Your Travel Images to Life
Organizing your travel images isn’t just about storage; it’s about making them accessible for various creative projects and reliving your travel experiences.
Creating Photobooks and Albums
Photobooks are a wonderful way to showcase your travel images in a tangible and shareable format. For special trips, dedicate an entire photobook to those memories. When designing layouts, maintaining chronological order generally works best, as it tells the story of your journey. Organized and well-named travel images make the photobook creation process significantly smoother.
Scrapbooking and Creative Projects
Beyond photobooks, printed travel images are perfect for scrapbooking. Combine your photos with postcards, ticket stubs, and other mementos to create personalized travel journals. High-quality travel images from DSLR or mirrorless cameras are ideal for printing in various sizes and formats, allowing for diverse creative applications, from framed prints to slideshows set to music that evokes your travel memories.
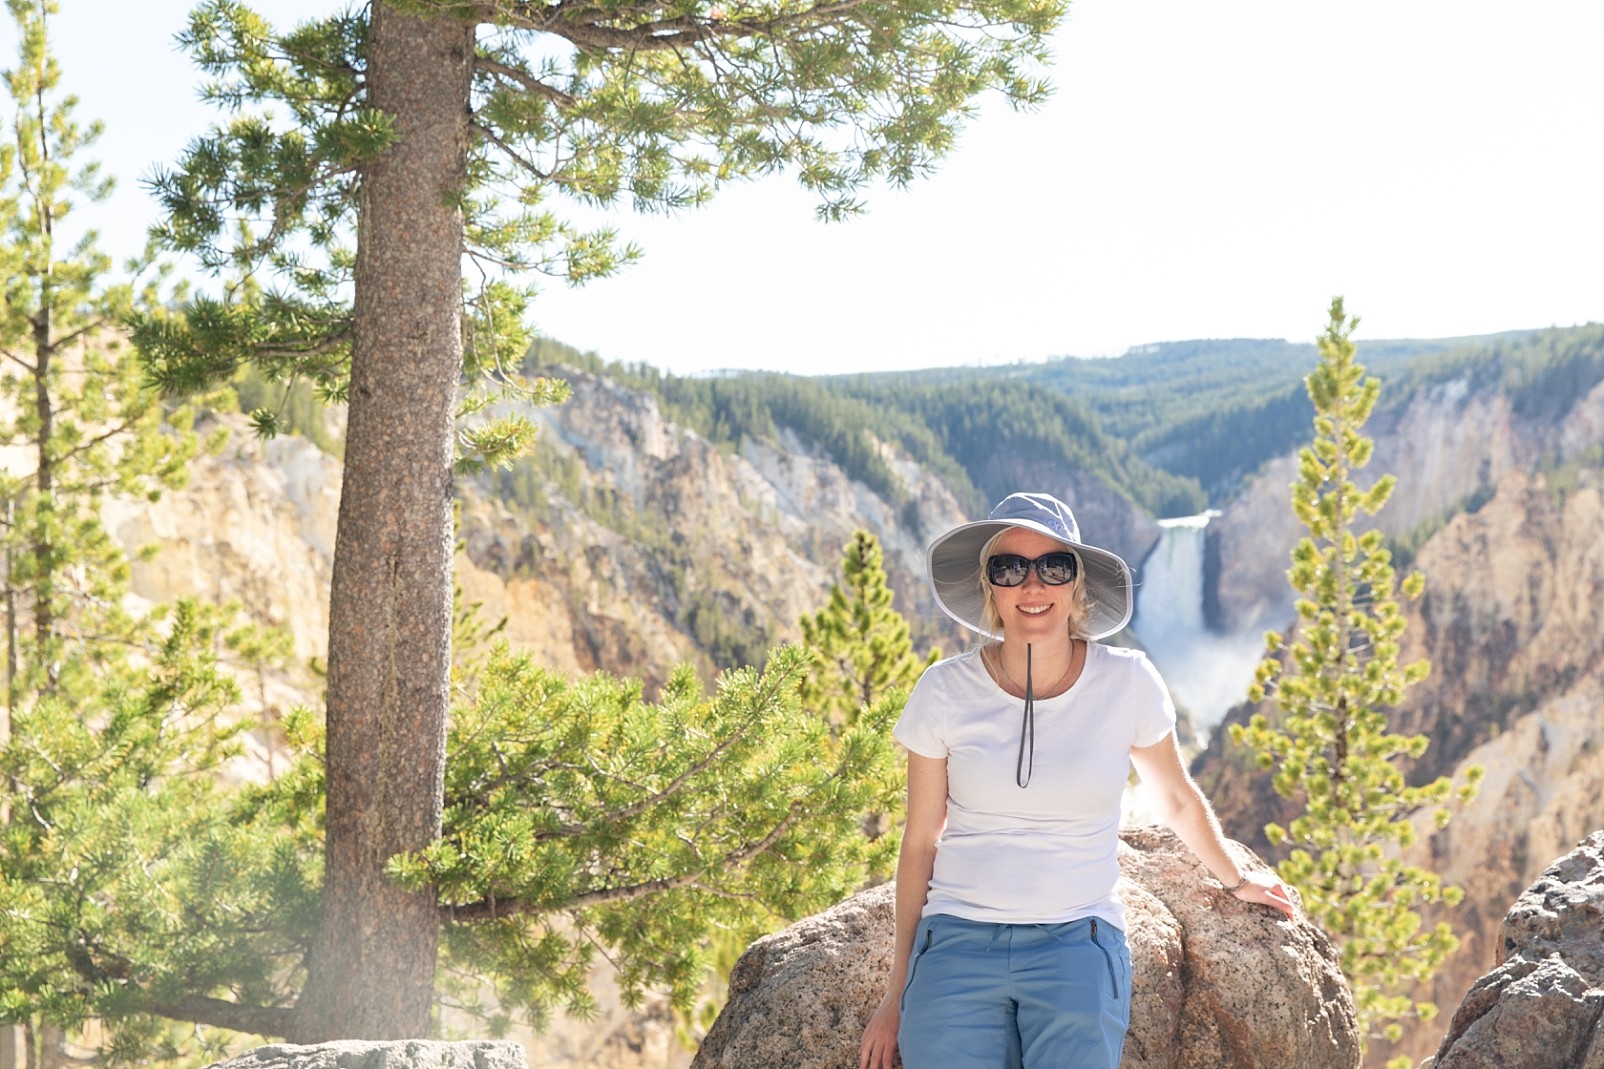 Lady wearing sunglasses and a hat in the Grand Canyon of Yellowstone.
Final Thoughts on Travel Image Organization
Investing time in organizing your travel images is an investment in preserving your memories. From in-camera folders to detailed naming conventions and creative projects, these systems ensure your travel images are not only safely stored but also readily accessible and enjoyable for years to come. Good organization transforms a collection of photos into a curated visual diary of your adventures.
Learn more about capturing and preserving your precious memories with Rebecca Leigh Photography, specializing in newborn, baby, and family photography in Maryland.