For artists who love to capture the beauty of the world around them, a Travel Watercolor Set is an indispensable companion. Imagine being able to spontaneously paint a breathtaking sunset during a hike, sketch a charming cityscape while waiting for your coffee, or immortalize a vibrant market scene in a foreign land – all thanks to a compact and efficient art kit. If you’re anything like me, the urge to paint strikes at the most unexpected moments, often far from the comfort of your studio. That’s why having a travel watercolor set ready to go is not just a convenience, it’s a gateway to endless creative opportunities.
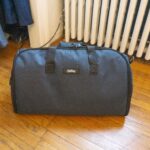
 Portable Watercolor Painting kit Packed up
Before we dive into the essentials of building your own travel watercolor set, let’s consider why having one is so beneficial. Many artists, myself included, are prone to overpacking when venturing out to paint. The “what ifs” creep in: What if I need this specific brush? What if I want to use that particular color? This overthinking and packing process can be time-consuming and even deter you from painting altogether, especially if you only have a short window of opportunity. A pre-assembled travel watercolor set eliminates this hurdle. It’s a grab-and-go solution that ensures you’re always ready to sketch and paint, whether you’re in your backyard or exploring a distant country.
This kit is incredibly versatile. Its small size makes it easy to carry anywhere, and it removes the guesswork from getting started. Whether I’m painting in my garden, trekking through a forest, or visiting a new city, my travel watercolor set is always ready. Everything I need is right there – just add water and inspiration!
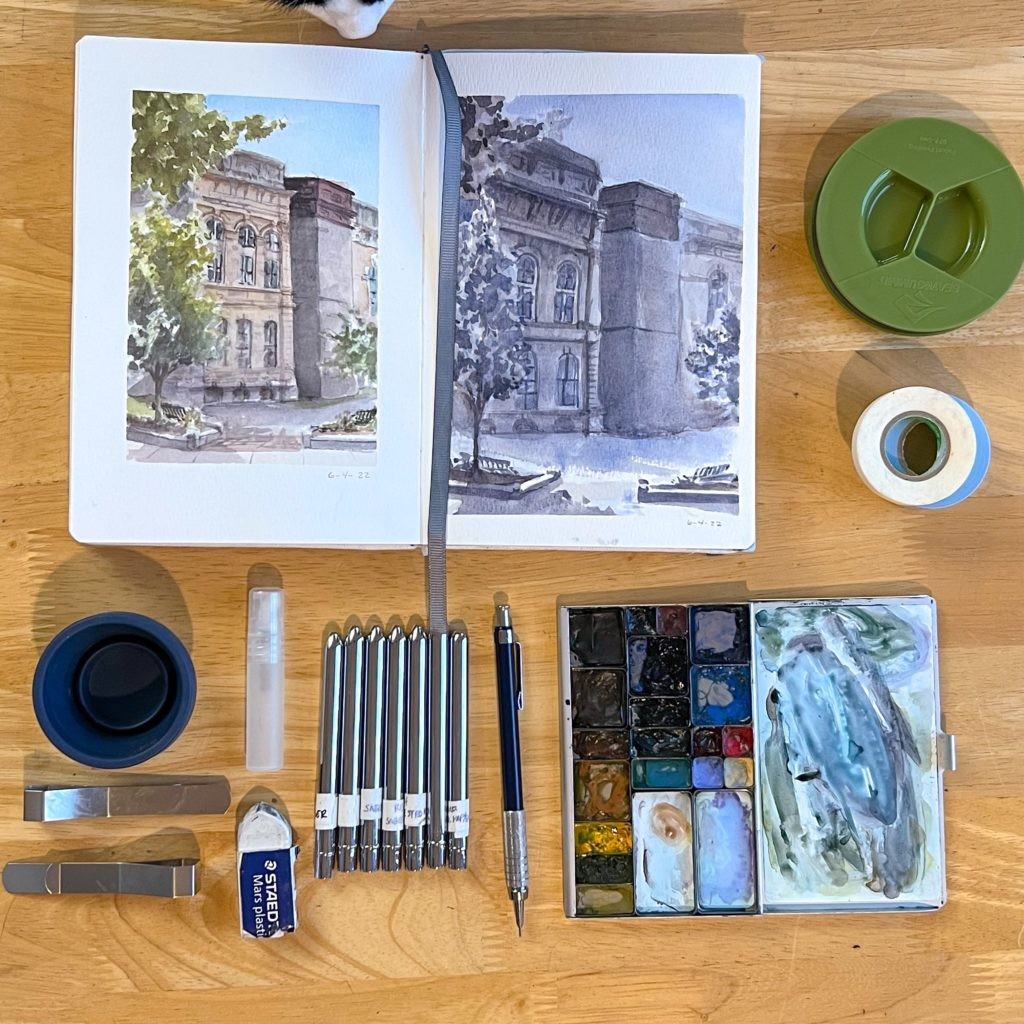 Picture of components of portable watercolor painting kit.
Beyond saving time, I also wanted a lightweight and compact kit for hiking. I needed something that wouldn’t feel like dead weight if I didn’t use it, and I wanted to avoid relying on water brushes, which, while convenient, sometimes lack the nuanced control of traditional brushes. My current travel watercolor set perfectly addresses these needs. I’ve used it in various locations, from the backseat of my car to mountaintops. Just last week, I took it on a hike, and even though I didn’t end up painting during our brief stops, it was so light I barely noticed it in my backpack. No effort wasted!
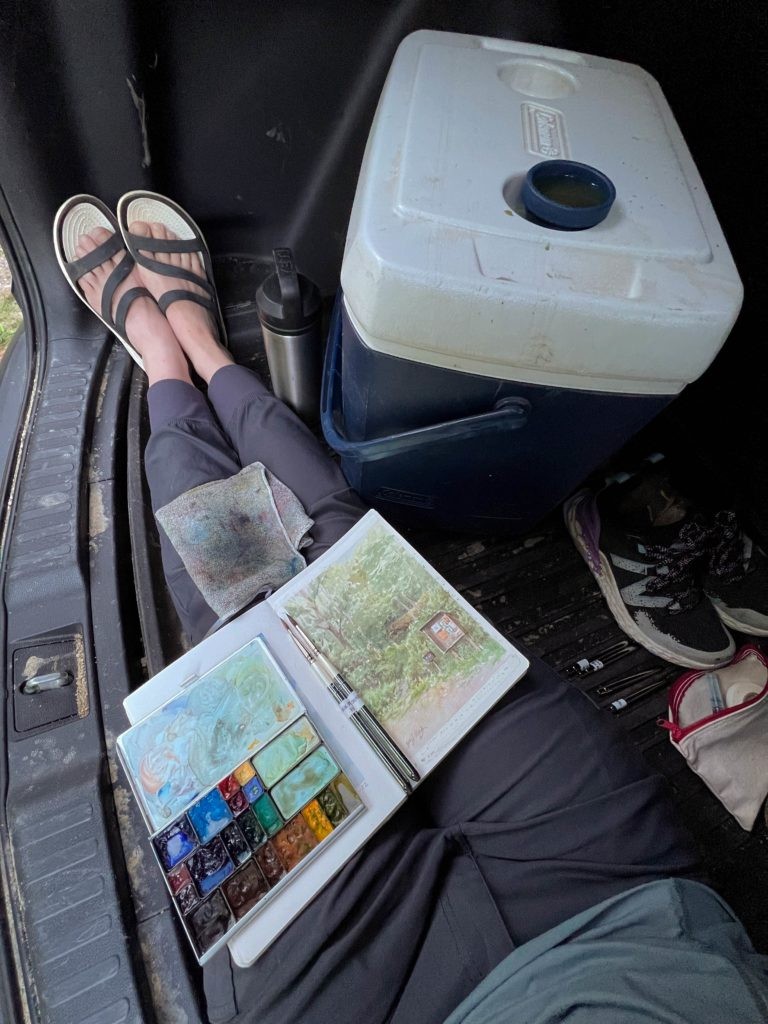 Picture of sketch done plein air in back of car using portable watercolor painting kit.
 Picture of sketch done plein air on hike using portable watercolor painting kit.
Building Your Own Travel Watercolor Set: Essential Components
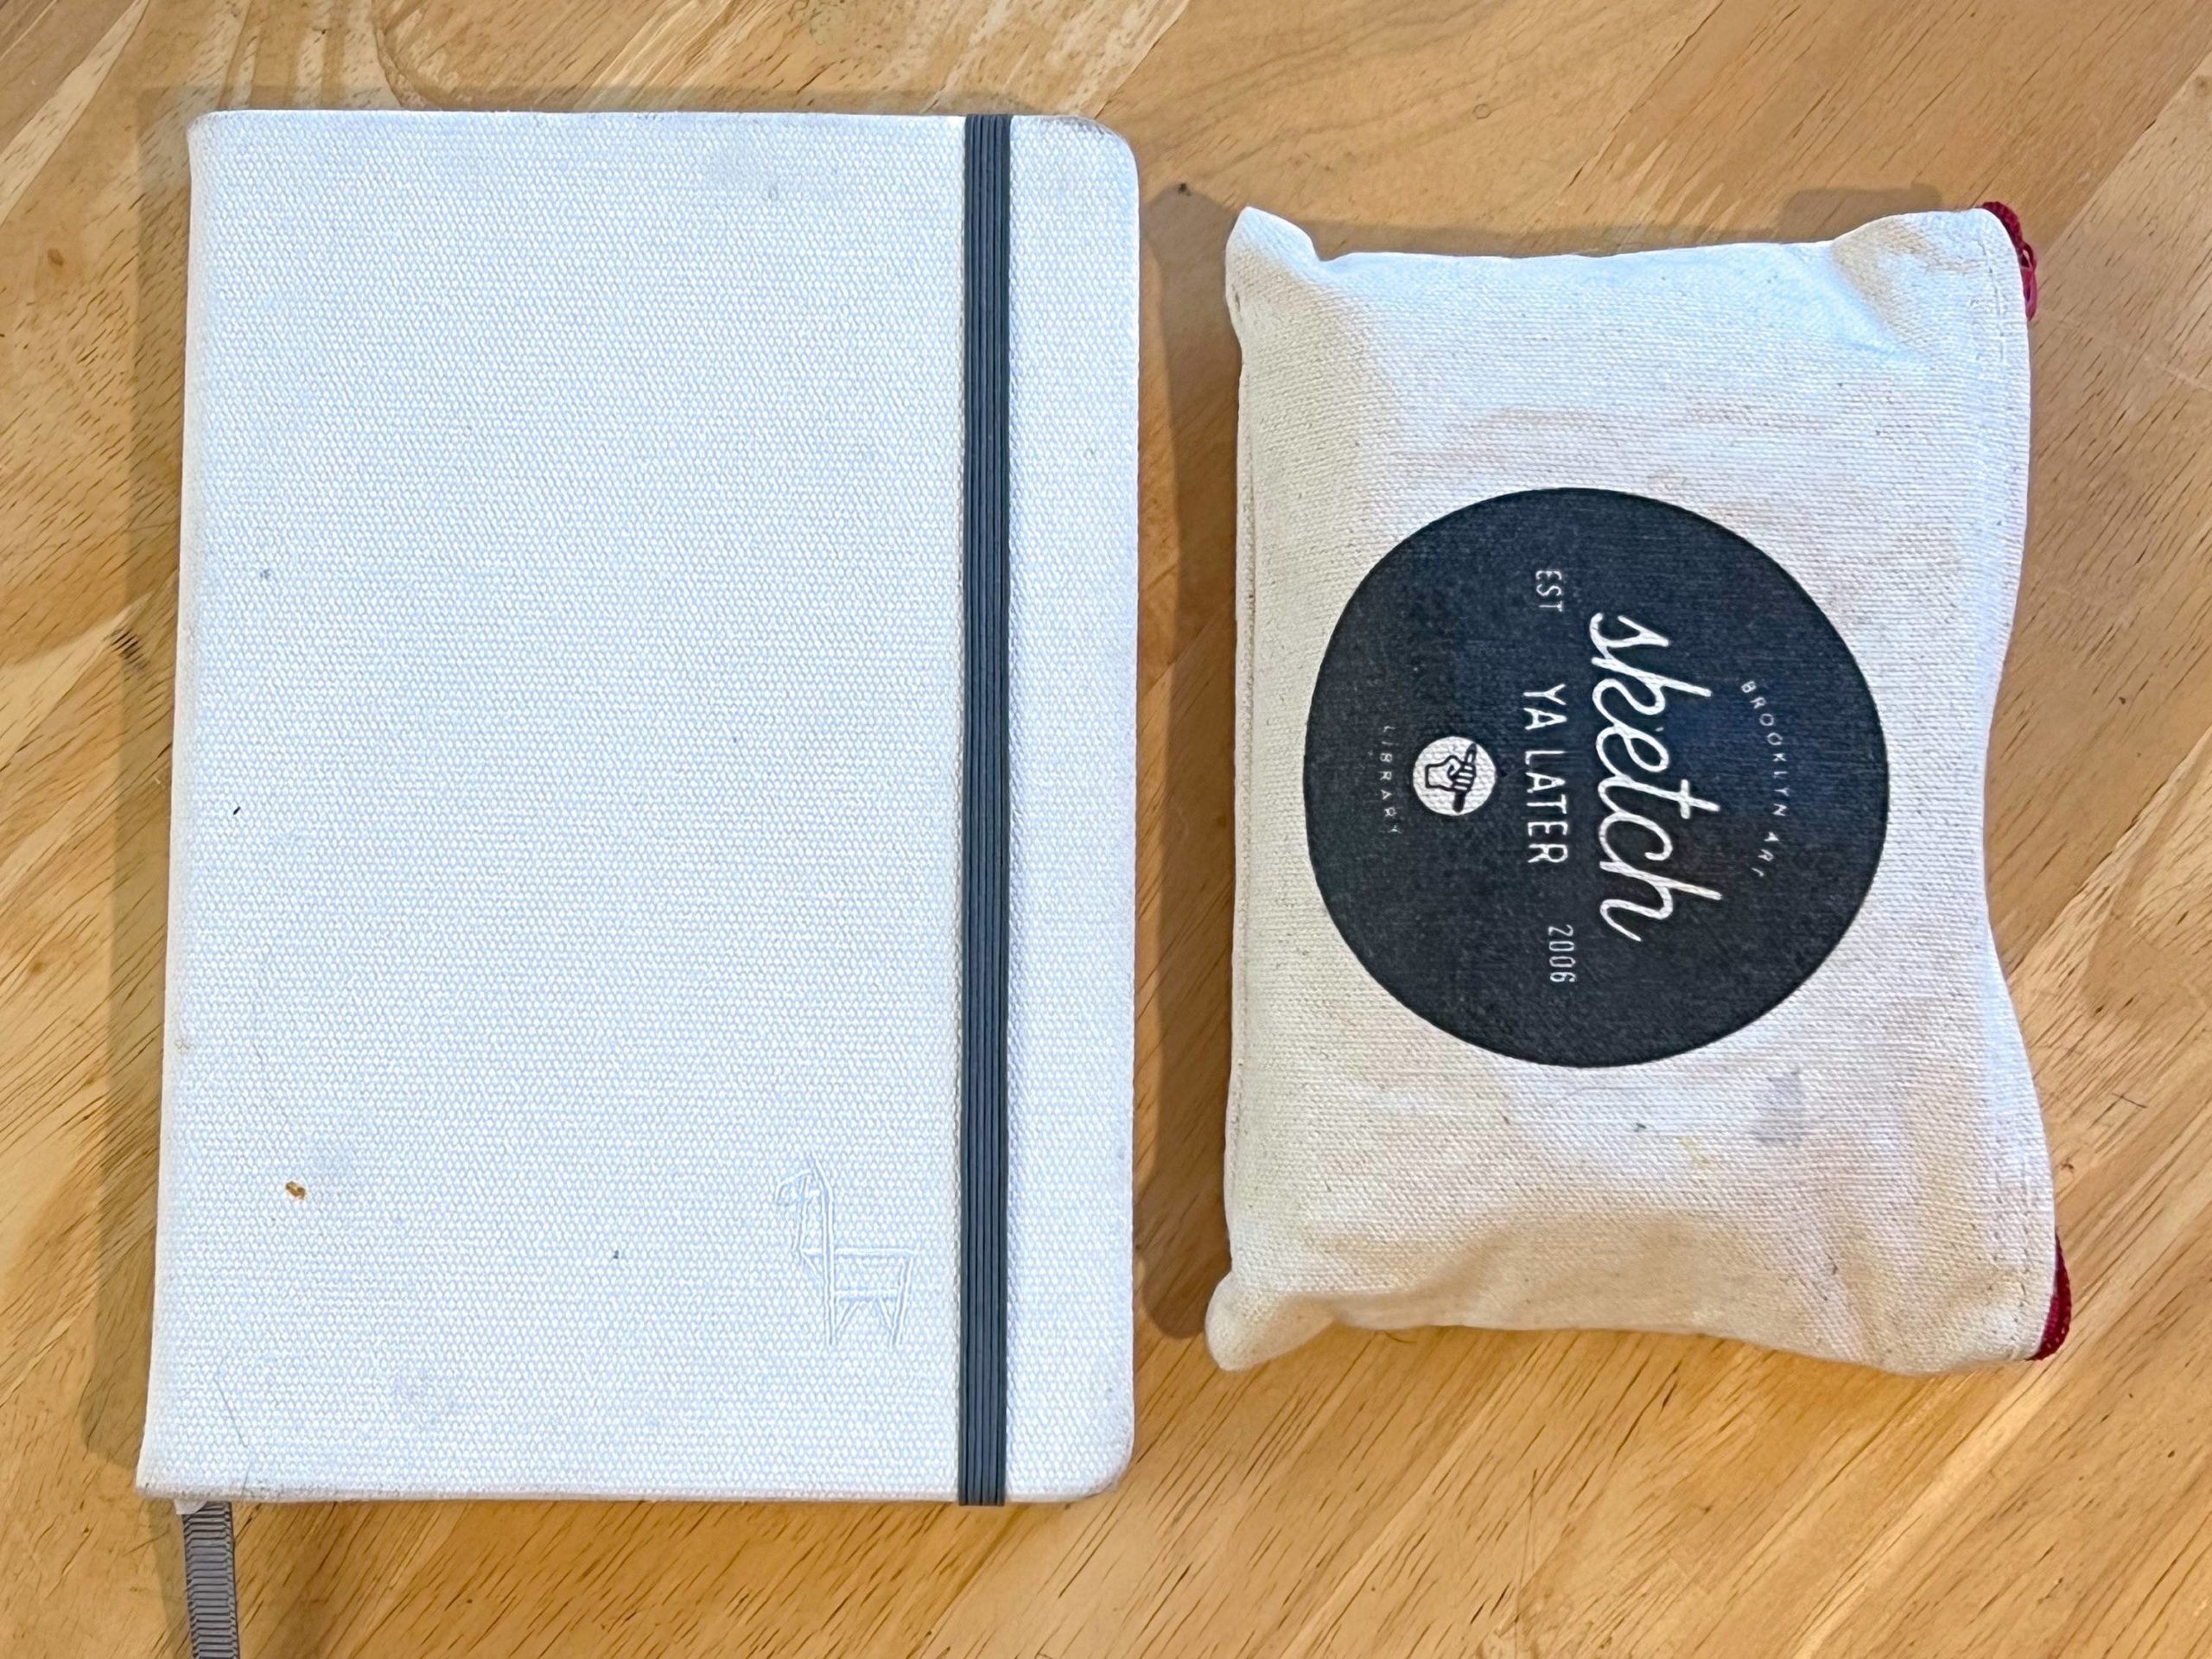
My approach to a travel watercolor set is to keep the sketchbook separate and organize everything else in a simple zip bag. This art-geek-chic bag I use is from the Brooklyn Art Library. The core elements within the bag are a sketchbook, page clips, drawing tools (a mechanical pencil and eraser), a watercolor palette, and brushes. I also always include a rag or folded paper towel – essential for any watercolor painter! While not always necessary, items like a water mister and alternate palettes can be added depending on your needs and painting style.
Let’s break down each component of a well-rounded travel watercolor set:
1. Sketchbook & Accessories
Urban sketching with a travel watercolor set, capturing cityscapes on the go.
Sketchbook Choice
For my summer sketches, I’m currently using an A5 Etchr Sketchbook (140lb, Cold Press) from Etchr Lab. While you could opt for even smaller sizes like A6 for maximum portability, I appreciate the larger pages of an A5. It still fits comfortably in my hand or lap when I’m painting without a table. The 140lb cold press paper is crucial for watercolor, as it can handle washes without buckling too much. Look for sketchbooks specifically designed for watercolor to ensure the paper’s weight and surface are suitable.
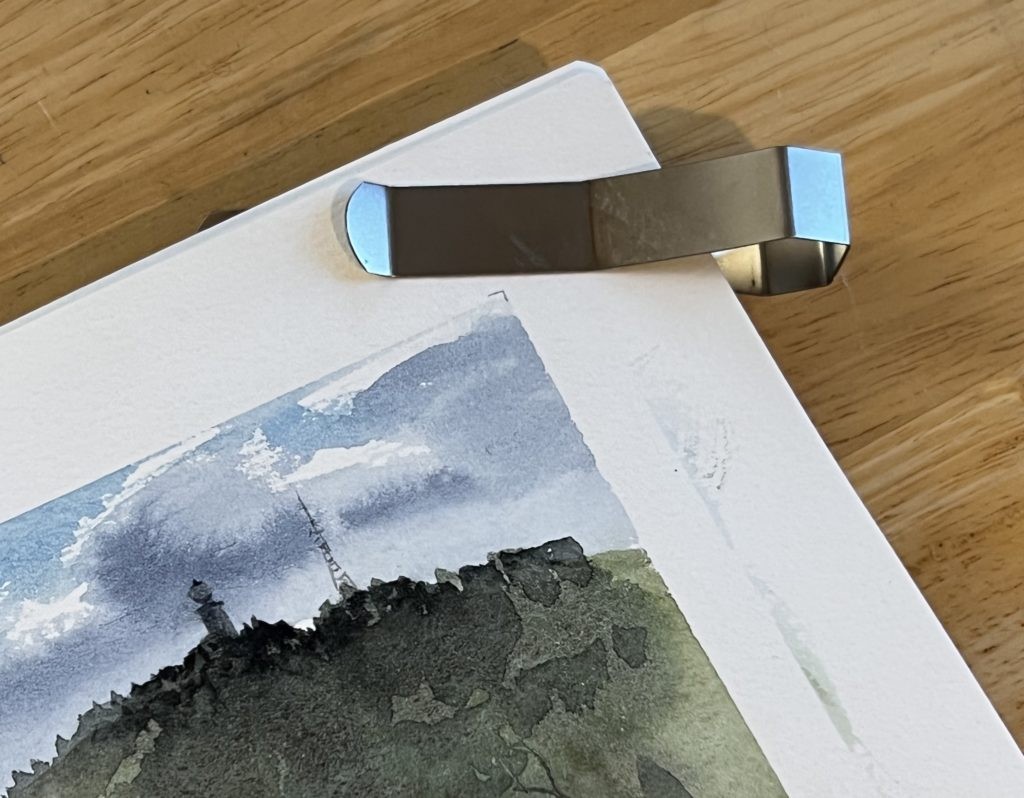
Page Clips
To combat wind and keep pages flat, page clips are invaluable. These ones from St Louis Art Supply are sturdy and reliable. The cover of my palette can even slide under them to prevent it from shifting around while I’m working outdoors.
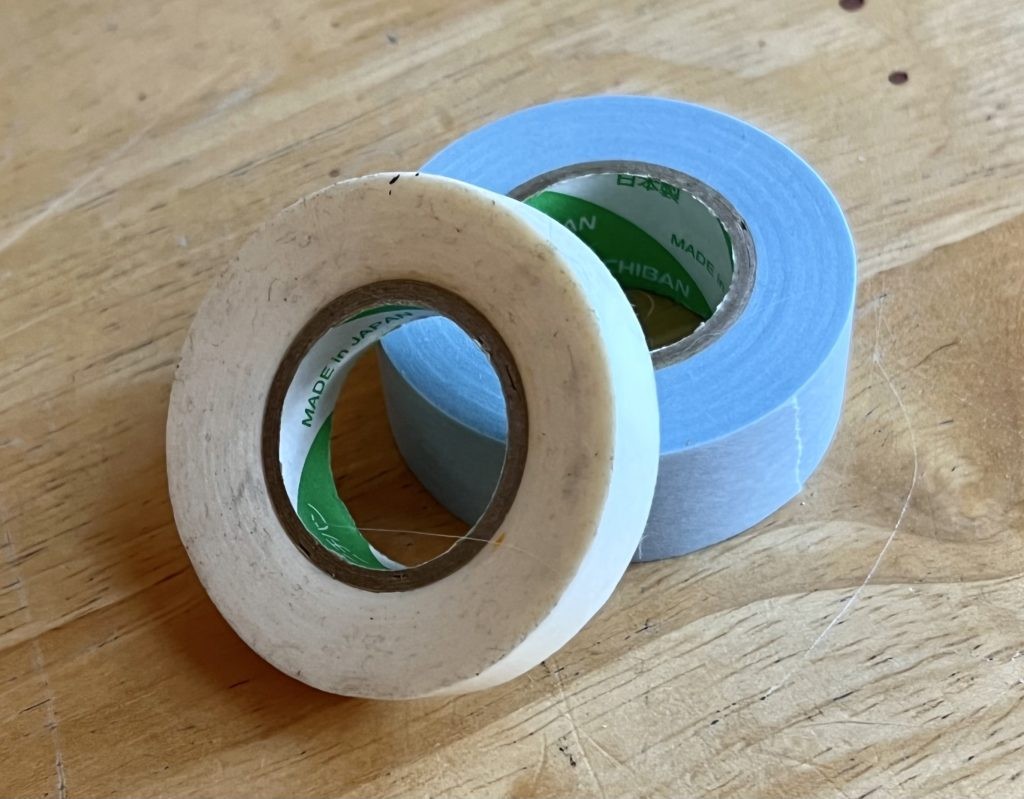
Tape for Clean Edges
I often prepare a few pages in my sketchbook with Nichiban tape before heading out. Taping off a standard-sized rectangle (like 4×6 or 5×7 inches) creates clean, crisp edges for your sketches. I’ve become a big fan of Nichiban tape over thicker artist tapes for its clean removal. Prepping pages with standard sizes is particularly useful if you plan to frame your quick sketches later, saving you the cost of custom framing. While I can fit a roll of ¼” tape in my kit for on-the-go page prepping, I usually prefer to do this at home for more accurate measurements.
 Portable page clips for sketchbook pages.
 Tape used to prep sketchbook pages before painting sessions.
2. Portable Watercolor Paint Brushes
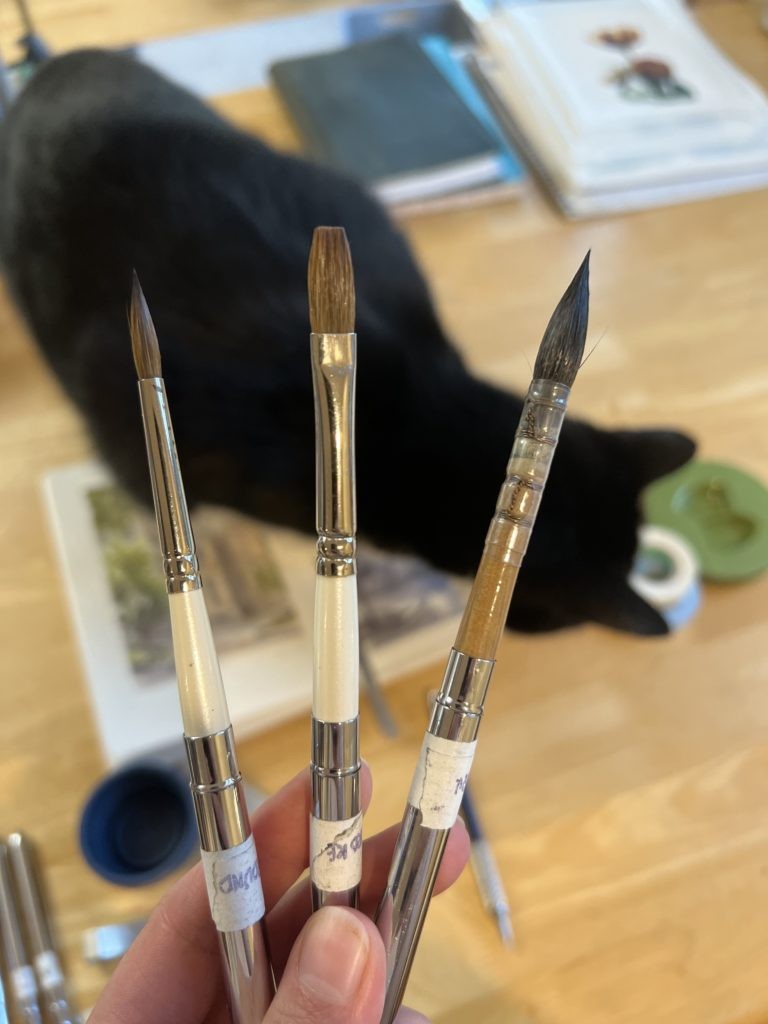
For brushes in my travel watercolor set, I carry a select few, typically using the same three favorites: a R9 Medium Squirrel Mop, a R1 Sable Round, and a R4 Sable One Stroke, all from Rosemary & Co.. These travel brushes are designed with retractable bristles, making them compact and protected for transport. Note that the R4 Sable One Stroke travel brush is now replaced with a Red Dot synthetic version. Also, due to import restrictions, the R1 sable round might be unavailable in the USA currently, but Rosemary & Co. offers a synthetic size 6 round as an alternative.
 portable watercolor brushes
Mop Brush for Washes
The squirrel mop brush is my go-to when I need to cover large areas quickly or when the air is dry and I need maximum water retention. It holds significantly more water than other brushes while still maintaining a fine point for detail work. While slightly trickier to resheath due to its fluffiness, its water-holding capacity is unmatched.
One Stroke Brush for Shapes
I’ve become a devotee of the one-stroke brush in recent years. Before, I rarely used flat or square-shaped brushes. However, after using a one-stroke brush to block in buildings in a cityscape, I discovered its versatility. It encourages shape-building rather than linear drawing. By varying pressure and using different edges of the brush, you can create a wide range of marks and textures. It’s excellent for painting foliage and trees, allowing you to suggest forms through expressive squiggles rather than meticulously rendering each leaf.
Pointed Round Brush for Details
The pointed round brush is the classic workhorse of watercolor painting. My sable round has been a reliable companion for years, offering versatility from broad strokes to fine lines. I now reserve it primarily for small details and signing my paintings. Starting a painting with a smaller brush can lead to focusing on details too early, so I intentionally use it later in the process. But for those crucial details, this brush is indispensable.
3. Watercolor Paint Palette
 Plein air setup with portable watercolor kit on sketchbooks.
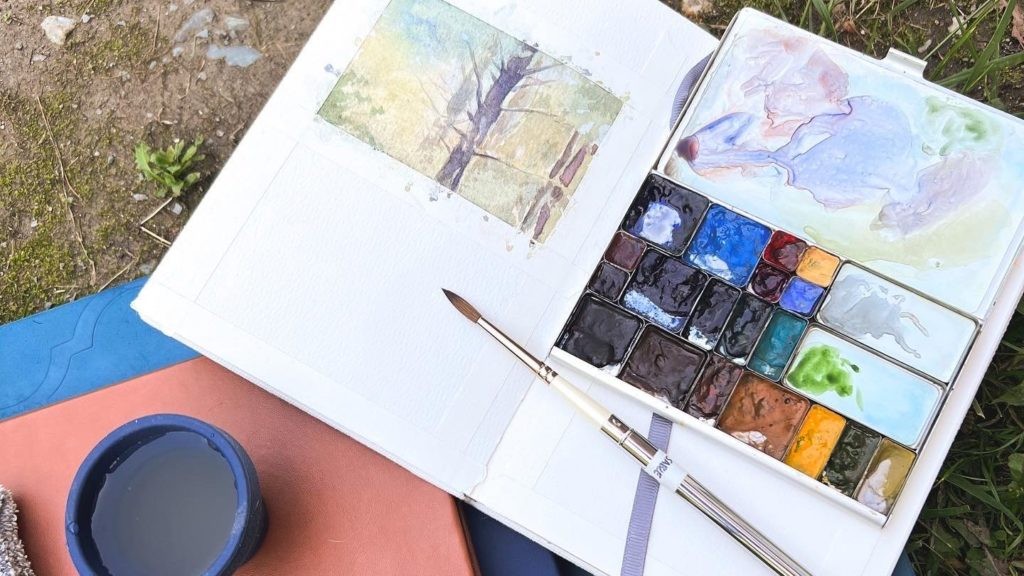
As I’ve previously detailed in a dedicated blog post, my palette of choice for my travel watercolor set is the Folio Palette from Art Toolkit. I use a combination of refillable and magnetic pans to hold my favorite tube watercolors. This palette is wonderfully compact, fitting easily into my zip bag, my Etchr Field Case, and even a pocket (though I wouldn’t recommend pocket storage in hot weather due to potential paint oozing!).
For extended painting trips, I might include an additional palette with alternative colors. However, most often, my landscape palette is sufficient for my plein air needs. Consider pre-filling your palette with your go-to colors before you travel to save time and hassle on location.
4. Water Containers
While a travel watercolor set is about portability, you still need water! Dedicated water containers can be bulky, so collapsible cups are the perfect solution. I use two different collapsible cups from Sea to Summit, choosing between them based on the painting location.
The smaller X-Shot is ideal for locations where disposing of paint water isn’t a concern, like my yard or non-sensitive natural areas. For more sensitive environments or private property, I opt for the X-Seal & Go. It packs flat just like the X-Shot, but crucially, it has a screw-on lid to contain the used paint water for responsible disposal later. While the small amount of paint in rinse water from short sessions is often negligible, it’s always best to be cautious and respectful of the environment, especially in areas where food is grown or on private land. I tend to use both cups slightly collapsed for better stability and reduced tipping risk.
A collapsible water cup, a space-saving solution for a travel watercolor set.
A lidded collapsible water cup, ensuring responsible disposal of water when using a travel watercolor set outdoors.
If you’re curious about the environmental impact of watercolor paints, especially regarding pigments like cadmium, Jackson’s Art Supplies published a helpful series of articles in 2014-15. A key takeaway is that while cadmium in its pure form is highly toxic, when bound into chemical compounds used in artist paints, it is not classified as hazardous by regulatory bodies like REACH. However, responsible disposal of art materials is always recommended.
Crafting Your Perfect Portable Art Kit
When it comes to building your own travel watercolor set, remember that personal preference is paramount. Every artist has their must-have supplies and items they can live without. My kit is what works best for me right now, but yours should reflect your individual needs and artistic style. As they say in the hiking community:
“Hike your own hike!”
Similarly, paint your own painting journey! I hope sharing my travel watercolor set has provided useful insights and inspiration for you to assemble a portable kit that empowers your artistic explorations wherever you go.
-Jill