Dewinterizing a travel trailer involves reversing the winterization process, ensuring your RV is ready for safe and enjoyable travels, and at TRAVELS.EDU.VN, we’re here to guide you through each crucial step. By following our expert advice, you’ll prevent damage, ensure proper functionality, and safeguard your health. Let’s get your travel trailer road-ready with these essential procedures for a worry-free start to your travel season.
1. Tire Inspection: Ensuring Safe Travels
Are your RV tires properly inflated and in good condition for the upcoming travel season? Yes, checking your tires is critical for safety and performance, as underinflated or worn tires can lead to handling issues, uneven wear, and even accidents. According to the National Highway Traffic Safety Administration, tire condition was a contributing factor in 655 vehicle crashes in 2017, resulting in 738 motor vehicle fatalities.
- Check Tire Pressure: Use a reliable tire pressure gauge to check the air pressure in all tires, including the spare. Inflate them to the manufacturer’s recommended pressure, which can be found in your owner’s manual or on a sticker typically located on the driver’s side doorjamb.
- Inspect for Wear: Examine the tires for signs of wear such as cracks in the sidewalls, bulges, or uneven tread wear. If you notice any of these issues, it’s time to replace the tires.
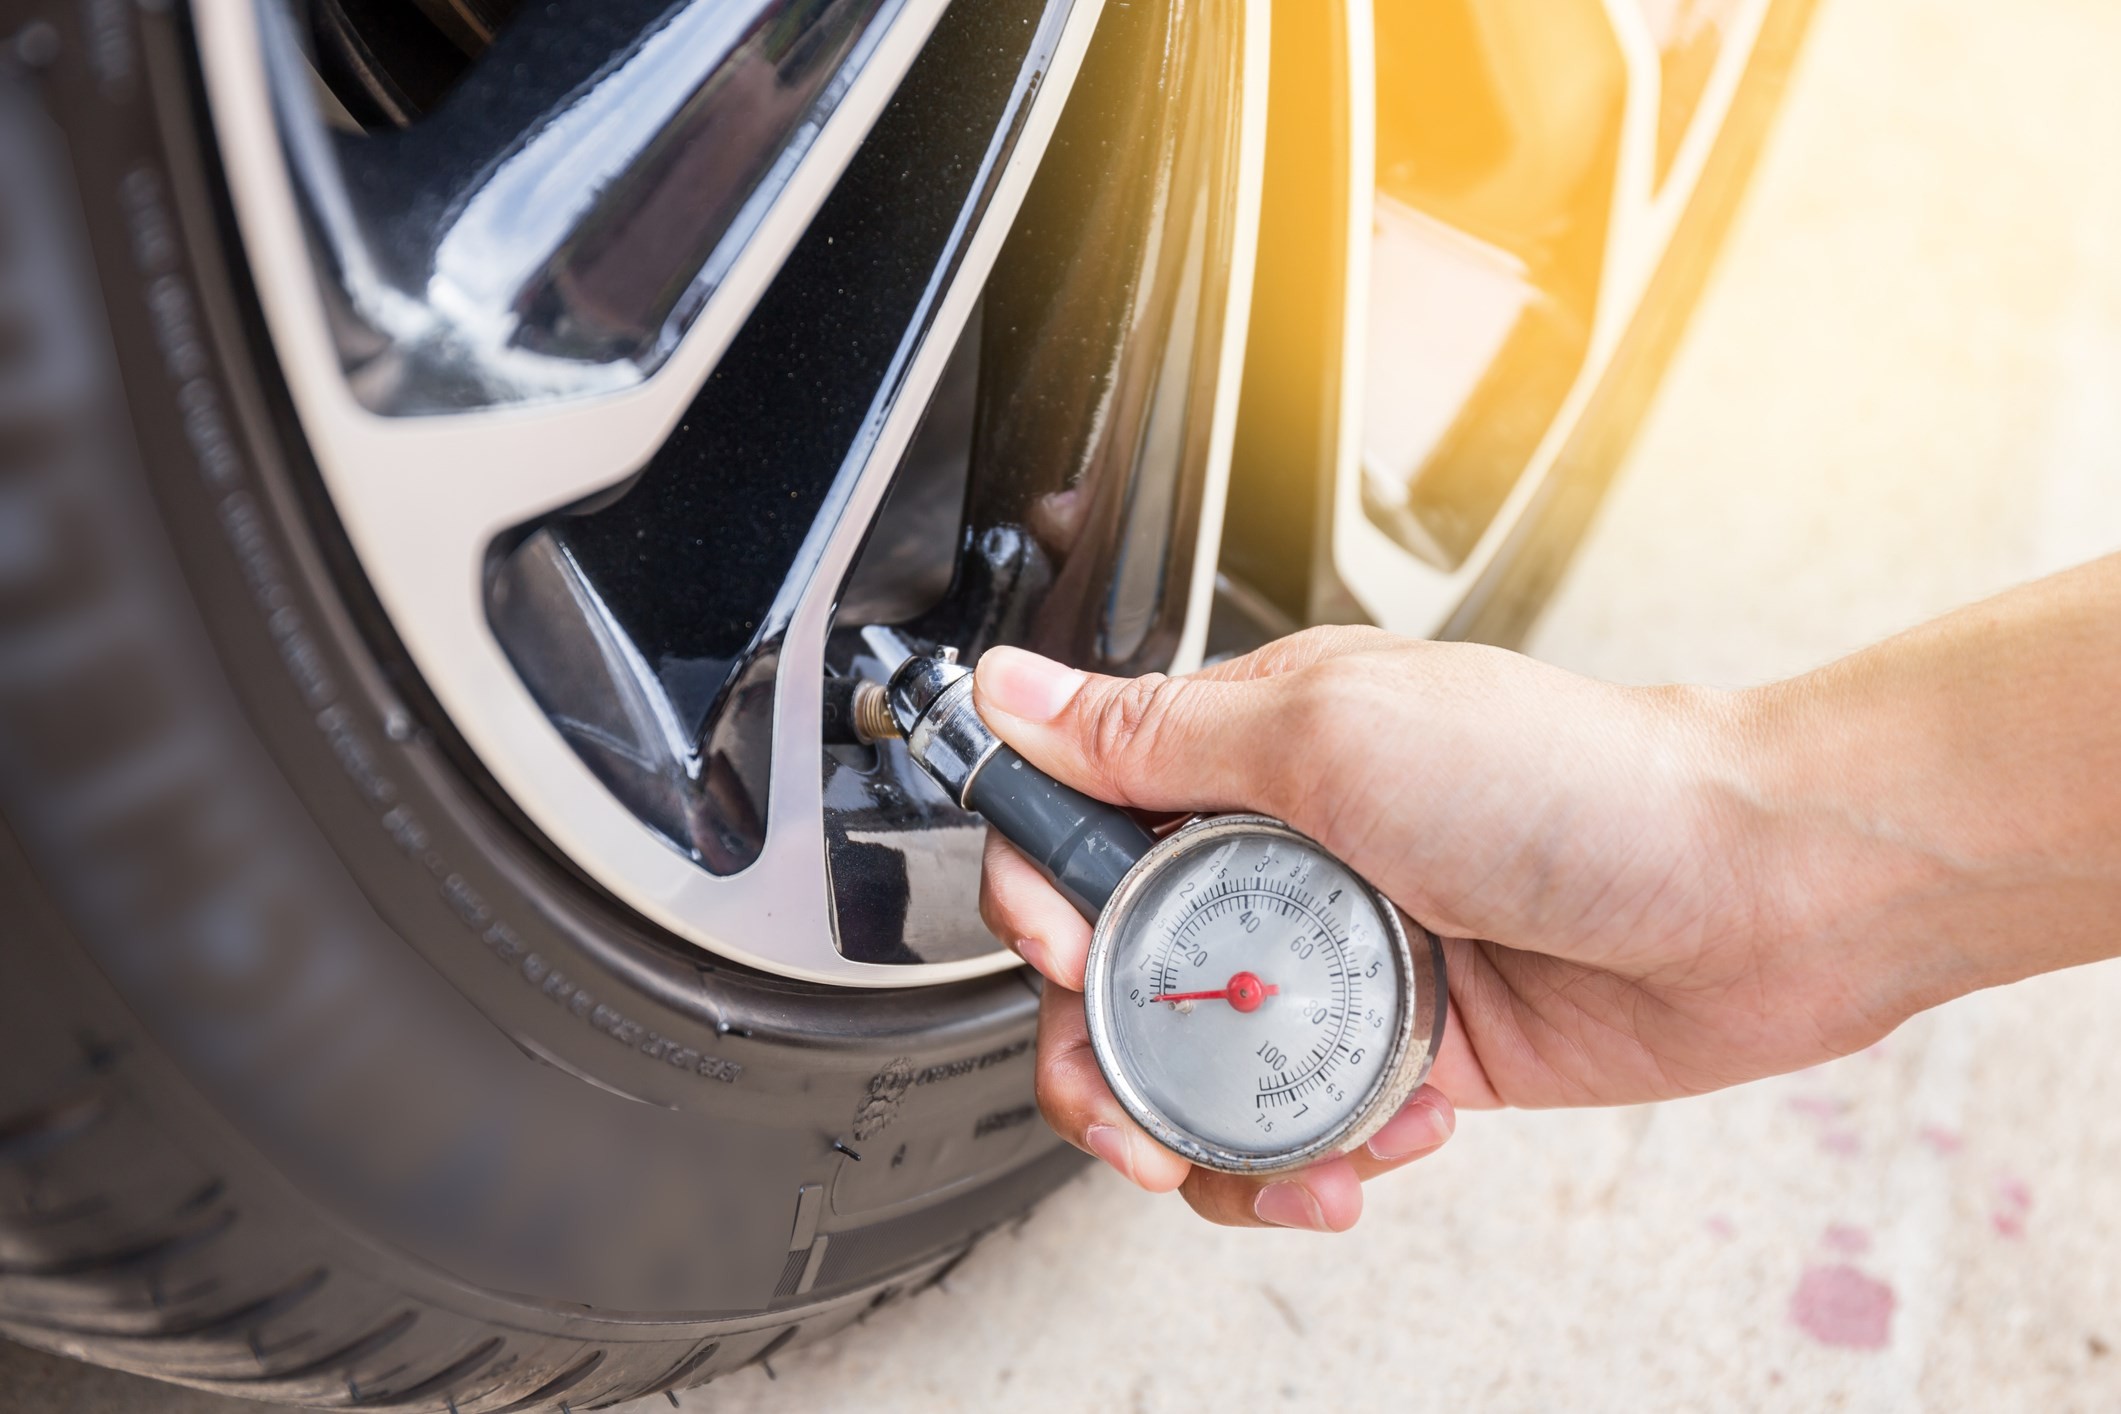 RV tires being checked with a pressure gauge, showcasing the importance of proper tire maintenance before a trip.
2. Exterior Examination: Protecting Your Investment
Is it crucial to inspect your travel trailer’s exterior for damage after winter storage? Absolutely, a thorough exterior inspection can help identify and address potential issues like leaks, cracks, and weatherstripping damage, preventing more significant problems down the road.
- Inspect Weatherstripping: Examine the weatherstripping around windows and doors. Replace any sections that are cracked, peeling, or damaged.
- Check Seals: Inspect all body, roof, and slide-out seams for cracks or gaps. Apply new sealant as necessary to prevent water intrusion.
- Inspect the Roof: If your RV was stored outdoors, check the roof for water damage, especially if there was heavy snow accumulation.
- Hitch Inspection: If you have a towable camper, inspect the hitch components for rust and damage.
3. Battery Reinstallation and Charging: Powering Your Adventures
Do RV batteries require special attention after being in storage? Yes, proper battery care is essential to ensure they are ready to power your RV’s electrical systems, and discharged batteries can significantly shorten their lifespan.
- Check Battery Charge: Use a voltmeter to check the charge level of your batteries. A fully charged 12-volt RV battery should read approximately 12.7 volts. If the reading is lower, the battery needs to be charged.
- Charge Batteries: Connect the battery charger to the RV battery while the charger is turned off. Turn the charger on and allow the battery to charge completely. Depending on the battery size and condition, this may take a few hours or even a few days.
- Check Water Level: After charging, check the water level in the battery and add distilled water as needed to cover the plates.
- Secure Connections: When reinstalling the battery, ensure it is securely connected and that the terminals are clean and free of corrosion.
 Checking a car battery with a voltmeter to ensure proper charge and functionality after storage.
4. Water System Flush: Ensuring Potable Water
How important is it to flush your RV’s water system after winterization? Flushing the water system is crucial for removing antifreeze and any contaminants that may have accumulated, ensuring a safe and clean water supply for drinking, cooking, and sanitation.
- Drain the Fresh Water Tank: If you added antifreeze directly to the fresh water tank, drain the tank completely.
- Open Faucets: Turn on the water pump and open all faucets, including sinks, showers, and outdoor faucets.
- Flush the System: Allow water to run through the system for several minutes until it runs clear and free of any antifreeze taste or odor.
- Flush the Toilet: While flushing the system, flush the toilet several times to ensure the entire plumbing system is cleared.
- Bypass Mode: Take the water heater out of bypass mode.
- Replace Water Filters: Replace all water filter cartridges that you removed for storage.
- Drain Tanks: Dump your gray and black water holding tanks at an approved dump site.
5. Water System Sanitation: Eliminating Harmful Bacteria
Why is sanitizing the water system necessary, even if antifreeze wasn’t used? Sanitizing eliminates bacteria and mold that may have grown in the water system during storage, ensuring a safe and healthy water supply.
- Close Drains: Close all drains and install drain plugs.
- Prepare Bleach Solution: Measure one-quarter cup of household bleach for every 15 gallons of fresh water tank capacity. Mix the bleach with water in a one-gallon container.
- Add Solution to Tank: Pour the bleach and water mixture into the fresh water tank fill.
- Fill the Tank: Fill the fresh water tank entirely with potable water.
- Run Water Through Faucets: Turn on the water pump and open all faucets until you can smell the bleach. Then, close the faucets.
- Let Solution Sit: Allow the solution to sit in the water tank and water lines for up to 12 hours.
- Drain and Flush: Drain all the water from the system, then refill the fresh water tank with potable water. Flush the system by turning on the water pump and opening all faucets until the water no longer smells like bleach.
6. Leak Detection: Preventing Water Damage
How can you check for leaks in your RV’s plumbing system after dewinterizing? Checking for leaks can prevent water damage and ensure the longevity of your RV’s plumbing system.
- Pressurize the System: With water in the fresh water tank, turn on the electric pump and allow it to pressurize the water system.
- Listen for the Pump: When the system reaches full pressure, the pump will shut off. Listen for several minutes to see if the pump turns back on.
- Inspect Pipes and Connections: If the pump cycles back on or doesn’t shut off at all, there is a leak in the plumbing system. Check all pipes and connections for leaks, paying close attention to areas under sinks and around the toilet.
- Check for Water Damage: Look for signs of water damage, such as stains or discoloration, which can indicate a hidden leak.
7. Propane Tank Reconnection: Ensuring Safe Propane Use
What steps should you take when reconnecting propane tanks after storage? Reconnecting propane tanks safely is crucial for operating propane-powered appliances and preventing leaks.
- Reinstall Tanks: Reinstall your propane tanks on their mounts and connect the hose.
- Check Hose Connections: Ensure the hose is fitted tightly by turning on the propane valve slightly to open the gas line.
- Test for Leaks: Apply soapy water to each of the hose connectors using a sponge or small spray bottle. Watch for bubbles, which indicate a propane leak.
- Tighten Connections: If you detect a leak, tighten the fitting and repeat the process to ensure it is tightly connected.
- Refill Tanks: If your RV has refillable propane tanks, take them to a propane station to be filled.
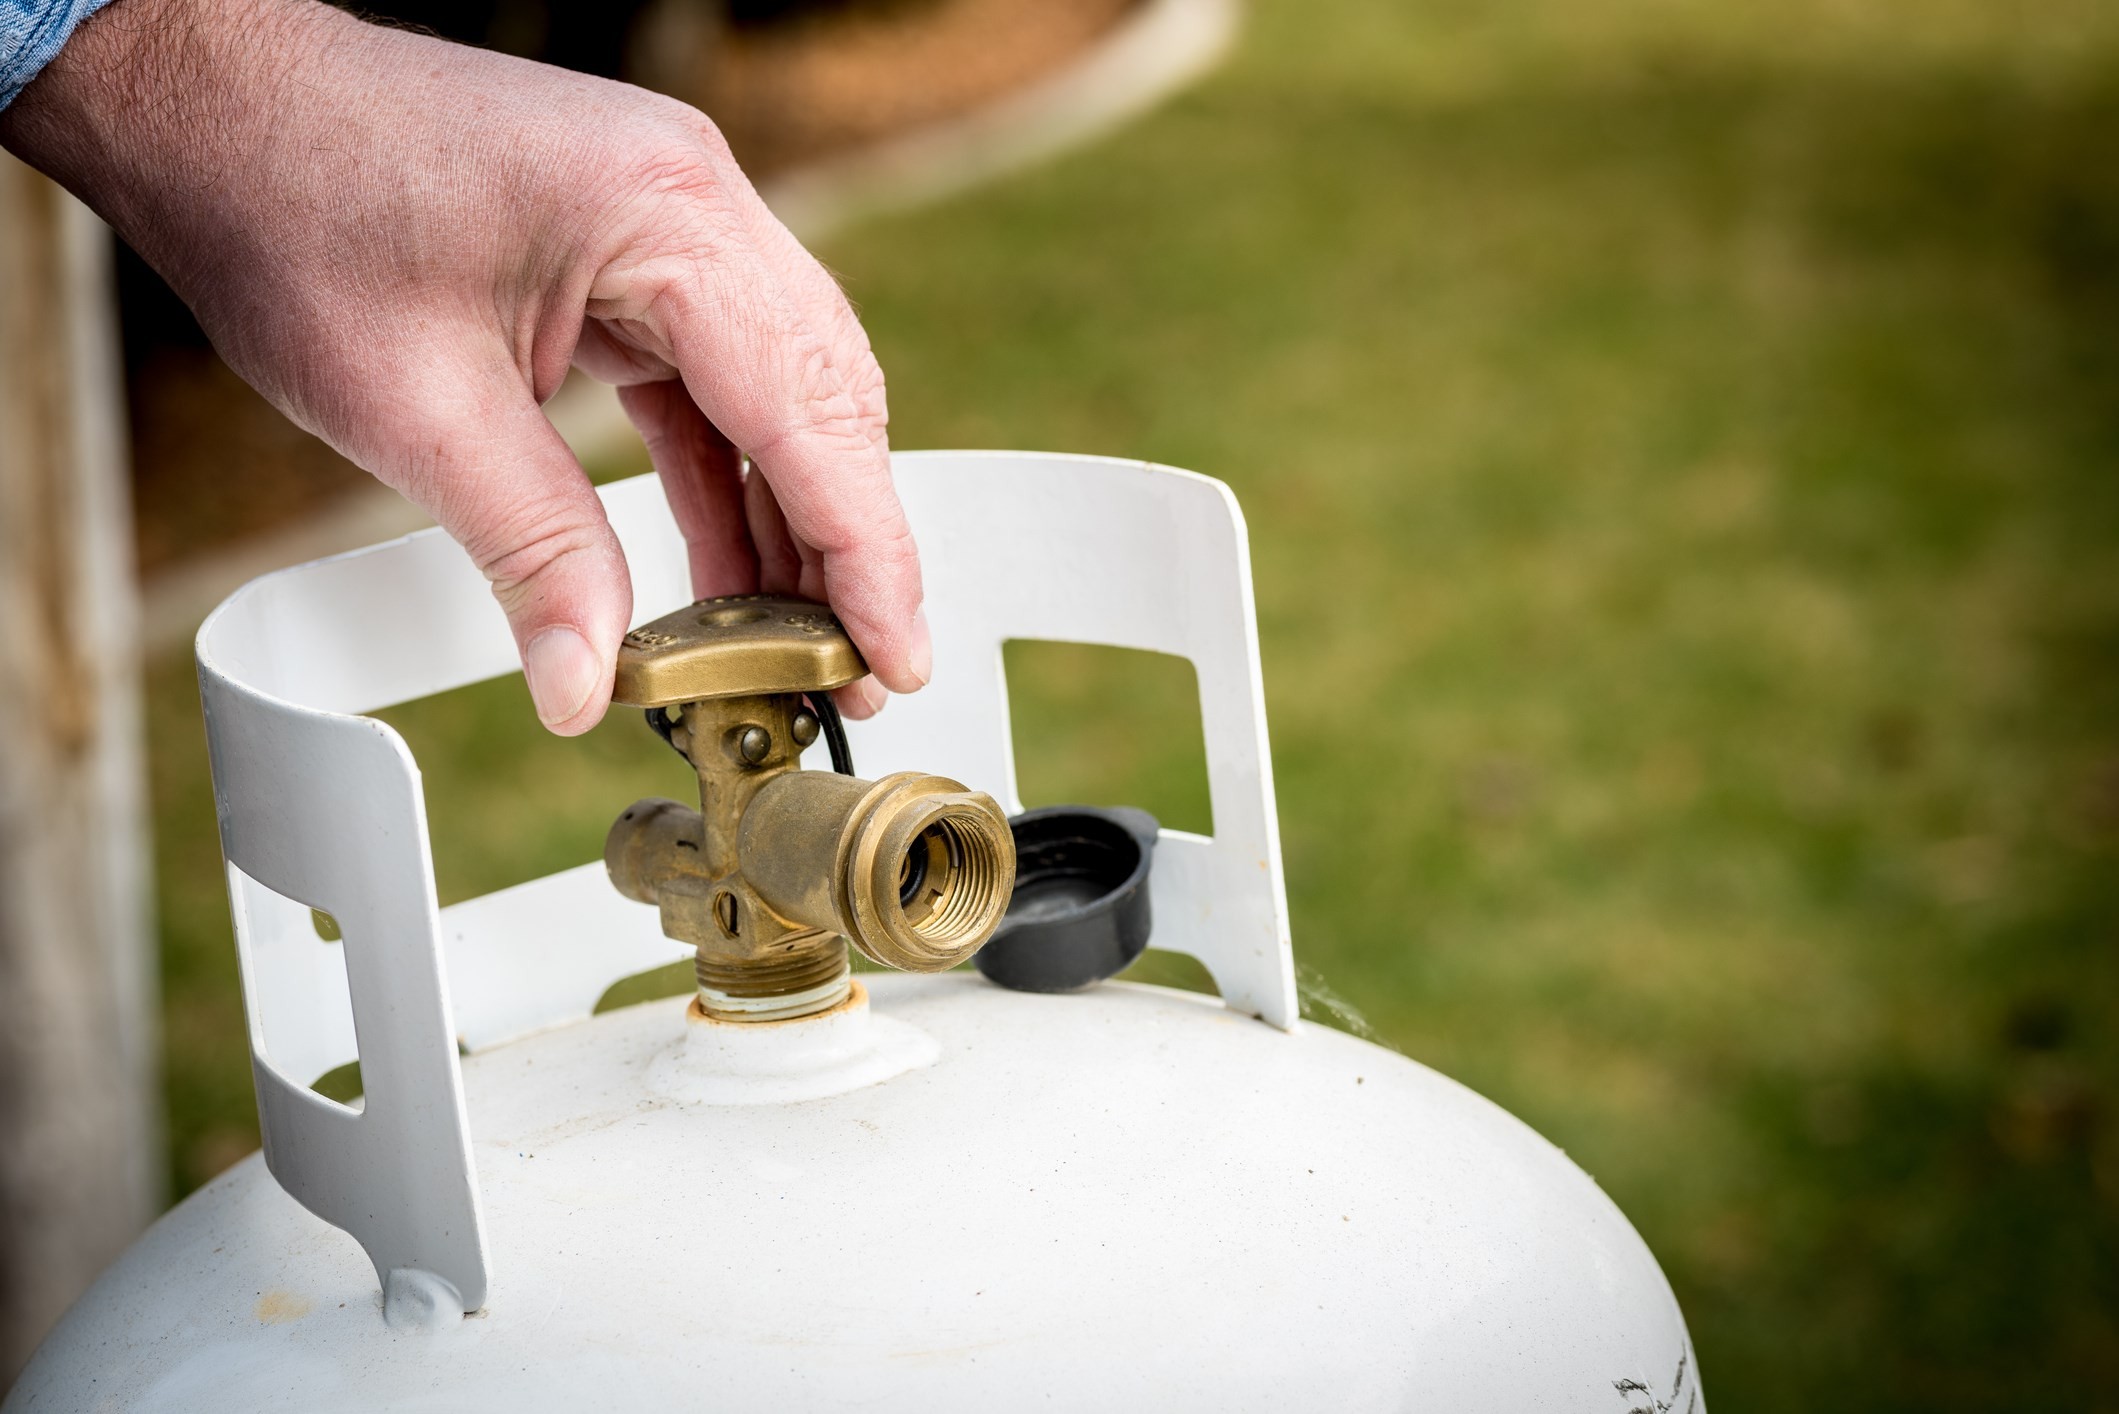 A close-up of a man adjusting the valve on a propane tank, emphasizing the importance of proper connection and safety checks.
8. Propane Appliance Testing: Verifying Safe Operation
How do you ensure propane appliances are functioning correctly after storage? Testing propane appliances ensures they are working safely and efficiently.
- Open Gas Line: After the propane tanks are reinstalled, open the gas line and test each appliance.
- Test Hot Water Heater: When testing the hot water heater, make sure it is full of water first.
- Professional Inspection: If any gas-fired appliances are not working, schedule an inspection with a certified RV maintenance service.
9. 120-Volt Appliance Testing: Ensuring Electrical Functionality
What should you check when testing 120-volt appliances? Testing 120-volt appliances confirms they are working properly and that your electrical system is functioning as expected.
- Connect to Power Source: Plug in your unit and test the 120-volt appliances. Ensure you are using a sufficient electricity source of 30 or 50 amps.
- Test Refrigerator: To test your refrigerator in electric mode, first, turn it off and then open the doors to allow it to return to room temperature. Plug it back in once your RV is connected to an electrical hook-up.
- Check All Appliances: Test all other 120-volt appliances, such as the microwave, air conditioner, and outlets, to ensure they are working correctly.
10. Engine Inspection: Maintaining Engine Health
Why is inspecting the RV engine important after winter storage? Inspecting the engine ensures it is in good condition and ready for safe travel.
- Check Fluid Levels: Check all engine fluid levels, including power steering, transmission, engine oil, brake fluid, engine coolant, and windshield washer fluid.
- Start the Engine: Hop in the driver’s seat and start the engine.
- Check Gauges and Lights: Check the readings on all gauges and verify that all dash lights, headlights, taillights, and windshield wipers are working.
- Professional Service: If any service lights come on, have your RV inspected by a certified mechanic.
11. Generator Testing: Ensuring Power on the Go
How do you ensure your RV generator is ready for use after storage? Testing the generator ensures it will provide reliable power when you’re on the road.
- Check Oil Level: Check the oil level in the generator.
- Inspect Exhaust System: Before testing your generator, check the exhaust system for any damage.
- Test the Generator: Turn the generator on to test it. If you exercised your RV generator during storage, it should start up easily.
- Run with Load: If the generator was not operated at all during storage, run it for a few hours with a half-rated load.
12. Filter Replacement: Improving System Efficiency
Why is it important to change air and water filters as part of dewinterizing? Replacing filters improves the efficiency of your RV’s systems and ensures clean air and water.
- Replace Air Filters: Change out all of your air filters.
- Replace Water Filters: Change out all of your water filters.
- Ensure Correct Size: Make sure to purchase the correct size for your air conditioner and water system.
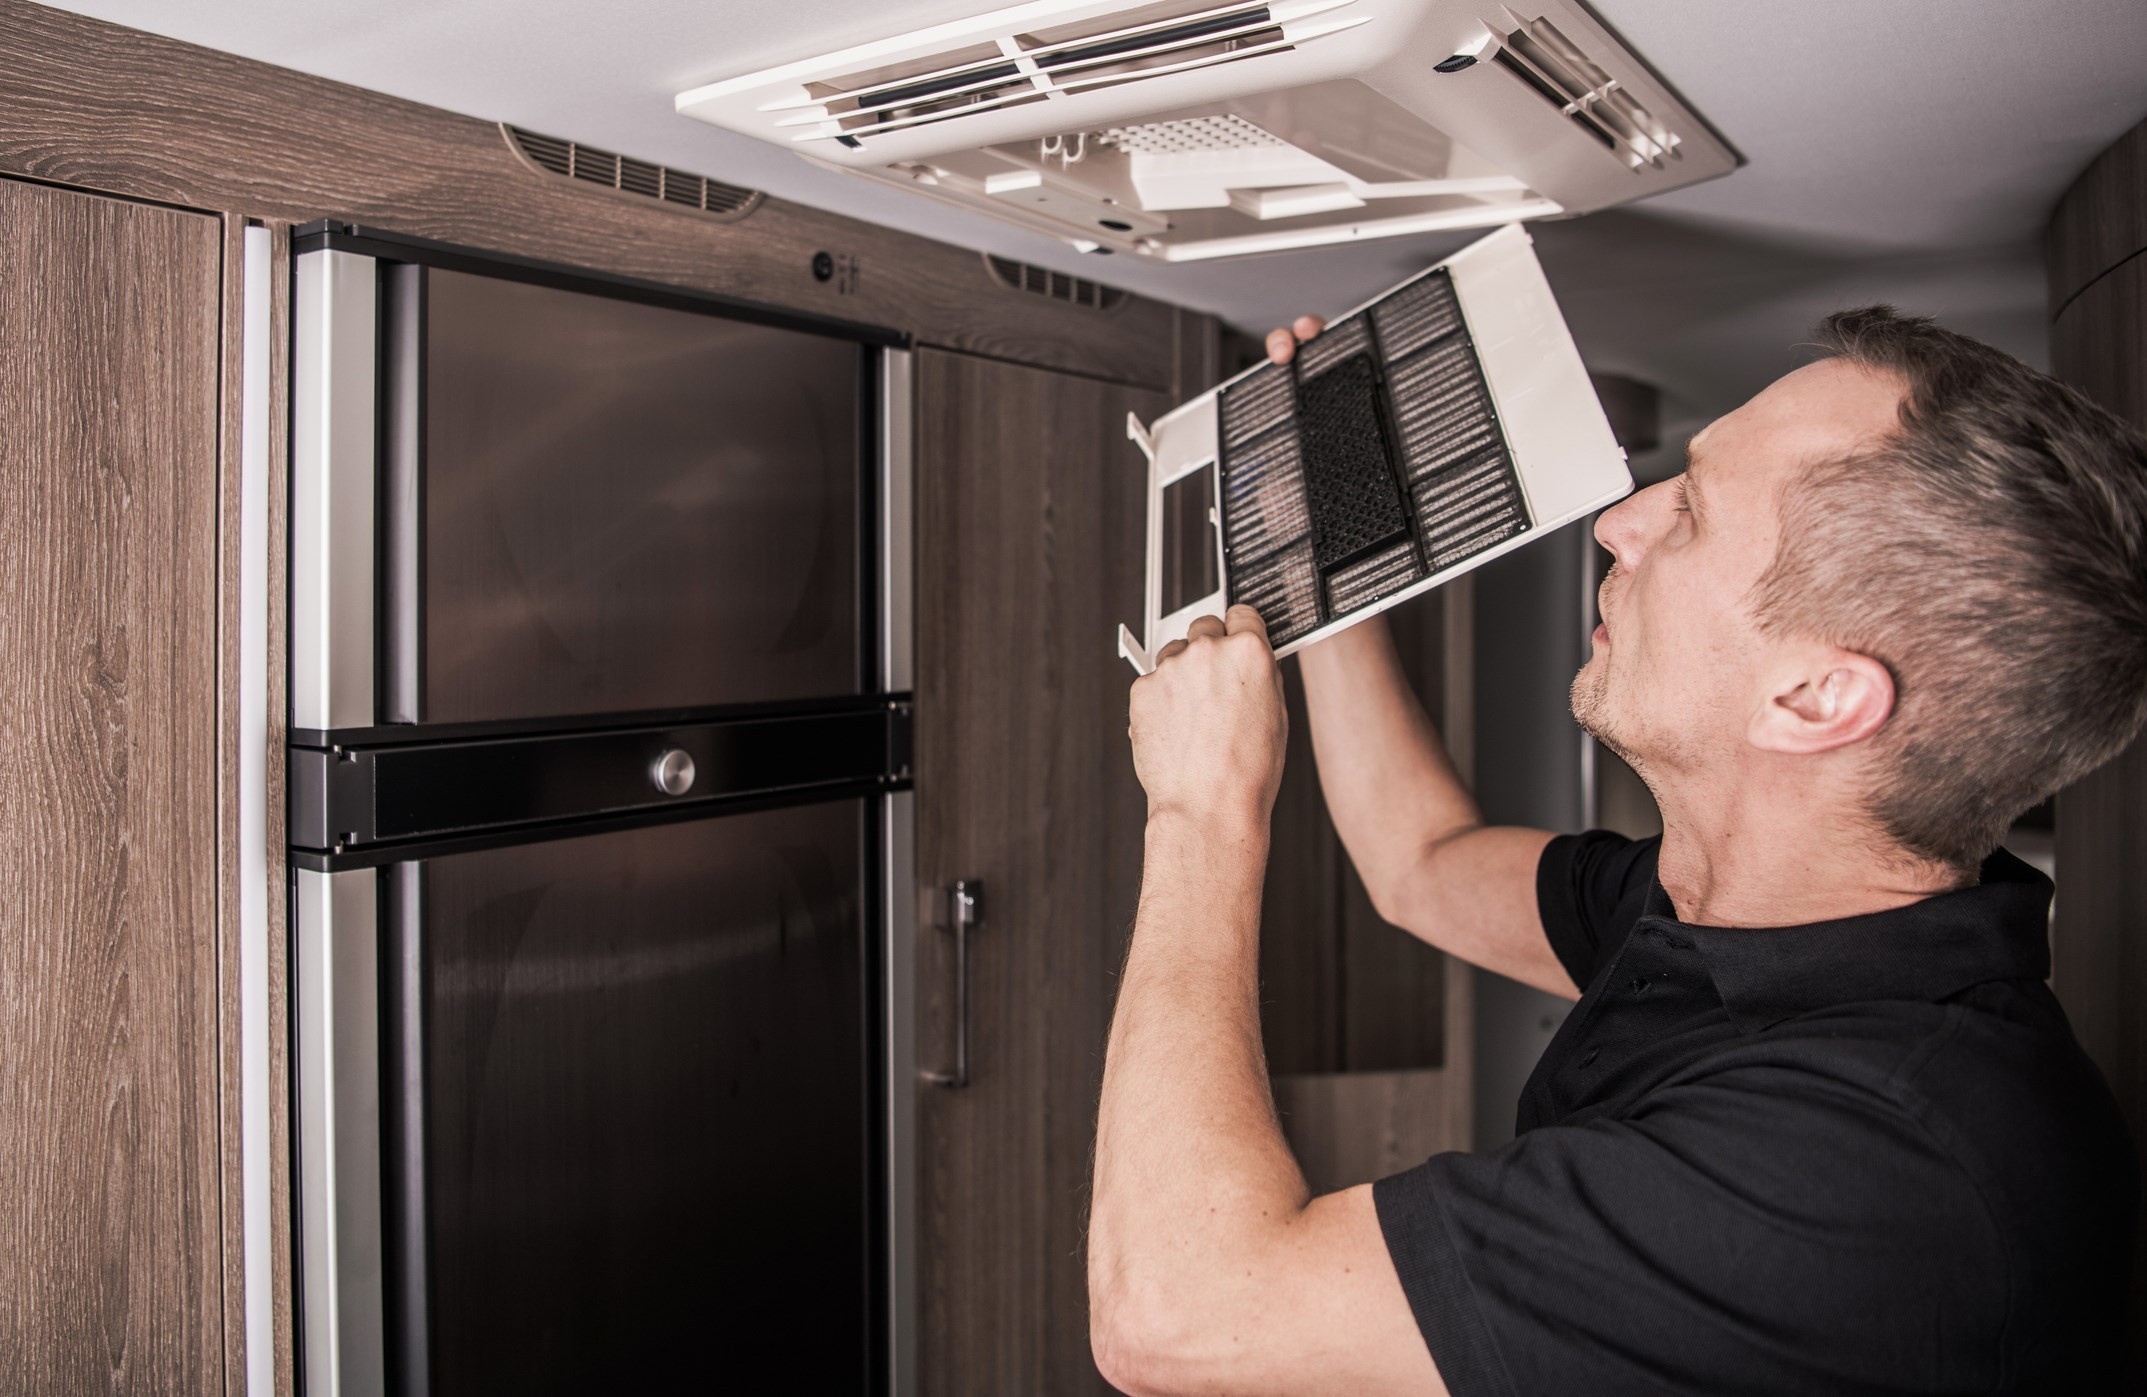 A man checking the air filter for his RV air conditioning unit, emphasizing the importance of regular filter maintenance for efficient operation.
13. Vent and Window Inspection: Ensuring Airflow and Ventilation
What should you check when inspecting windows and air vents? Inspecting windows and air vents ensures proper airflow and ventilation in your RV.
- Open Windows and Vents: Open all of your windows and air vents to make sure they are in working order.
- Check for Damage: Inspect the screens and frames for any damage.
14. Safety Device Testing: Protecting Against Hazards
Why is it crucial to test safety devices before heading out on a trip? Testing safety devices ensures they are functioning correctly to protect you from potential hazards.
- Test Smoke Alarm: Test your smoke alarm.
- Test Carbon Monoxide Detector: Test your carbon monoxide detector.
- Check Fire Extinguisher: Look at the expiration date on your fire extinguisher and purchase a new one if yours is outdated.
15. First Aid and Emergency Supply Restocking: Preparing for the Unexpected
What should you include when restocking your first aid and emergency supplies? Restocking these supplies ensures you are prepared for any unexpected situations.
- Check Expiration Dates: Check the expiration dates on any medicines.
- Restock Supplies: Restock any first aid supplies that are low.
- Replenish Emergency Kit: Replenish your RV emergency kit, including tools and other supplies for emergency RV repairs.
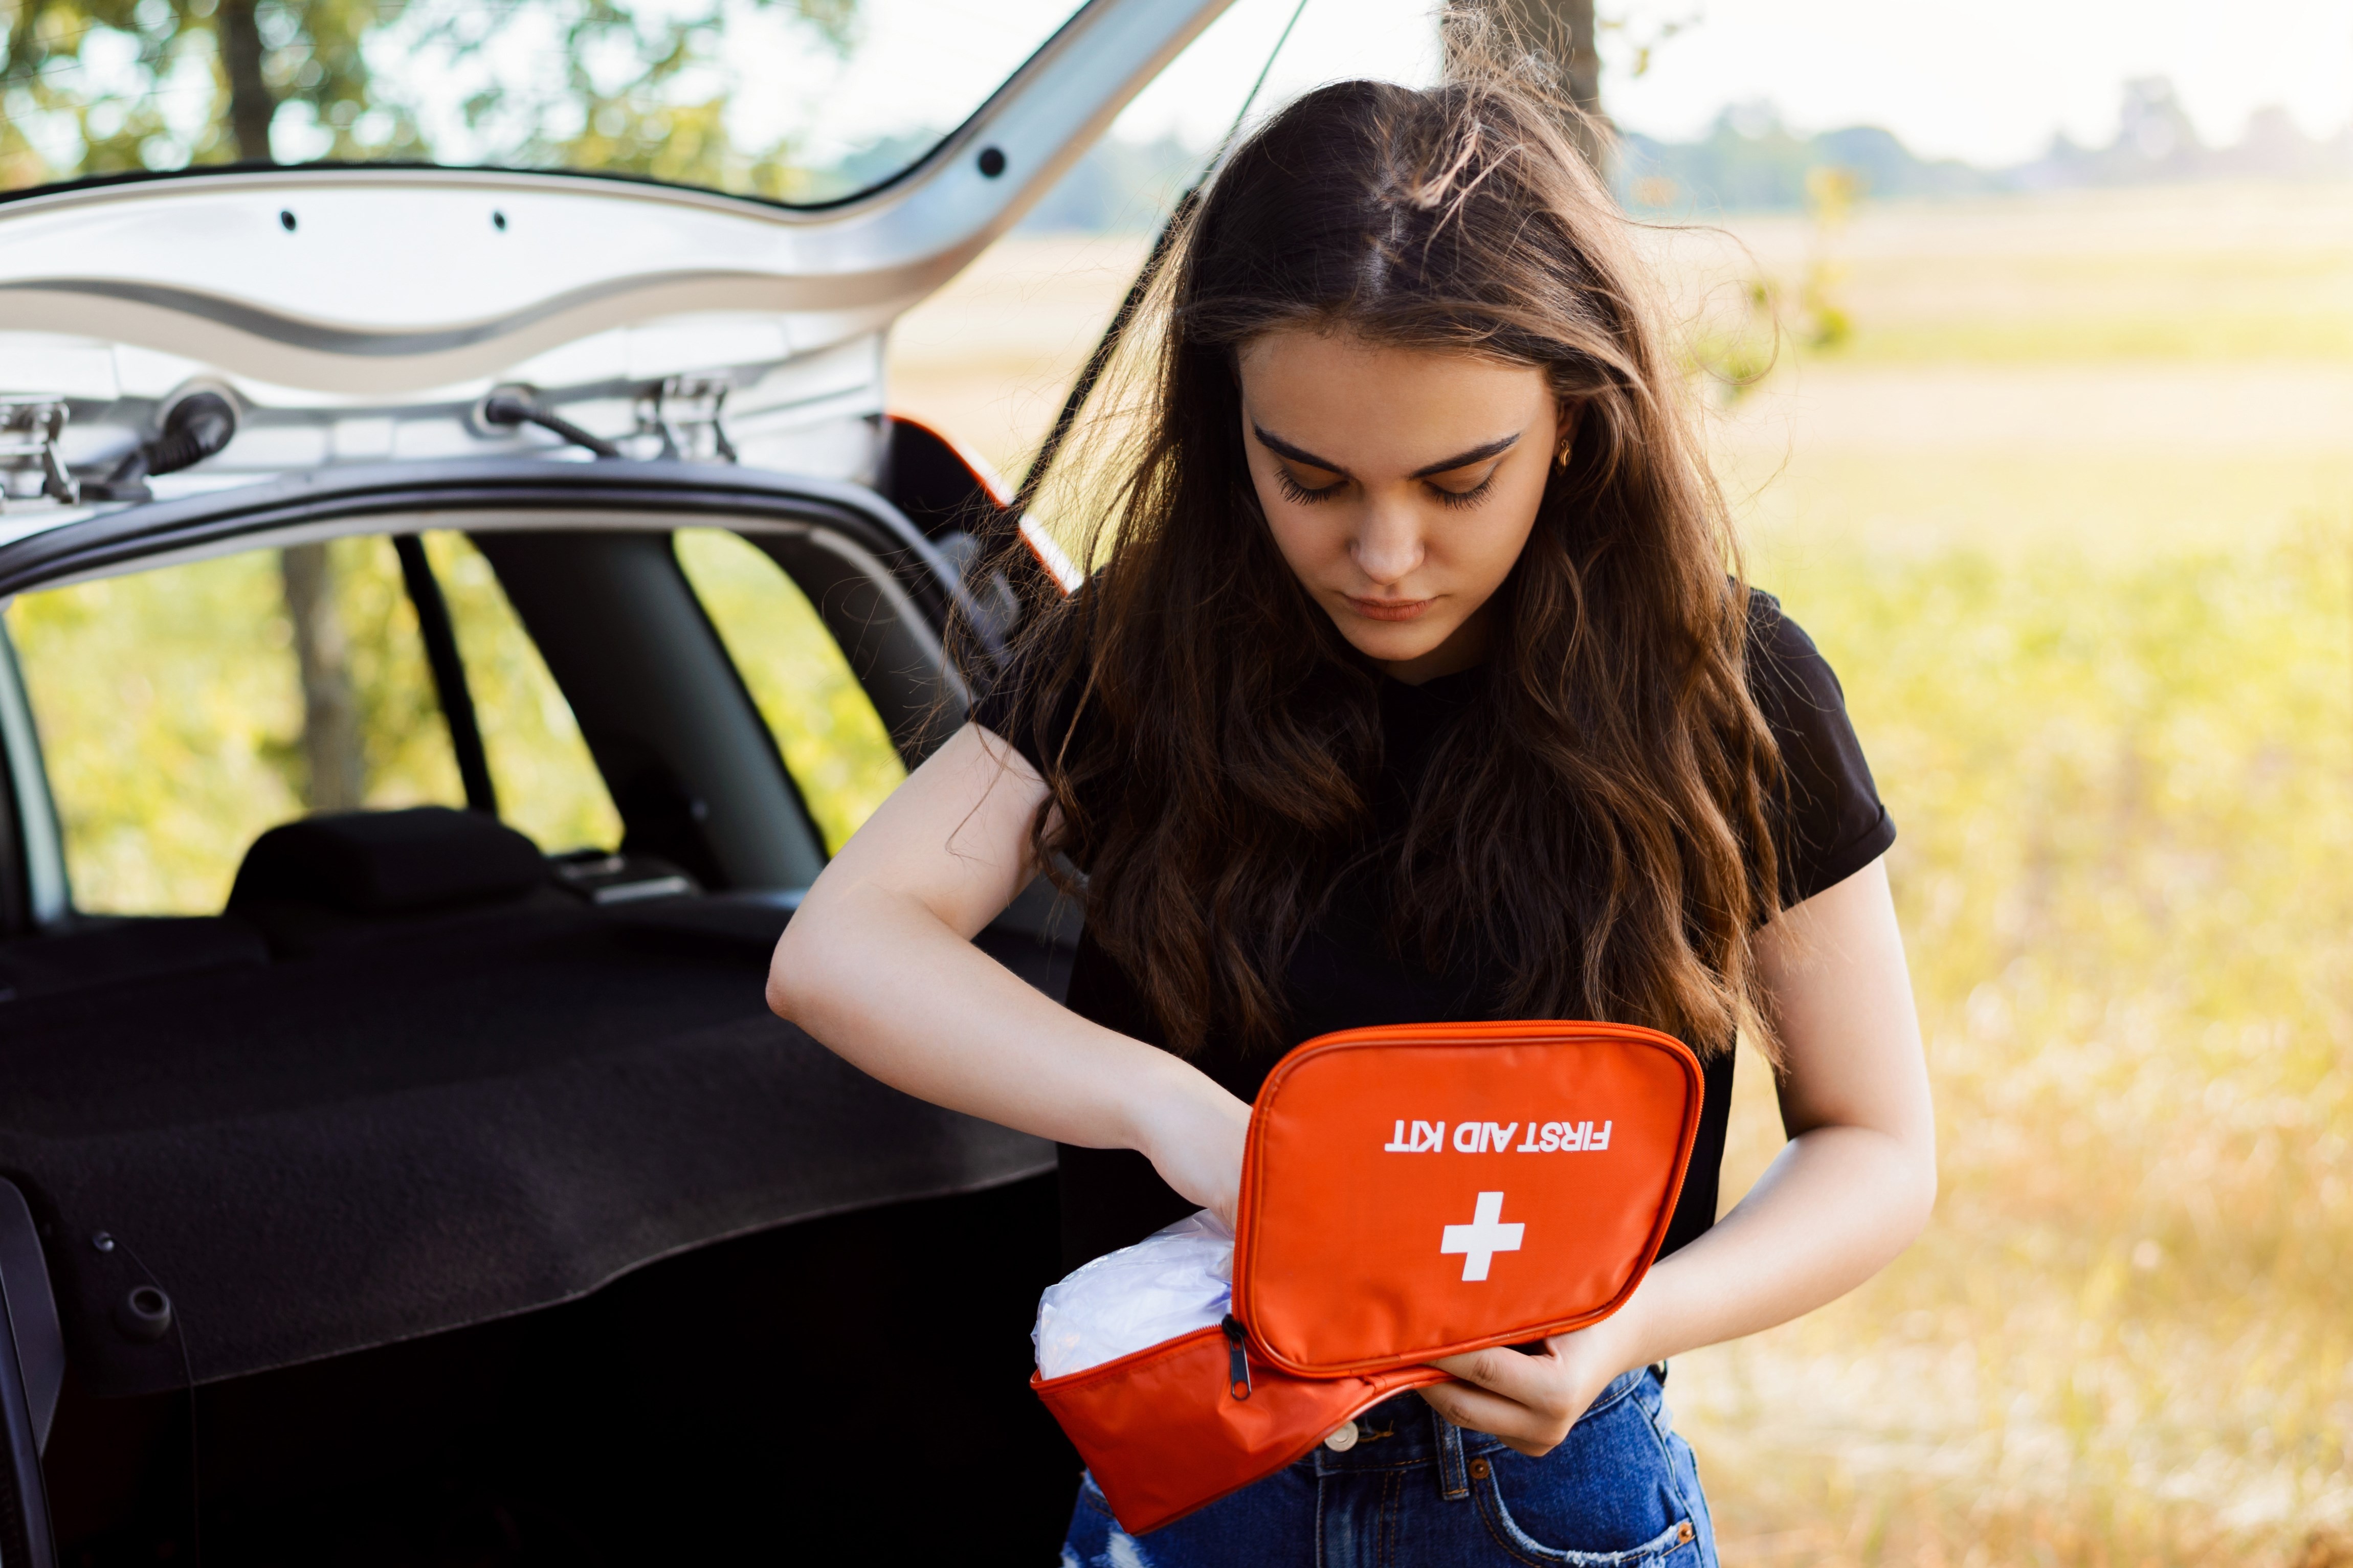 A well-stocked road trip first aid kit, emphasizing the importance of being prepared for minor injuries and emergencies while traveling.
16. Registration and Insurance Update: Ensuring Legal Compliance
Why is it important to update your RV registration and insurance? Ensuring your registration and insurance are current keeps you legally compliant and protects your investment.
- Check Registration: Check that your RV registration is up-to-date.
- Update Insurance: Update your RV insurance.
- Store Documentation: Store your RV documentation in an accessible place in your RV.
RV Spring Cleaning Tips: Freshening Up Your Space
What are some essential spring cleaning tips for your RV? These tips will help you freshen up your space after winter storage.
- Wash the Exterior: Hose down and wash the exterior of your RV.
- Check for Critters: Check your RV for any bugs, spiders, or mice.
- Clean Fans and Air Conditioners: Clean your fan blades and screens.
- Wash Windows and Screens: Remove your RV’s window screens and clean them gently.
- Change Linens and Towels: Replace any linens that you removed for storage.
- Vacuum: Vacuum your RV floors and inside the cabinets.
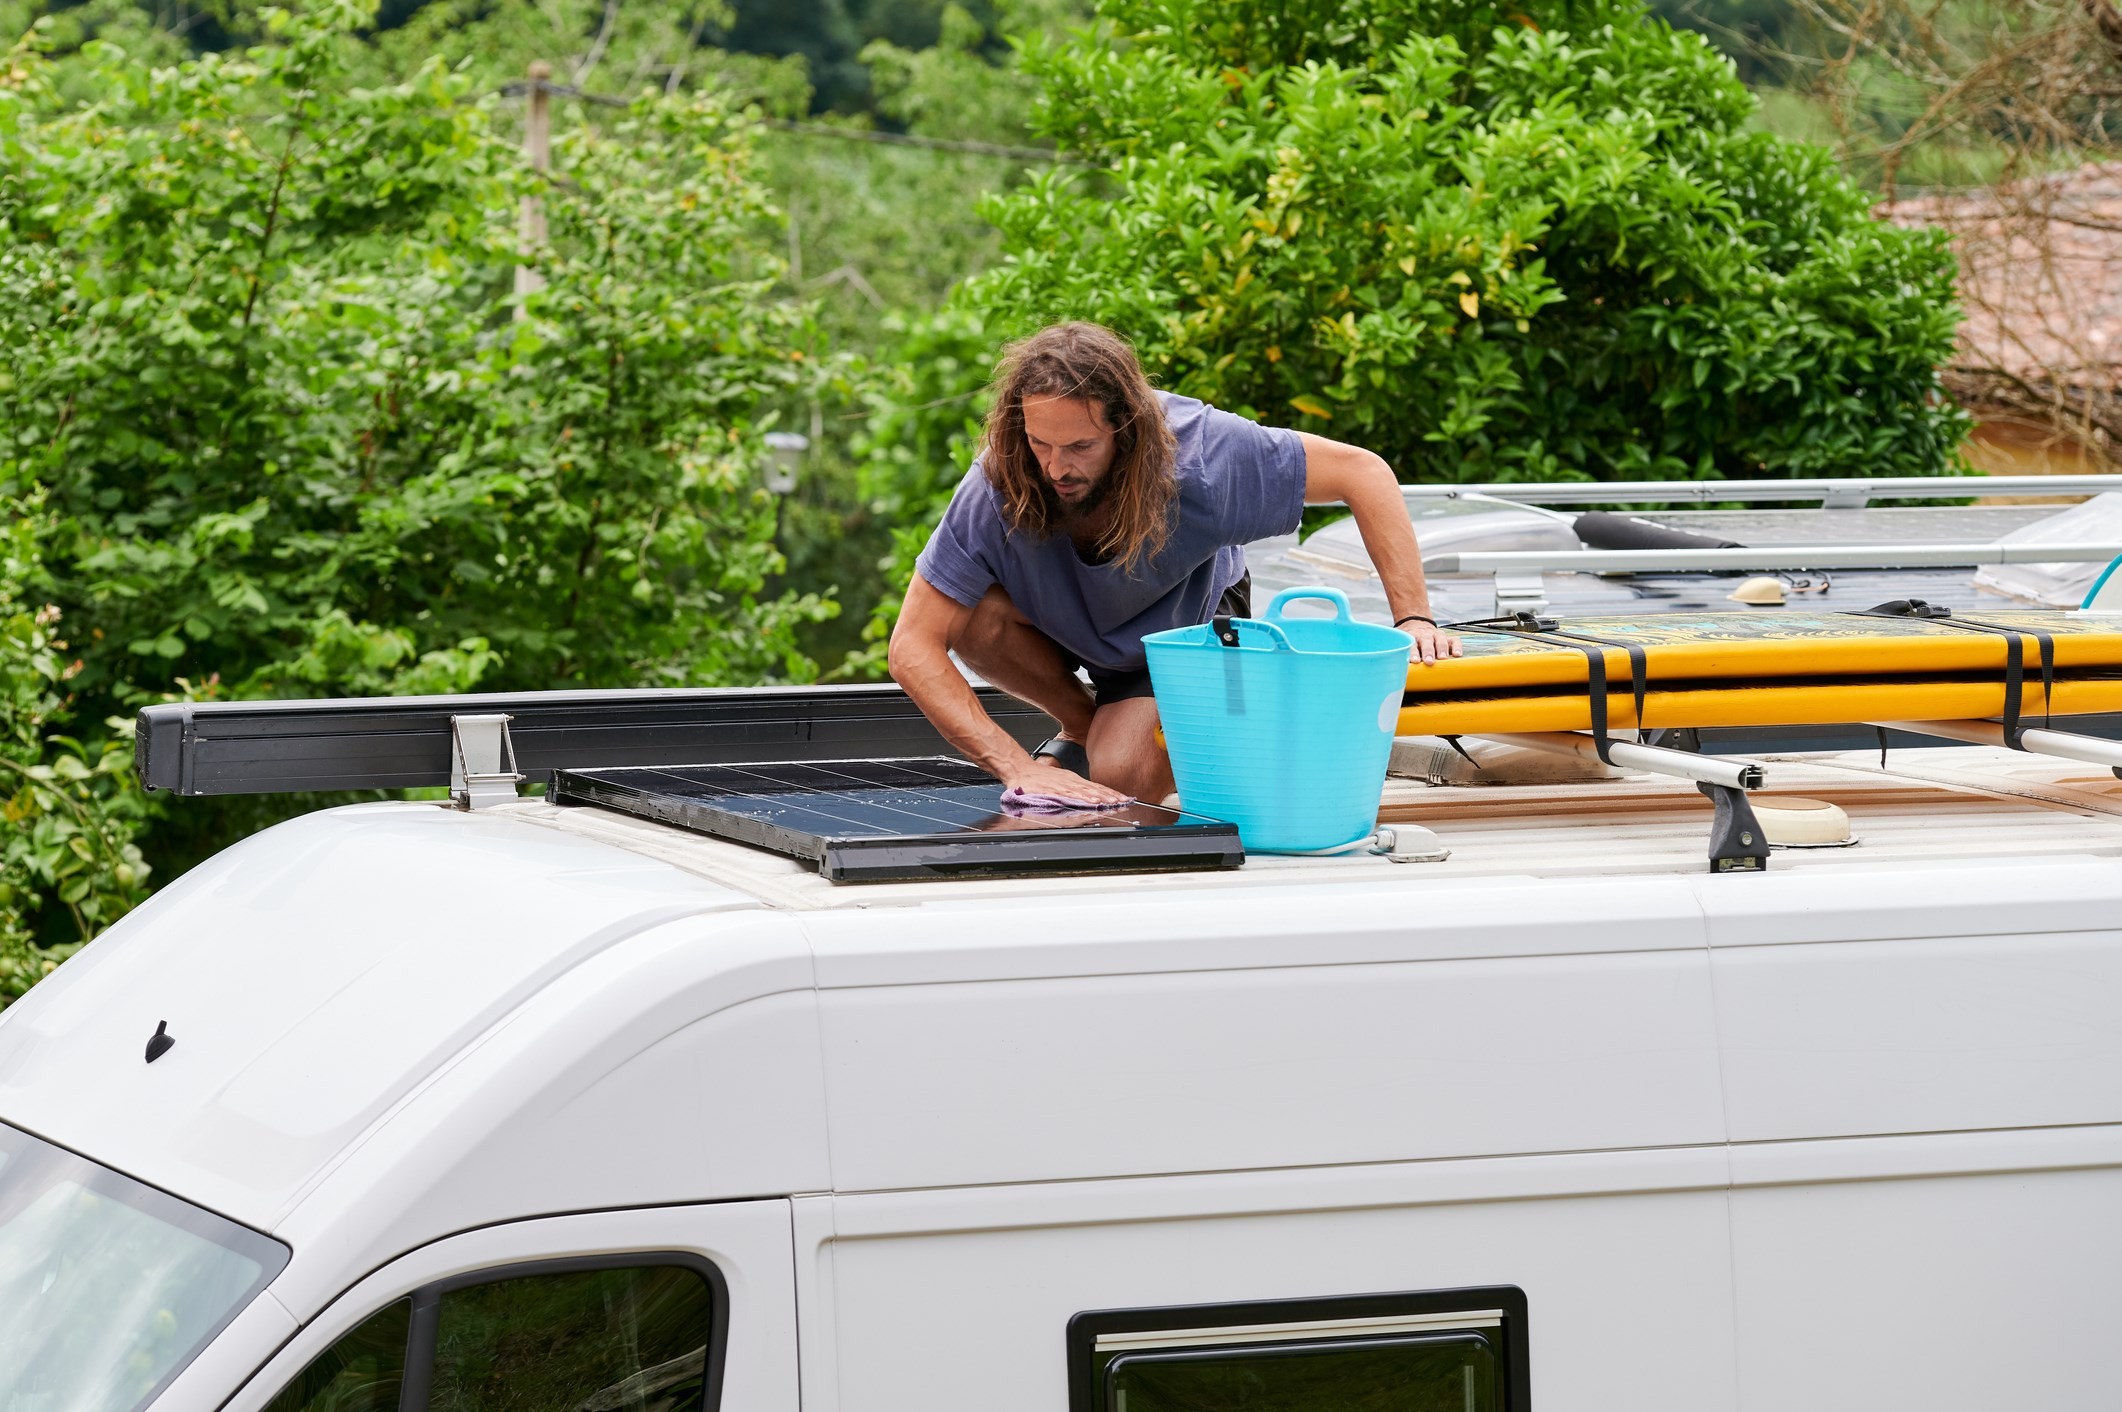 A man with long hair washing the roof of his RV, highlighting the importance of exterior cleaning as part of spring maintenance.
TRAVELS.EDU.VN: Your Partner in RV Adventures
Why Choose TRAVELS.EDU.VN for Your RV Travel Needs?
At TRAVELS.EDU.VN, we understand that planning an RV trip can be overwhelming. That’s why we offer comprehensive services designed to make your travel experience seamless and enjoyable. Our team of travel experts is dedicated to providing personalized assistance, ensuring every detail of your trip is taken care of.
Benefits of Booking with TRAVELS.EDU.VN
- Expert Guidance: Our experienced travel advisors provide expert guidance and personalized recommendations to help you plan the perfect RV adventure.
- Customized Itineraries: We create customized itineraries tailored to your interests, preferences, and budget, ensuring a unique and unforgettable travel experience.
- Hassle-Free Planning: We handle all the details, from campground reservations to activity bookings, so you can relax and enjoy your trip without the stress of planning.
- Exclusive Deals: We offer exclusive deals and discounts on RV rentals, campground stays, and attractions, helping you save money on your travel expenses.
- 24/7 Support: Our dedicated support team is available 24/7 to assist you with any questions or concerns that may arise during your trip, providing peace of mind and reliable assistance whenever you need it.
Discover Napa Valley with TRAVELS.EDU.VN
Are you dreaming of exploring the picturesque vineyards and rolling hills of Napa Valley in your RV? TRAVELS.EDU.VN can make that dream a reality. We offer expertly crafted RV tours of Napa Valley, showcasing the region’s best wineries, gourmet restaurants, and scenic landscapes.
Napa Valley RV Tour Highlights:
- Vineyard Tours and Wine Tastings: Experience the world-renowned wineries of Napa Valley with guided tours and exclusive wine tastings.
- Gourmet Dining Experiences: Indulge in exquisite culinary delights at Napa Valley’s top-rated restaurants, featuring locally sourced ingredients and innovative cuisine.
- Scenic Drives: Enjoy breathtaking views of the Napa Valley countryside as you cruise along scenic routes and discover hidden gems.
- Customized Itineraries: We tailor each tour to your specific preferences, ensuring a personalized and unforgettable experience.
- Comfortable Accommodations: Relax and unwind at top-rated RV resorts and campgrounds, offering full amenities and stunning views.
Contact TRAVELS.EDU.VN Today
Ready to start planning your Napa Valley RV adventure? Contact TRAVELS.EDU.VN today for a free consultation. Our team of travel experts is here to answer your questions, provide personalized recommendations, and help you create the perfect RV tour.
Contact Information:
- Address: 123 Main St, Napa, CA 94559, United States
- WhatsApp: +1 (707) 257-5400
- Website: TRAVELS.EDU.VN
Let travels.edu.vn take the stress out of planning your next RV adventure. Contact us today and start exploring the world in style and comfort.
FAQ: Dewinterizing Your Travel Trailer
1. What is the first step in dewinterizing a travel trailer?
The first step is to inspect your RV tires to ensure they are properly inflated and in good condition.
2. Why is it important to flush the water system after winterization?
Flushing the water system removes antifreeze and contaminants, ensuring a safe and clean water supply.
3. How do I sanitize the water system in my RV?
Sanitize the water system by adding a bleach solution to the fresh water tank, letting it sit, and then flushing the system with clean water.
4. What should I check when inspecting the exterior of my RV?
Check for leaks, cracks, and damage to weatherstripping and seals.
5. How do I test for leaks in my RV’s plumbing system?
Pressurize the water system and listen for the pump cycling on or inspect pipes and connections for leaks.
6. Why is it important to test propane appliances after storage?
Testing propane appliances ensures they are working safely and efficiently.
7. What safety devices should I test before heading out on a trip?
Test smoke alarms, carbon monoxide detectors, and check the expiration date on the fire extinguisher.
8. How often should I replace the air and water filters in my RV?
Replace air and water filters at least once a year or as needed, depending on usage.
9. What should I include in my RV emergency kit?
Include tools, extra fluids, hoses, batteries, and leveling blocks.
10. Why should I update my RV registration and insurance before traveling?
Updating your registration and insurance ensures you are legally compliant and protected in case of an accident.