Travel Stickers. Those vibrant little badges of honor that proudly proclaim, “I was there!” For RVers, van lifers, and avid travelers alike, these stickers are more than just souvenirs; they’re visual timelines of adventures, a collage of memories plastered across our mobile homes or cherished notebooks. It’s a common sight to see RVs adorned with travel stickers, each representing a stop on the map, a story told in miniature. Many enthusiasts stick them directly onto the exterior, while others find creative ways to showcase their collection inside their rigs.
When I embarked on my full-time RV journey, I too was eager to accumulate and display these travel mementos. However, a question lingered: What if this RV isn’t my forever home on wheels? What if I upgrade to a larger model or decide to sell altogether? Would my hard-earned sticker collection be lost to the ages? This sparked a quest to find the perfect, transferable solution for displaying my growing array of travel stickers.
 RVers often display travel stickers on the exterior of their rigs as badges of honor.
Location, Location, Location: Finding the Perfect Spot for Your Travel Stickers
The first hurdle was deciding where to place these precious travel stickers. Initially, the RV exterior seemed like the conventional choice, mirroring countless rigs I’d seen on the road. However, several factors steered me away from this option. Firstly, the relentless exposure to weather elements and the rigors of travel raised concerns about their longevity. Sun, rain, and road grime can quickly fade and damage even the most resilient stickers. Secondly, and perhaps more personally, I prefer a degree of subtlety in my travels. While towing an RV is hardly inconspicuous, I’m not keen on overtly advertising my extensive travels, opting for a lower profile for both aesthetic and security reasons. I wanted my RV to blend in, not stand out as a target or draw unwanted attention.
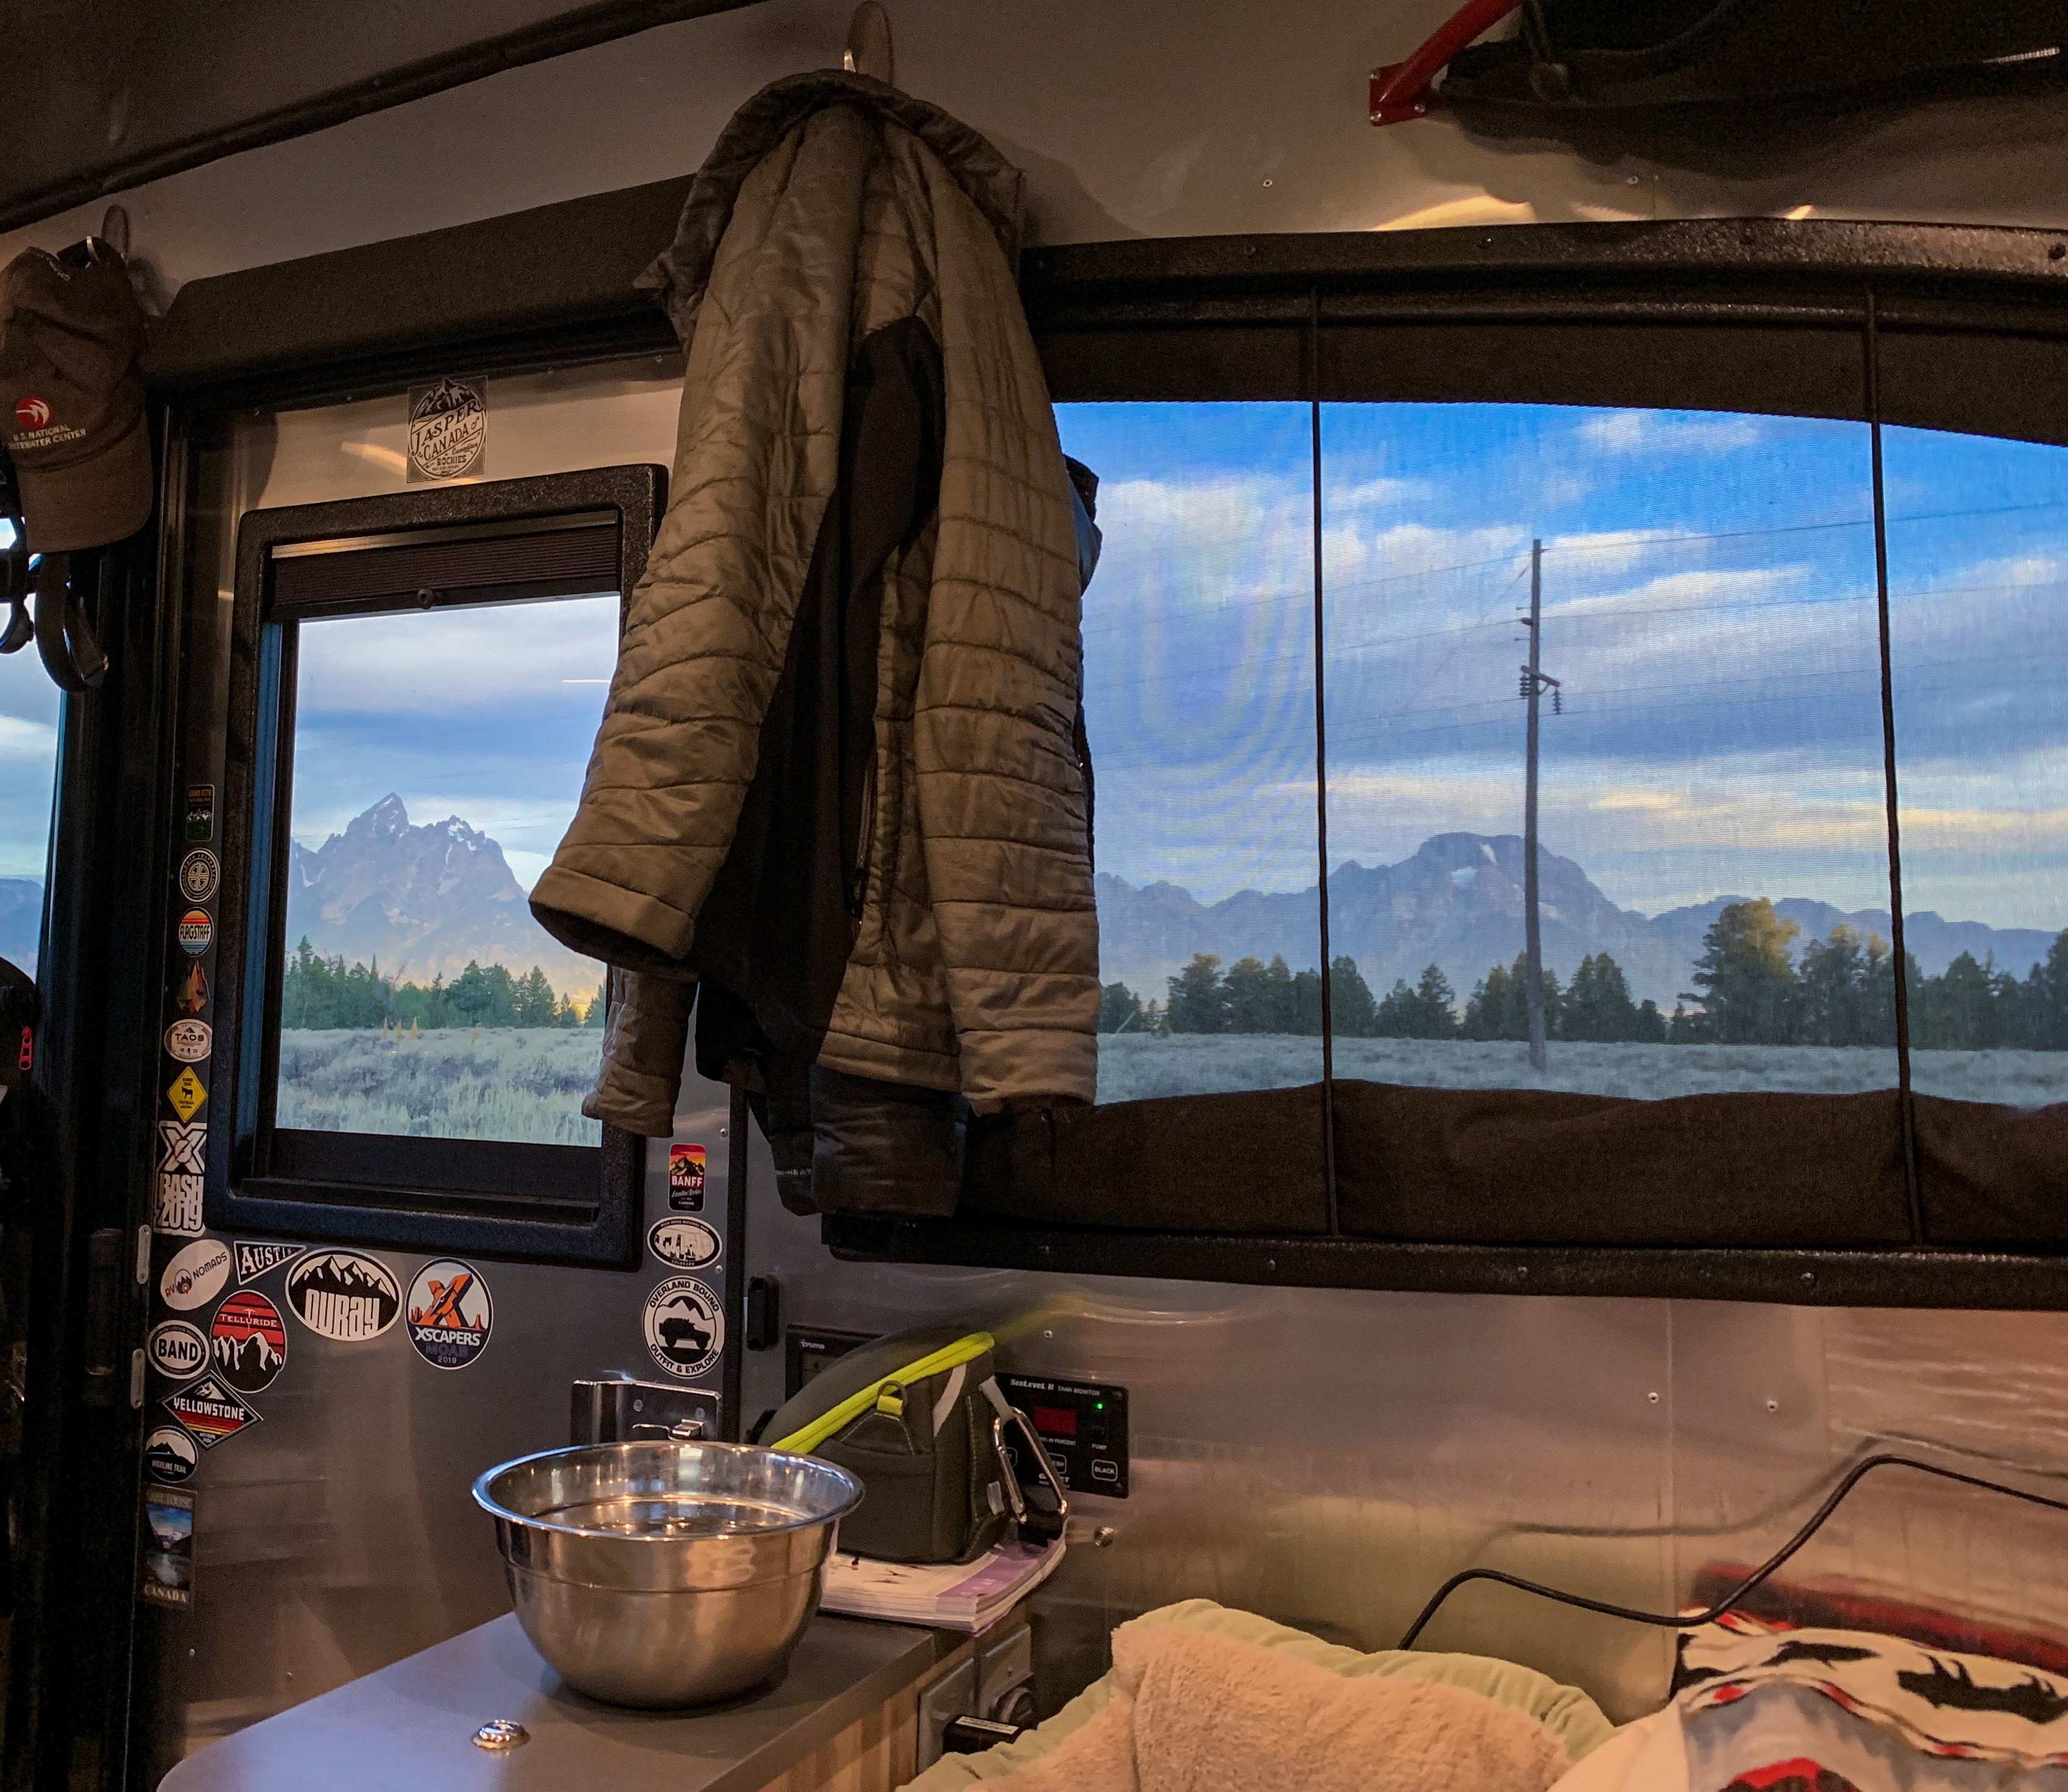
 Interior RV door with travel stickers applied with double sided tape, a more subtle and protected display location.
This led me to consider displaying my travel stickers inside the RV. The aluminum walls of my Basecamp presented a blank canvas, offering almost limitless possibilities. I’d also admired ingenious framing solutions crafted by fellow RVers, creating portable sticker galleries. Dreaming of an ever-expanding collection spanning countless destinations, I envisioned a space within the RV that could accommodate a substantial number of travel stickers without overwhelming the interior’s aesthetic with a riot of color. Inspired by others who had utilized their interior doors, the side door of the Basecamp emerged as the ideal location – visible yet contained, offering a dedicated space for my growing sticker story.
The Double-Sided Tape Detour: An Adhesive Experiment
To initially tackle the challenge of affixing the stickers without permanent commitment, I turned to trusty double-sided tape. For the first year and a half of my travels, this seemed like a viable temporary solution. I diligently kept the paper backing on each newly acquired travel sticker, meticulously covering every inch with double-sided tape. After prepping the chosen spot on the interior door with an alcohol wipe, I’d firmly press the taped sticker into place.
However, about eighteen months into my journey, the flaws in this method began to surface. I noticed some stickers starting to peel away from their paper backings. Being on the main entry door, these edges were constantly catching on my hand as I entered and exited the RV. My first instinct was to simply remove the paper backings entirely and stick the stickers directly to the door. But this would defeat the original purpose – portability and transferability. The fear of losing my collection with a future RV change resurfaced.
Briefly, I considered attaching a thin sheet of metal to the door, envisioning the stickers adhering to the metal, making the entire collection easily transferable. However, sourcing a suitable piece of metal that was both aesthetically pleasing and cost-effective proved more difficult than anticipated. Then, while driving between campsites, an epiphany struck. If the stickers had a sturdier backing, taping and removing them would be significantly easier and less damaging. This thought process led me to the idea of magnetic adhesive-backed sheets.
Magnetic Sheets to the Rescue: A Transferable Travel Sticker Solution
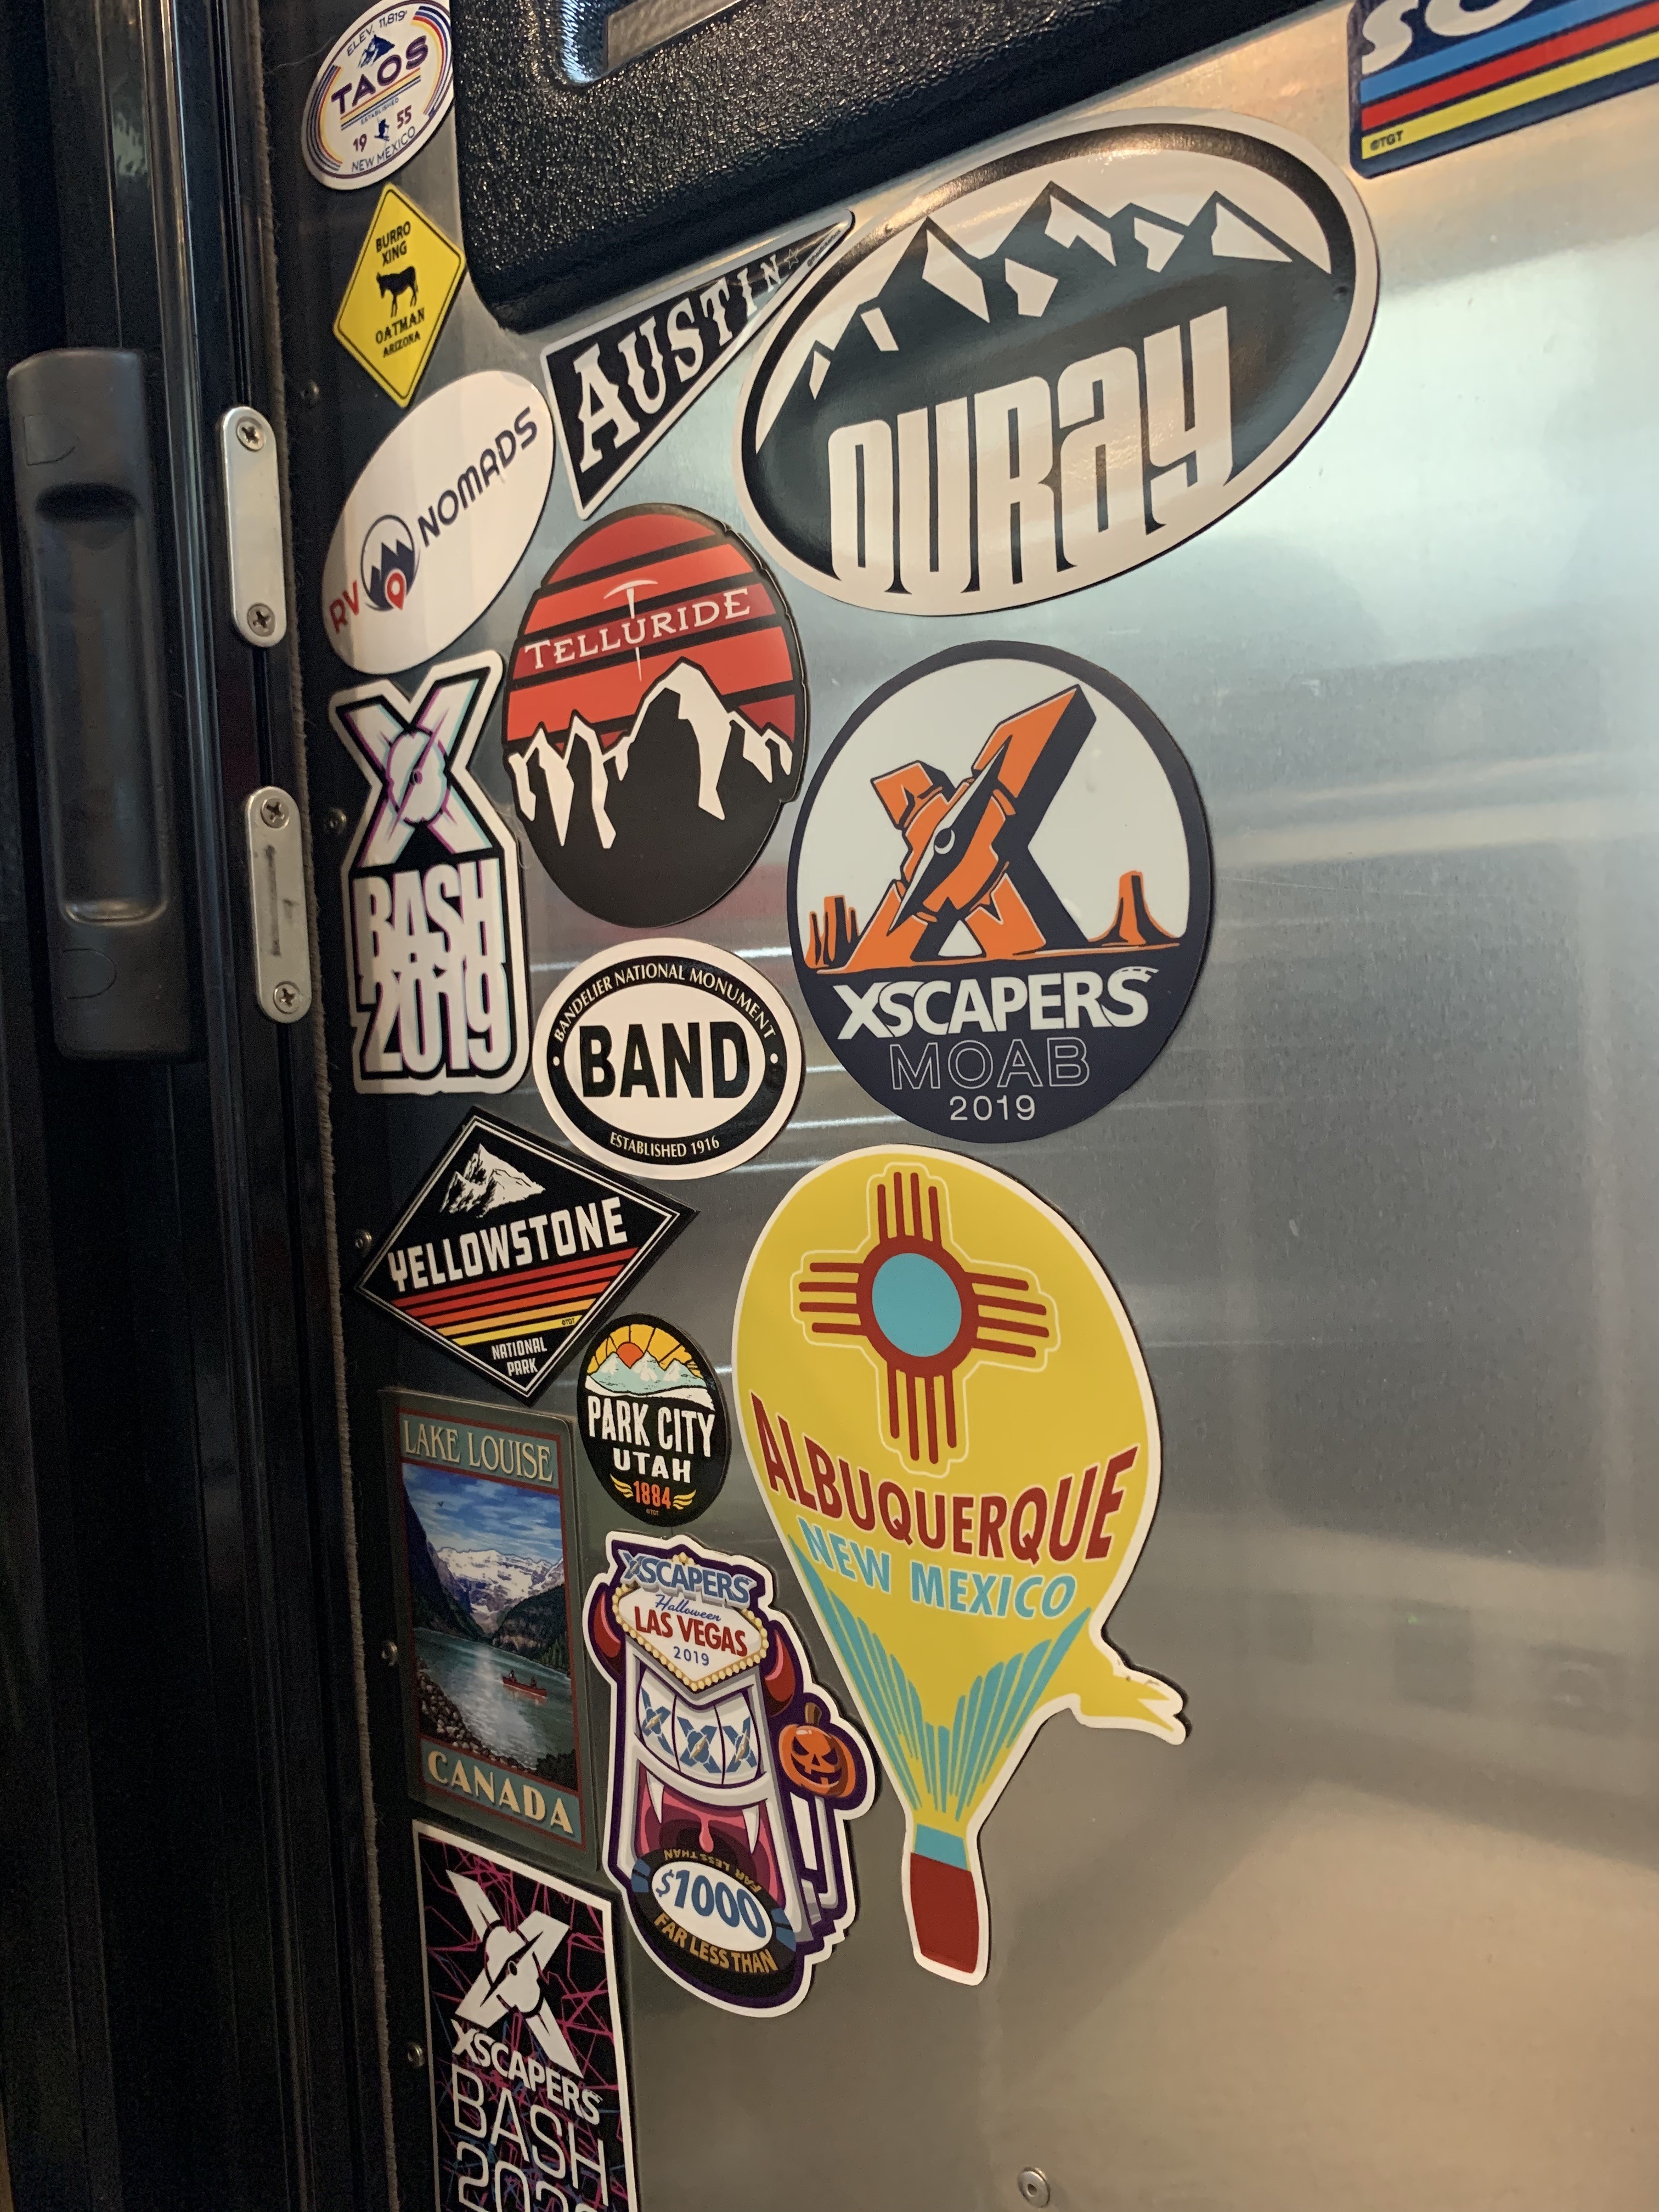 Travel stickers neatly arranged on magnetic sheets, showcasing a clean and organized display method.
Thin magnetic sheets, commonly used in crafting, provided the perfect rigid support I was seeking for my travel stickers. A quick search on Amazon revealed several options for magnetic sheets with adhesive backings, and I decided to put this concept to the test. Initially, I opted for the Magicfly version, but since they are no longer available, I’ve found the X-bet Magnet sheets to be an almost identical and readily available alternative. The convenient 4″x6″ sheet size makes them easy to store within the RV, ready for future sticker additions. These magnetic sheets promised to be the ideal solution for creating a portable and adaptable travel sticker display.
From Sticky Mess to Magnetic Mastery: Step-by-Step Sticker Transformation
Upon receiving the magnetic sheets, the real work began: detaching all the stickers from the door, adhering them to the sheets, and then re-attaching the magnetic creations to the door. This seemingly simple task morphed into a more involved project than I initially anticipated. As I started peeling the stickers, I quickly realized the tenacious grip of double-sided tape. Forcibly pulling the stickers risked creasing and damaging them. Thankfully, they were still adhered to their original paper backings, offering a degree of protection.
Therefore, I carefully peeled the stickers off the paper backings and adhered them directly to the adhesive side of the magnetic sheets, ensuring a robust and lasting bond. This worked perfectly, preserving the stickers during the transfer. However, this process left all the paper backings firmly stuck to my RV door, a testament to the double-sided tape’s strength.
 Paper backings left behind on the RV door after removing stickers, illustrating the residue from double-sided tape.
With the stickers safely relocated, I tackled the remaining paper backing and the stubborn double-sided tape residue. Mindful of the aluminum door’s susceptibility to scratches, I avoided using razor blades or any sharp objects to scrape off the tape. Instead, I retrieved my rarely used hairdryer (its first deployment in two years of RV life!) and applied heat to the adhesive.
By focusing the heat for 30-60 seconds on each section, the tape warmed up sufficiently to peel cleanly away from the door. Given the sheer number of stickers, this process consumed over an hour. Fortunately, being in an RV park meant I didn’t have to worry about power consumption.
 Close-up of removing softened double-sided tape from the RV door with heat.
Precision Cutting and Re-Attachment: The Finishing Touches
With the stickers now securely on the adhesive side of the magnetic sheets, the next step was meticulous trimming. I carefully cut around each sticker, ensuring no magnetic sheet was visible, creating a clean, professional finish. This was a somewhat tedious task, especially for irregularly shaped stickers, requiring patience and a steady hand. However, the result was worth the effort. The stickers felt significantly more substantial and durable, and I was thrilled with the improved aesthetic.
Finally, with a touch of irony, I re-attached the newly magnetic-backed stickers to the door using – you guessed it – double-sided tape! However, this time, the application was far more strategic. Previously, with flimsy paper stickers, I’d used tape excessively to ensure adhesion. Now, with the rigid magnetic sheets providing structure and preventing curling, minimal tape was needed. For smaller stickers, a single strip of double-sided tape sufficed. Larger stickers might require two or three strips for added security.
 A clean RV door ready for re-attaching travel stickers with magnetic backing and minimal double-sided tape.
Magnetic Travel Stickers: A Summary of Success
Nearly six months later, all the travel stickers remain firmly attached to the magnetic sheets and the RV door, looking as vibrant as the day I applied them. As my sticker collection expands, occasional re-arranging is necessary to optimize space. The beauty of this magnetic system is the ease of repositioning. With only minimal tape securing each sticker, adjustments are effortless. Furthermore, the prospect of future removal, should I change RVs, is now a simple, stress-free undertaking.
This magnetic sheet method has proven to be a game-changer for displaying travel stickers. It offers a transferable, damage-free, and aesthetically pleasing solution for showcasing your adventures, whether you’re an RVer, vanlifer, or simply a sticker enthusiast looking for a better way to curate your collection.
Do you have other creative methods for preserving and displaying travel stickers? Share your ideas in the comments below – we’d love to hear them!