 A peek inside a handmade travel sewing kit, showcasing essential sewing tools like scissors, thread, needles, and a ruler
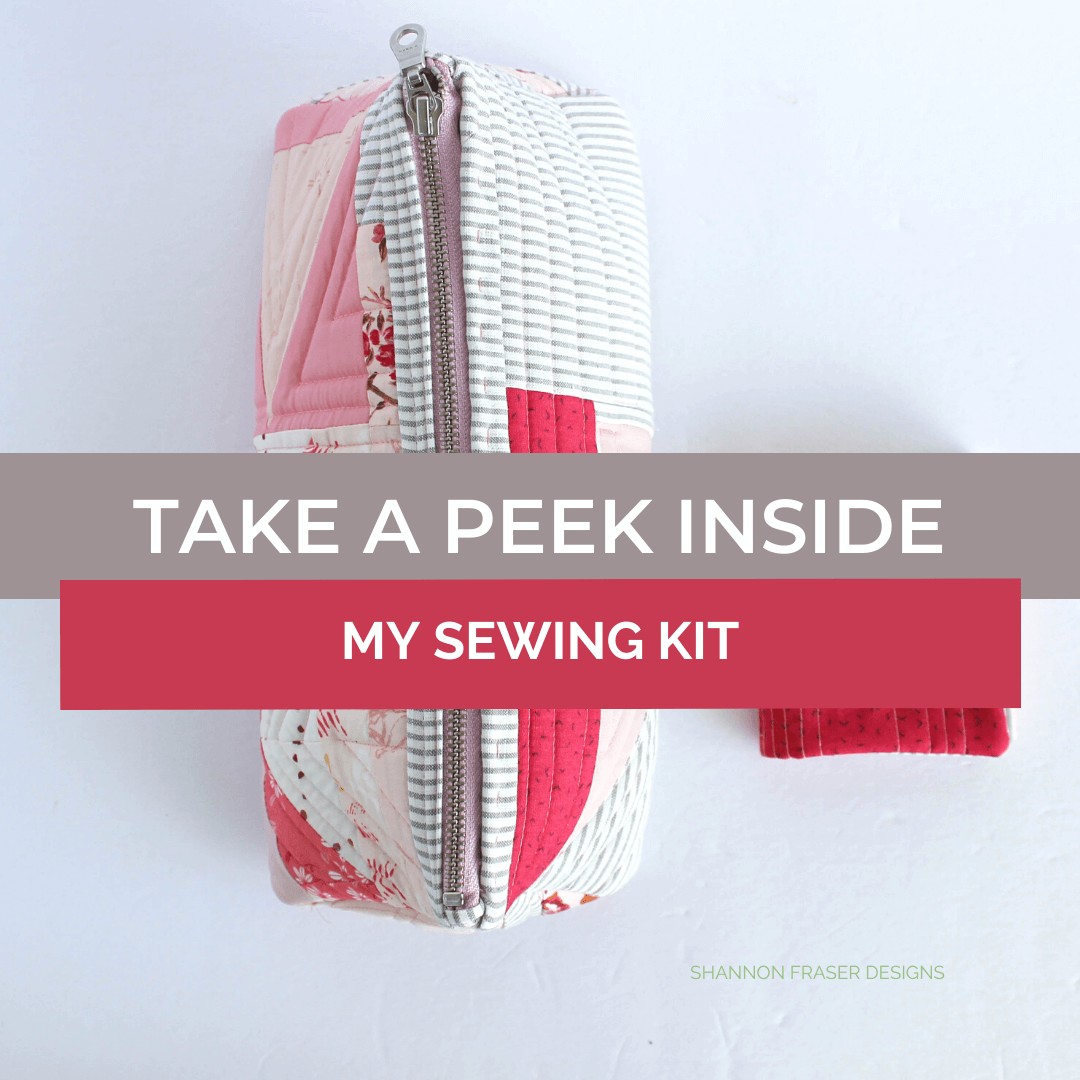
Are you a quilting enthusiast always on the move? Or perhaps you simply love to be prepared for any sewing mishaps while traveling? Then you’ve come to the right place! Today, we’re diving deep into the essential world of Travel Sewing Kits. Discover what notions you absolutely need to keep your quilting projects going, no matter where you are. Get ready to peek inside my newly crafted travel sewing kit and learn about the must-have quilting notions for every sewing enthusiast’s bag!
But first things first, let me introduce you to my brand new travel sewing bag!
Is there such a thing as too many sewing bags? I’m asking for a friend, of course! 😉
You might be thinking, “Shannon, how many sewing bags does one person actually need?”
I know, I know, it might seem like sewing kits are a recurring theme here on the blog. But that’s mostly because I’m a big fan of our What’s in Your Sewing Bag series!
Truth be told, it’s been a while since I gave my trusty sewing kit an update – not since 2019! And honestly, why would I? It’s been working perfectly!
However, with my constant travels between the city and the countryside, I realized the need to simplify my packing. The solution? A dedicated sewing kit specifically for the cottage.
 Close-up of a colorful improv quilted travel sewing kit, highlighting the patchwork design and zipper closure
WHY INVEST IN A DEDICATED TRAVEL SEWING BAG?
The answer is simple: convenience!
Having a separate travel sewing kit means one less thing to worry about when packing. I’m all about simplifying tasks and making life easier whenever possible.
While this brilliant idea came to me some time ago, actually making it happen took a little longer than expected. It seems creating things for myself often takes a backseat to other projects.
Just like my improv quilted needlebook project that lingered on my to-do list, this quilted improv triangle sewing bag was an idea for at least a year before I finally got around to making it a reality.
PRIORITIZE ‘ME-MADE’ TIME
And as is often the case when I delay crafting goodies for myself, the moment it’s finished, I instantly regret not making time for it sooner.
I shared a similar thought on Instagram after making a new cosmetic bag, and many of you resonated with the same sentiment! While thinking of others is wonderful, I’m consciously trying to make more effort to prioritize myself – not selfishly, but as a way of ‘showing up for myself’.
Stitching up this new travel sewing kit was a simple act, yet it brought me so much joy the moment it was complete!
I couldn’t stop admiring it, which, in turn, made my husband happy to see me so happy!
It truly is the little things in life that bring us immense joy.
The takeaway from this? Treat yourself and make a new travel sewing bag!
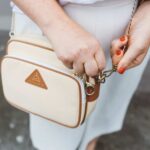
 A person holding up a handmade triangle sewing bag, showcasing its size and patchwork details, with a matching needlebook visible inside
EXPLORING DIFFERENT BAG SHAPES FOR YOUR SEWING KIT
This time, I felt like experimenting with a slightly different design.
I knew from the start that I wanted my new bag to feature improv patchwork. You know my passion for modern improv quilting, and it just feels right to have a sewing kit that reflects my quilting style.
What I hadn’t initially planned was using the leftover trimmings from the improv backing of my baby Flight Plan quilt.
My original idea was to use scraps from my Ode to Coral Modern Aztec Mini, but since I had just finished stitching the Improv Needlebook, those scraps were already out and accessible – you know, the path of least resistance! 😉
I also had some Soft & Stable* trimmings leftover from making my Market Tote, which I’d been saving, hoping they might come in handy. Turns out, they were the perfect size and just enough to create this triangle sewing bag. It gives the bag a lovely squishy feel while still providing structure. I think I actually prefer it to using batting with a stabilizer.
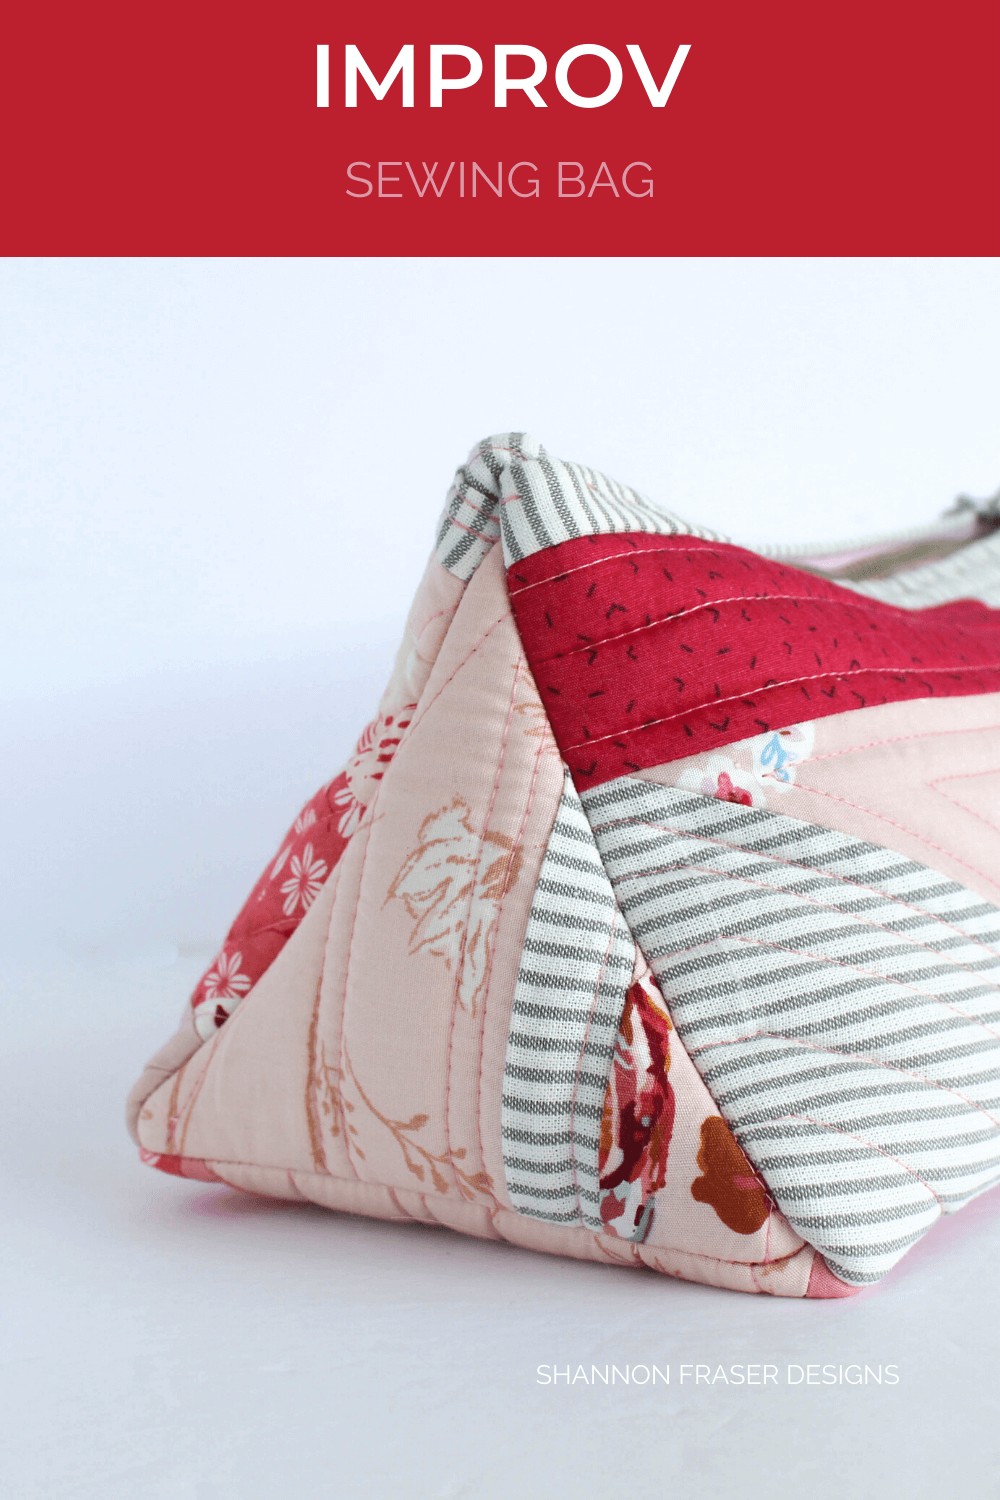
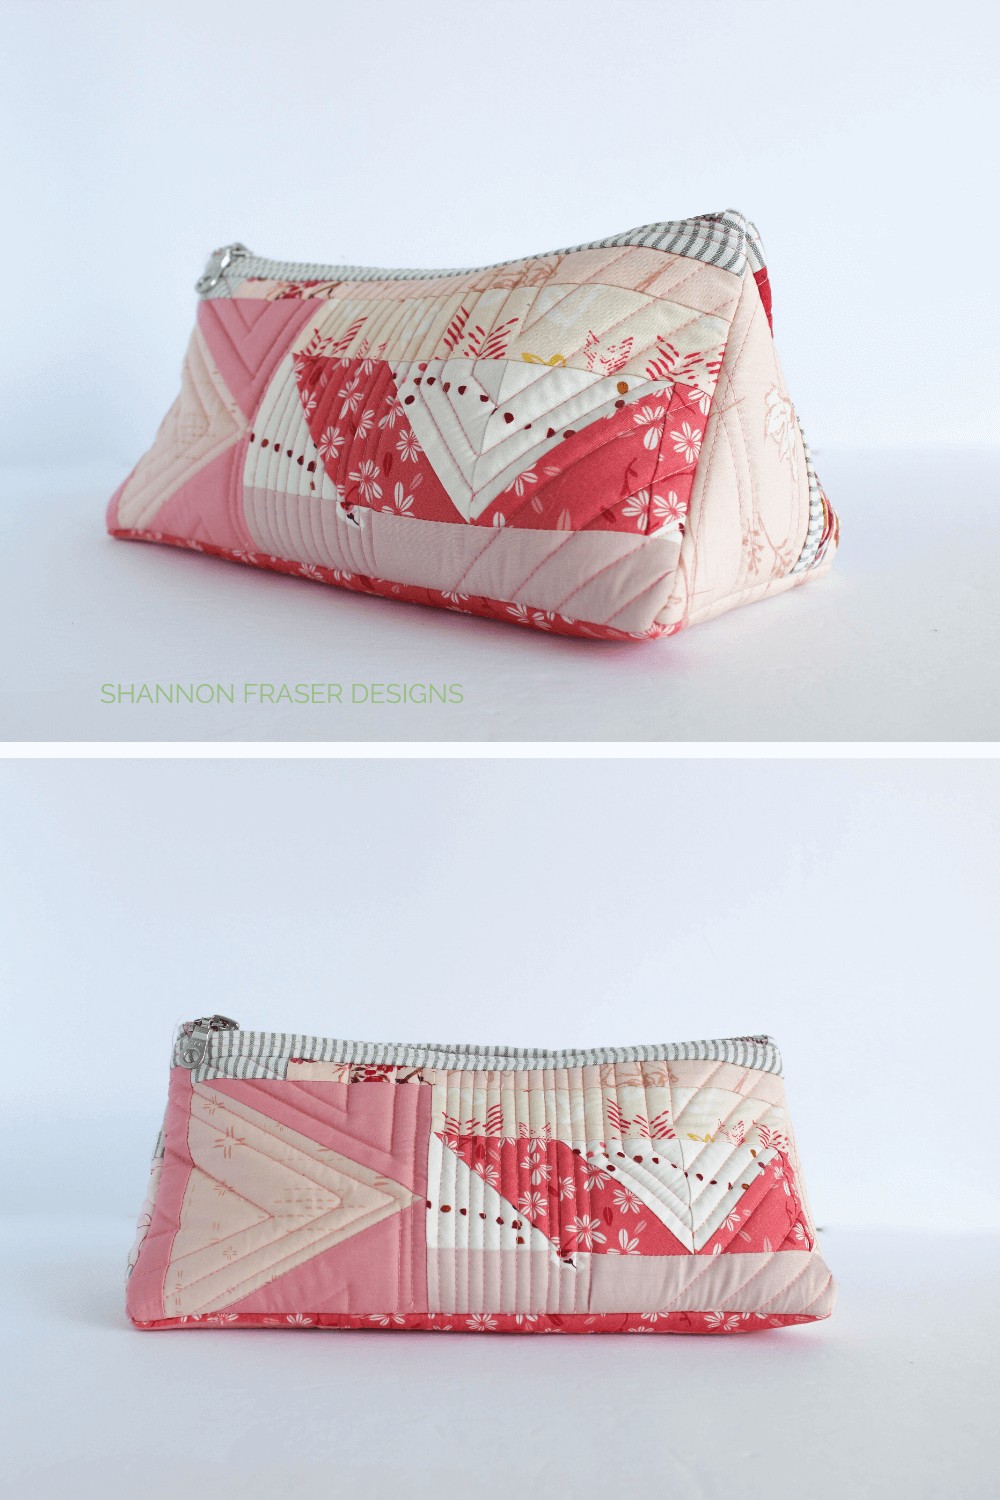 A close-up shot of a modern improv quilted triangle sewing bag, displaying the fabric texture and patchwork details, with a glimpse of the bag's interior
Quilting it was also a blast. I used my favorite pink thread* and opted for a combination of matchstick quilting and improv echo quilting to accentuate some of the triangle patchwork.
Why a triangle shape, you might ask?
As a quilter, I enjoy exploring various shapes, and I wanted a bag that was different from my others, could stand upright on its own, and had a nice, wide opening for easy access.
Interestingly, it didn’t start as a triangle. I had already half-stitched it when I decided to change direction.
But nothing a little seam ripping can’t fix!
And I’m so glad I trusted my creative instincts and changed course because I absolutely love how my bag turned out!
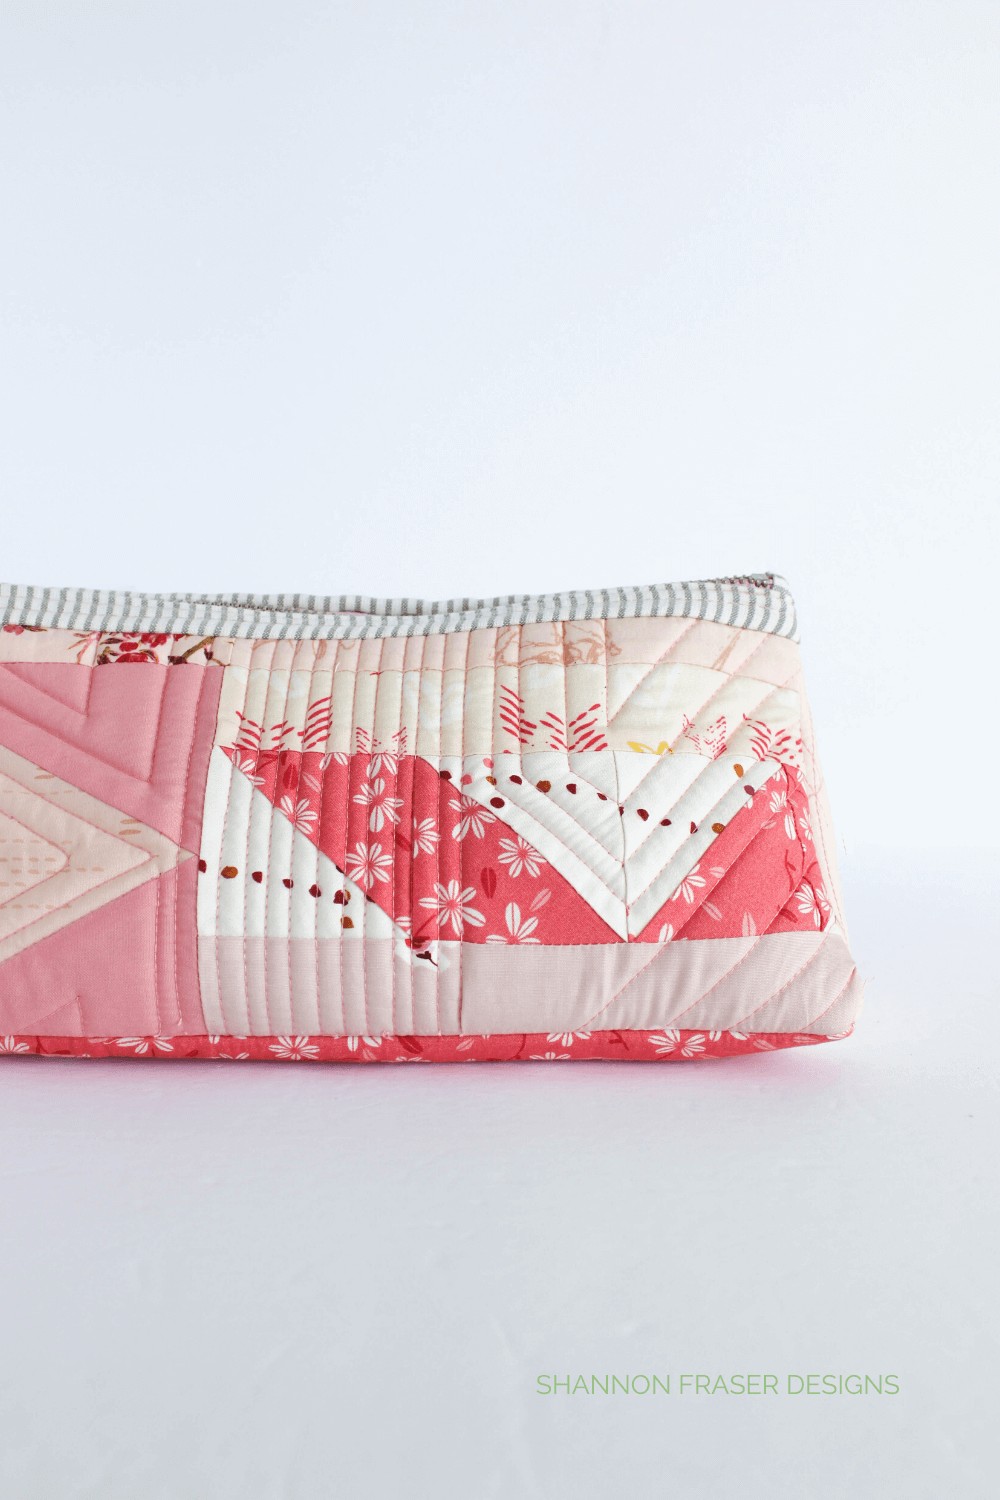 Detailed machine quilting on a triangle sewing bag, showing the stitch pattern and texture, emphasizing the handmade quality
ESSENTIAL NOTIONS TO STOCK IN YOUR TRAVEL SEWING KIT
SEWING NOTION PHILOSOPHY: LESS IS MORE
One of the most frequent questions I receive is about the sewing notions I prefer to keep on hand.
I totally understand the curiosity! When I was new to quilting, I was also eager to know what experienced makers used regularly.
My curiosity actually led me to start the What’s in Your Sewing Bag series to give you insights from real creators about the notions they simply can’t live without.
Given my ‘less is more’ approach to sewing notions, it’s probably no surprise that I carefully consider each item I include in my kit.
The quilting market is flooded with countless tools and gadgets, many of which don’t necessarily enhance your quilting experience. I’m not interested in cluttering my studio with unnecessary notions.
Guidance in navigating your sewing notion choices can be incredibly helpful.
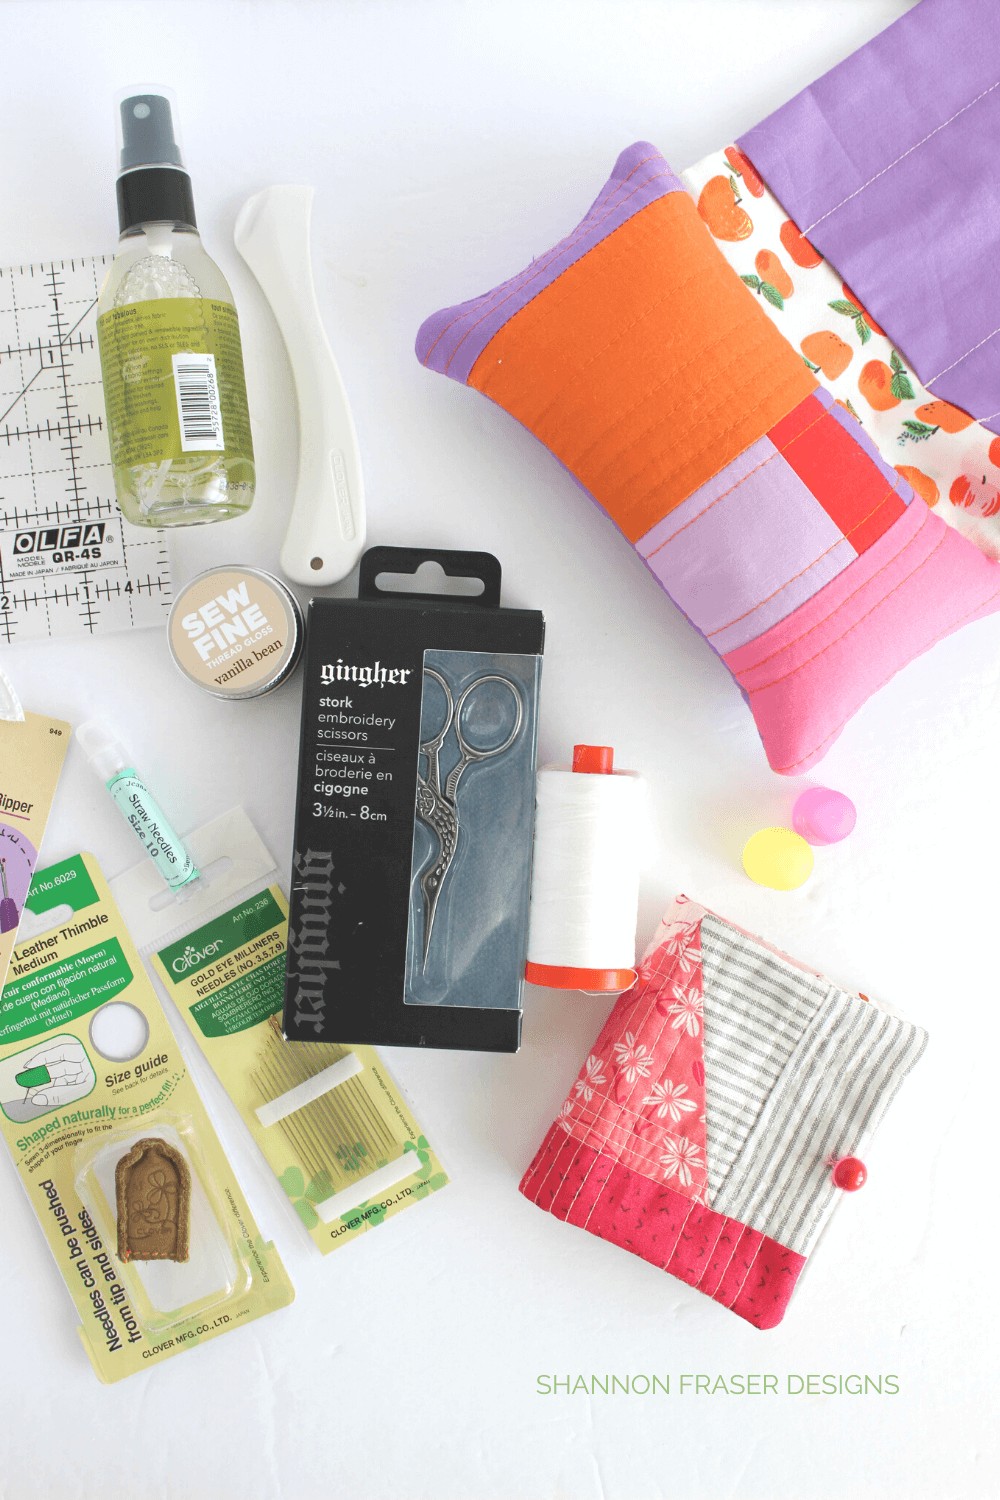 A selection of essential sewing notions laid out on a cutting mat, including scissors, ruler, thread, needles, and thimbles
MUST-HAVE QUILTING NOTIONS FOR YOUR SEWING KIT
With that in mind, here’s a rundown of what I consider essential quilting notions for your very own travel sewing kit:
Embroidery Scissors
They don’t have to be specifically for embroidery; the key is to have a small, sharp pair of scissors. I’ve been admiring this adorable silver pair* for quite some time.
Ruler
I don’t often cut fabric while traveling, so this square ruler* primarily serves to mark quilting lines on the go. Bonus – it provides a sturdy base for my bag! 😉
Hera Marker
This tool is my go-to for marking lines* when quilting – for both machine and hand quilting, making it indispensable in my sewing kit.
Thread
You know my love for Aurifil Thread, and I always keep a large spool in my favorite shade of white* at hand. It’s perfect for blind stitching and English Paper Piecing.
Thread Gloss
I like to use thread conditioner whenever I’m doing blind stitching or thread basting. The thread gloss coats the thread in beeswax, helping it glide through your projects more smoothly and reducing tangling. The delightful essential oil scents are an added bonus!
Needles
I keep a variety of sewing needles in my kit. I prefer these straw needles* for any blind stitch or thread basting. For big stitch hand quilting, I use these gold eye embroidery needles*, which are the perfect size for the pearl cotton thread I use.
Pin Cushion
Having a designated spot for your needles when rethreading or taking a break is crucial.
Why?
Because without one, you’re more likely to use an armrest or pillow as a makeshift pincushion. I’ve heard countless horror stories of people losing needles in their sofas or pillows. That’s a major fear of mine – someone sitting on a lost needle! So, protect yourself, your family, and your pets from rogue needles by always having a pincushion handy. You can even make your own with the Sit ‘n Sew Pincushion pattern.
 An open needlebook displaying needles, alongside a handmade pincushion, showcasing essential sewing organization tools
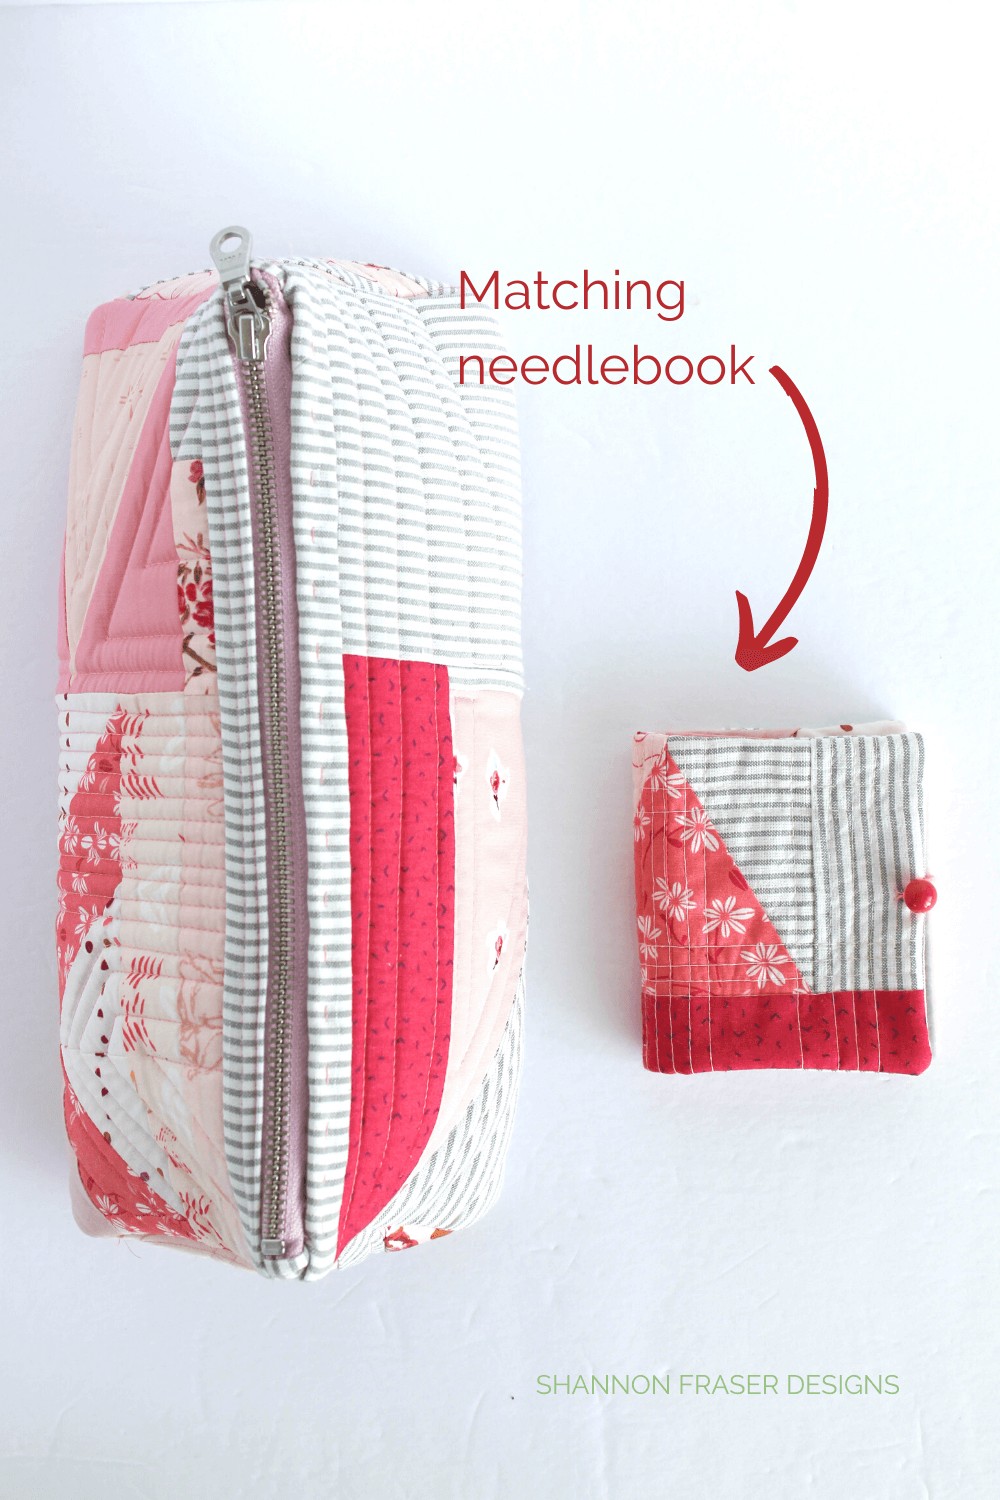
Needle Book
I created this improv quilted needlebook based on Amy’s tutorial just before making my new improv sewing bag. The fact that they ended up matching was a happy accident!
Leather Thimble
I’m a big fan of using a leather thimble. Just like good leather shoes mold to your feet, a leather thimble* molds to your finger. That’s the best part – it becomes the most comfortable thimble you’ll ever use. So comfortable, in fact, that I often forget I’m wearing it and find myself in the kitchen about to make dinner, still wearing it – ha!
Rubber Thimbles
I use these on my thumb and index finger when I need extra grip to pull a stubborn needle through multiple layers of fabric. If you have sweaty hands like I do while stitching, these rubber thimbles are game-changers. I use the pink one* for my index finger and the yellow one* for my thumb. No more slipping and pricking yourself!
Seam Ripper
Not the most glamorous item in my sewing kit, but absolutely essential. We all make mistakes. And a seam ripper helps you quickly undo stitches and get back on track. I love that this purple one* has a cover to prevent it from poking holes in my sewing bag.
Glue Stick
I like to keep a glue pen* handy in case the urge to work on my long-term EPP project strikes.
Glass Nail File
Jagged nails drive me crazy, and I prefer to keep my nails short and smooth. This requires regular maintenance, so keeping a nail file in my sewing kit makes it easily accessible.
I recently switched to glass nail files and I’m amazed at how great they are. I find them much smoother than emery boards, and they’re reusable! I bought this set* to keep one in my purse, one at home, and one in my travel sewing kit.
Lip Balm
I’ve been a lip balm enthusiast since childhood. The obsession intensified when I discovered Lip Smakers* (remember those?). Over the years, I’ve tried countless brands and have a few favorites. My current obsession is this lip treatment* that keeps my lips super moisturized without feeling sticky. What’s your go-to lip balm?
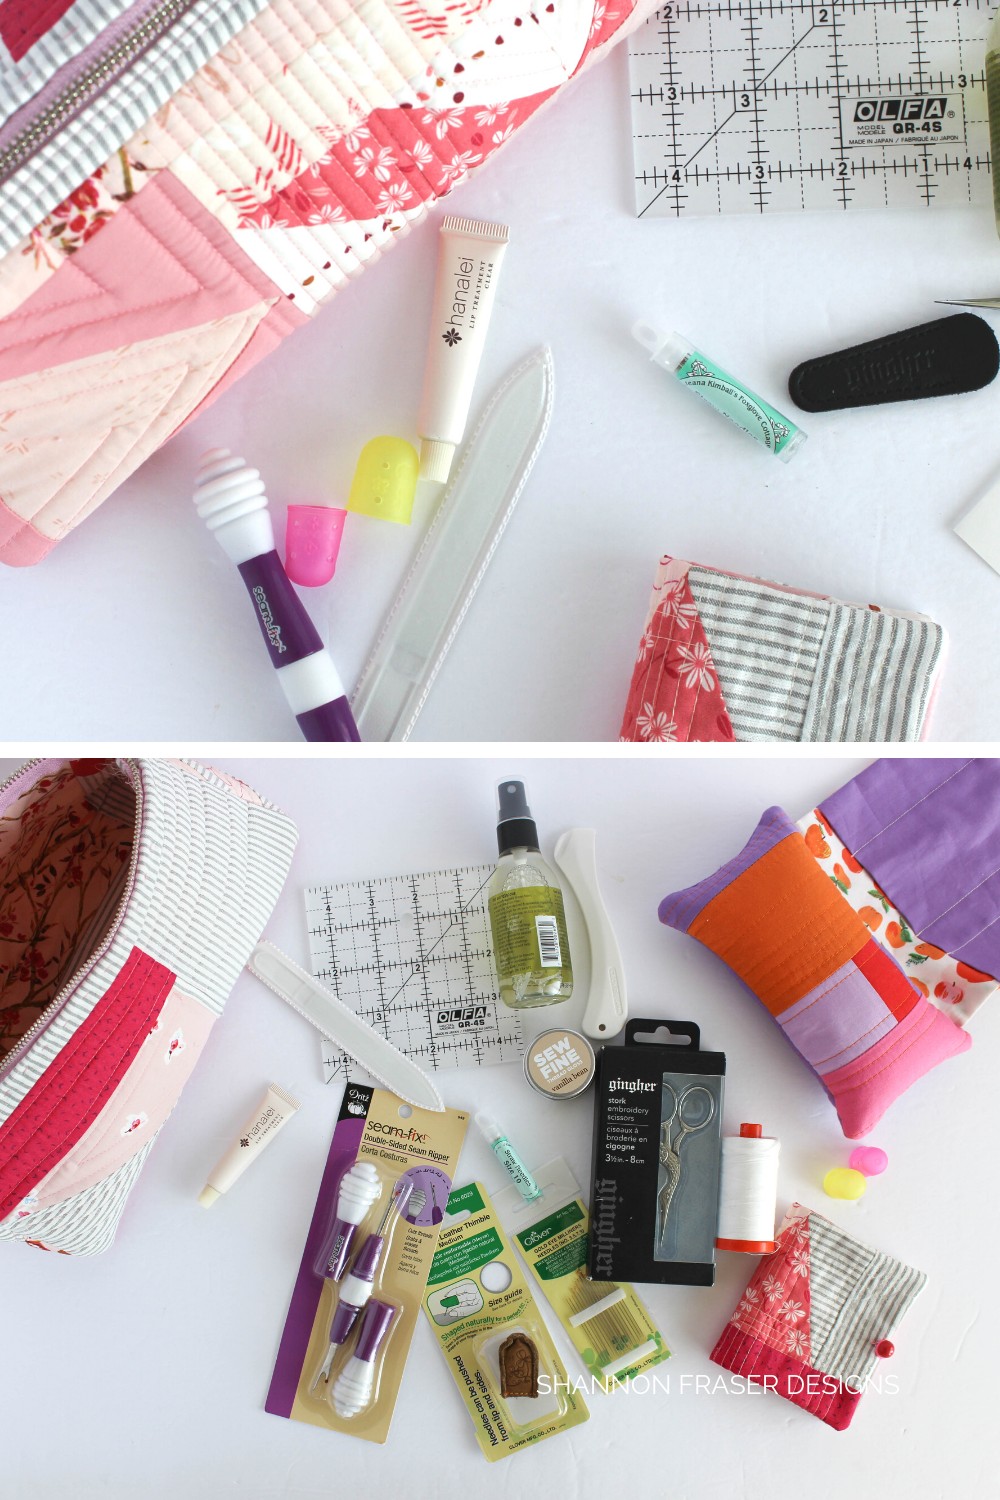 A fully stocked travel sewing kit, opened to showcase all the essential notions neatly arranged inside, ready for sewing on the go
TRAVEL SEWING KIT UNBOXING: A CLOSER LOOK AT MY ESSENTIALS
Click the video below to see a detailed unboxing of everything I keep in my improv quilted sewing bag, hoping to inspire you to curate your own perfect quilting notions for your travel sewing kit! 😊
[Video Link Placeholder]
For more quilting inspiration, be sure to check out:
[Link to relevant quilting content]
[Link to another relevant quilting content]
I hope this inspires you to stitch up your own custom sewing bag and helps you refine the quilting notions you need in your travel sewing kit!
What’s your must-have notion that you always keep tucked in your quilting kit?
Happy Stitching!
xo,
Shannon
Never miss a post – sign up for the weekly newsletter.
This post uses affiliate links. For more info, visit the FAQ page.